|
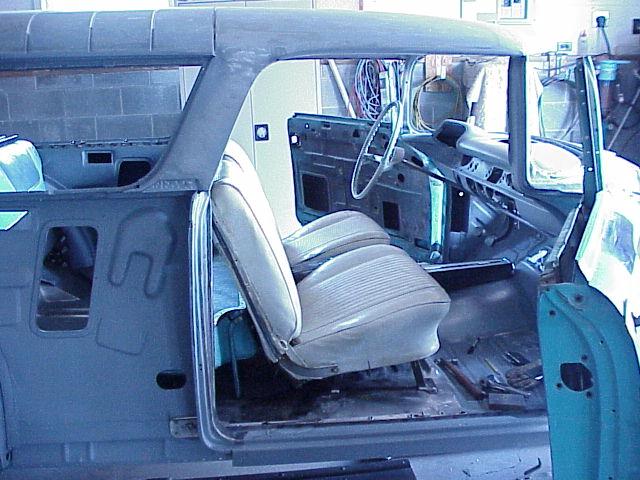
The interior of this Nomad will combine features of the original style Nomads, mid '60s muscle cars, and 21st century safety and convenience. Features will include original style rear cargo area and folding rear seat. The front bench seat, however, will be replace by a pair of buckets out of a mid-'60s Impala SS; along with a console and shifter. Modern 3-point seatbelts will be installed. Power windows, locks, modern gauges, air conditioning, etc. etc. etc.... |
|
Interior Progress |
|
Progress pictures and descriptions are posted in reverse order, with the most recent information at the top. |
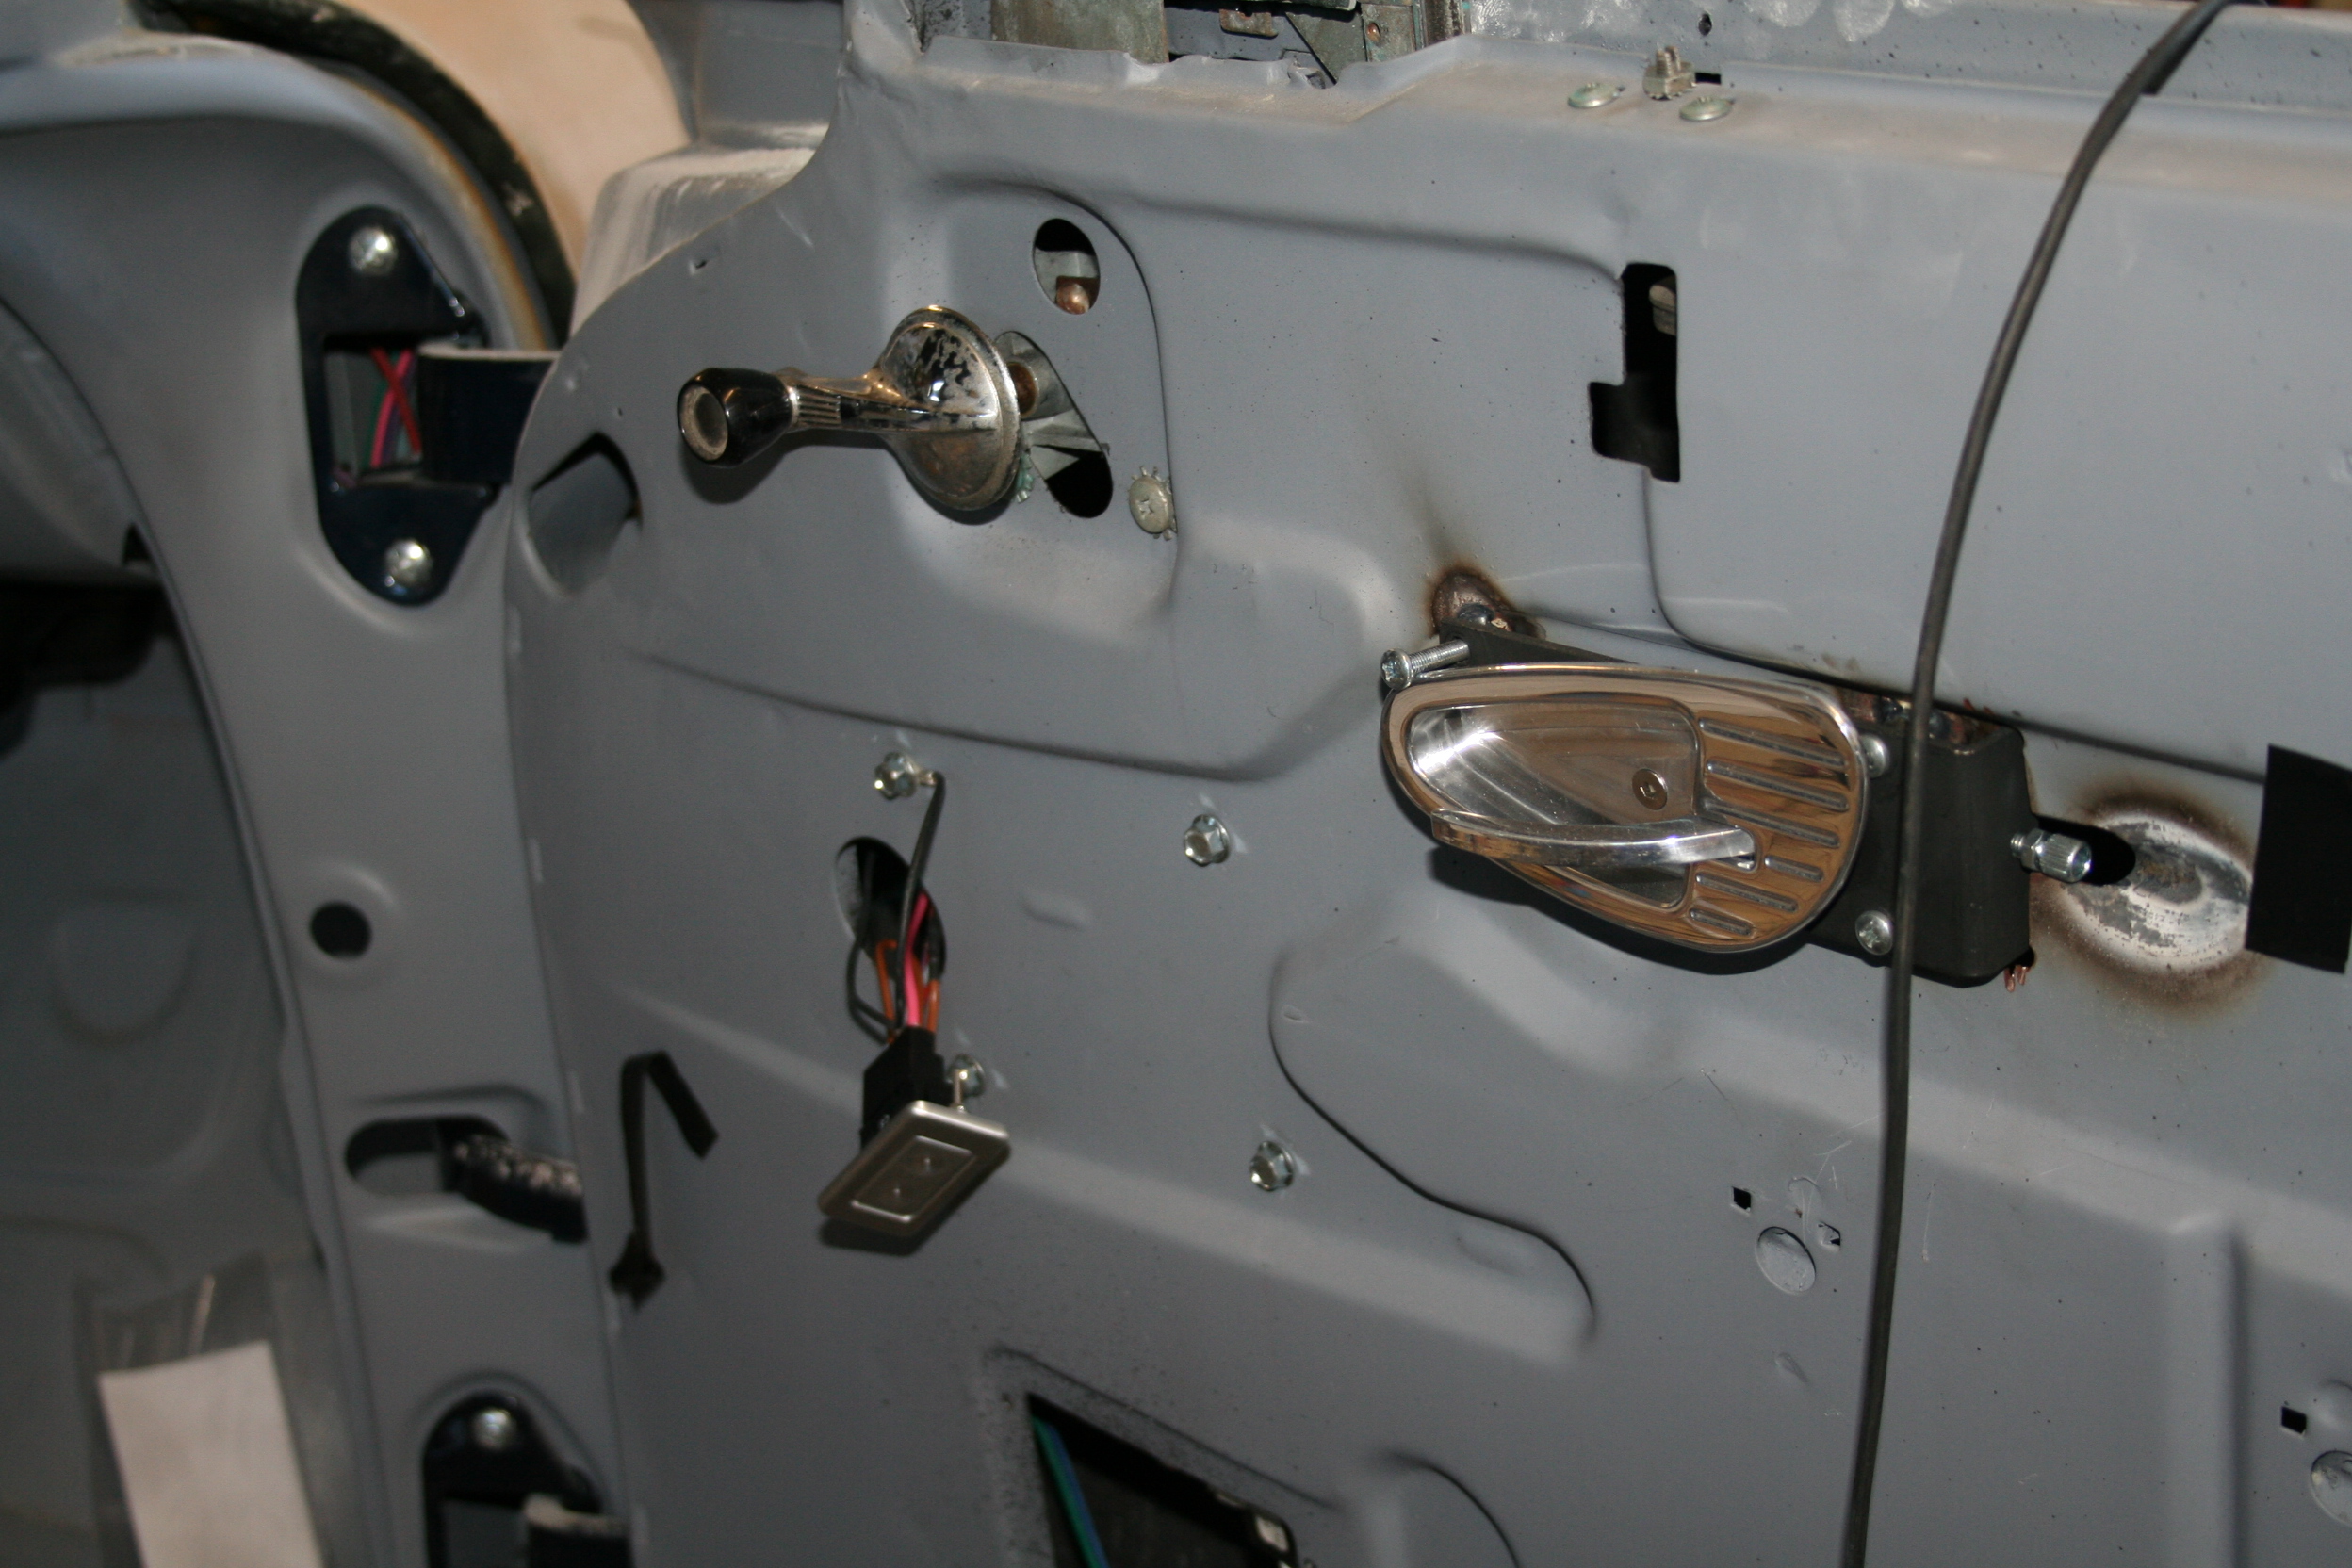
| Power Windows & Door Locks |
|
Summer 2005 -Doors are modified to house custom handles and switches for power windows and power door locks. |
 |
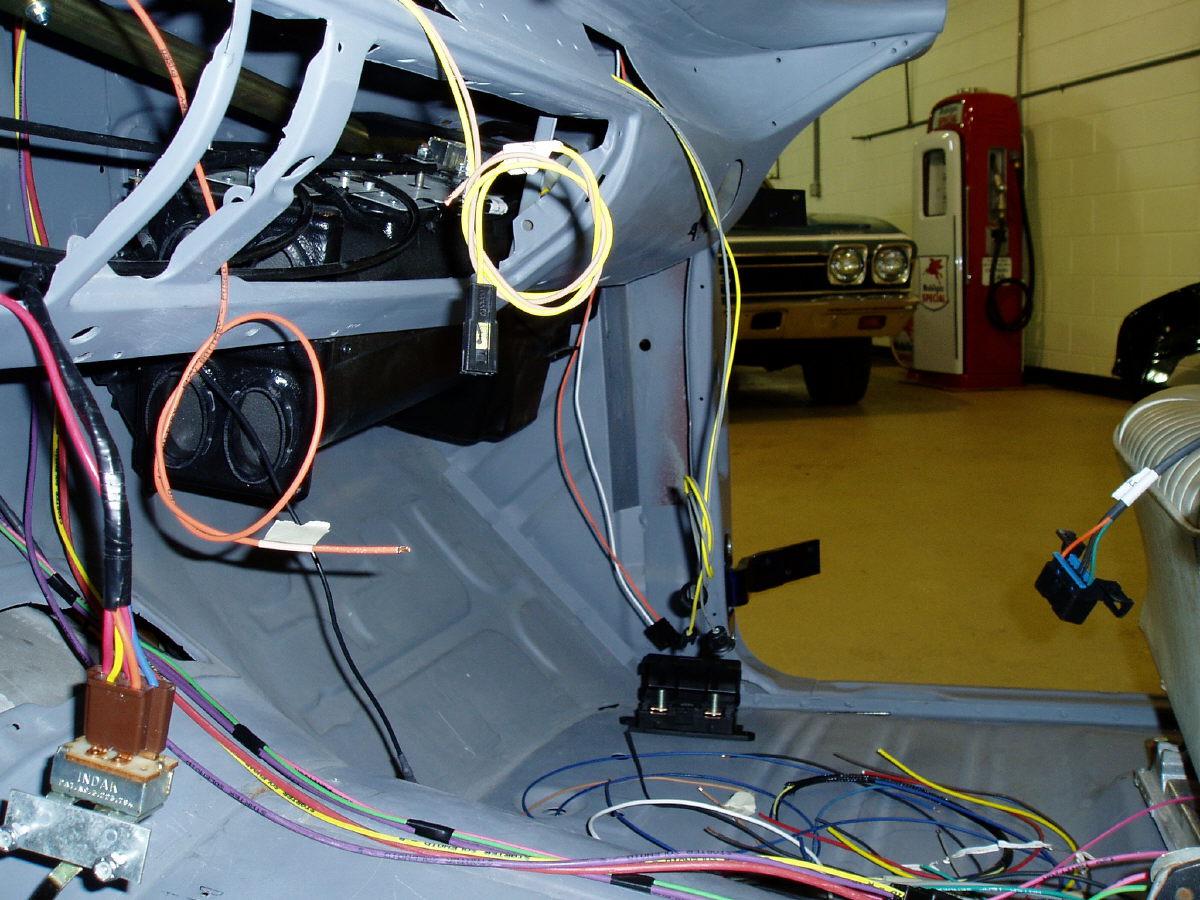
| Wiring |
|
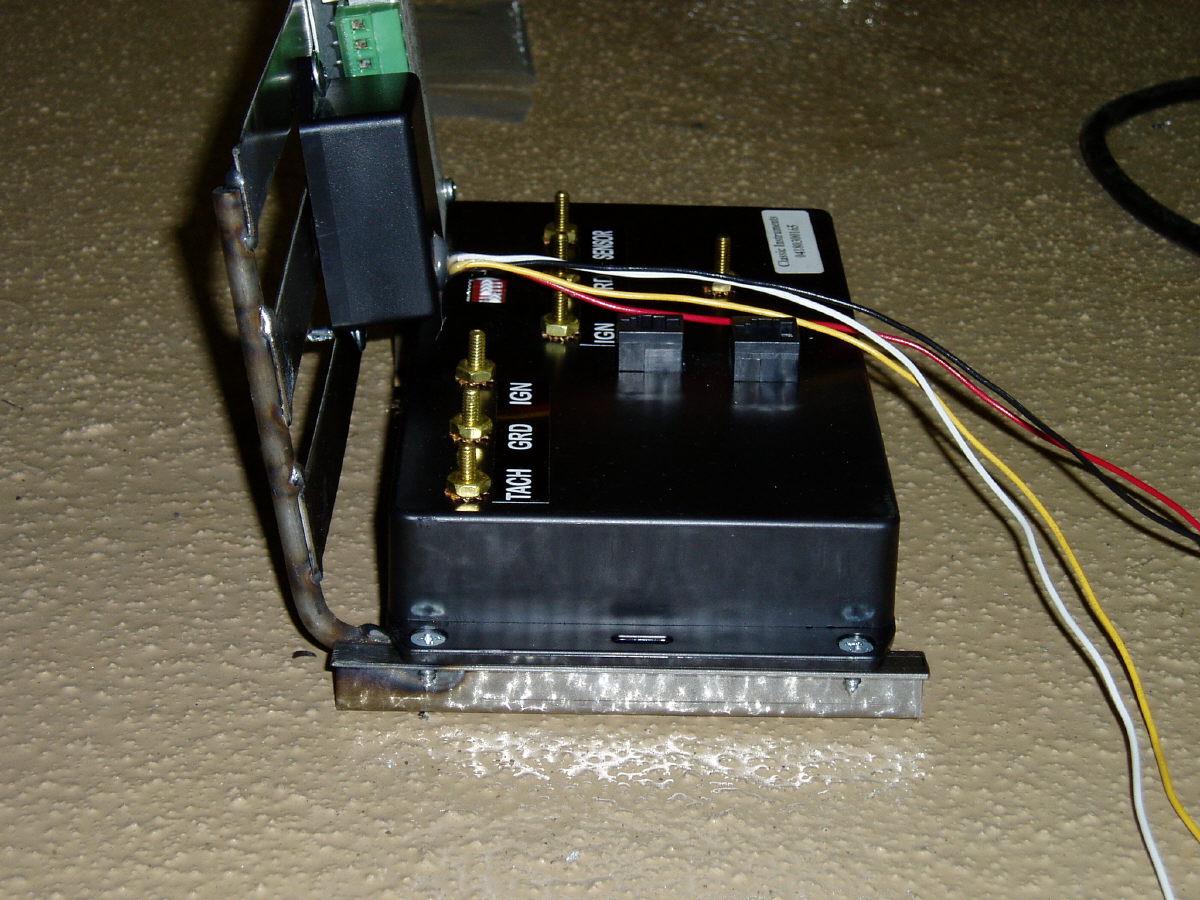
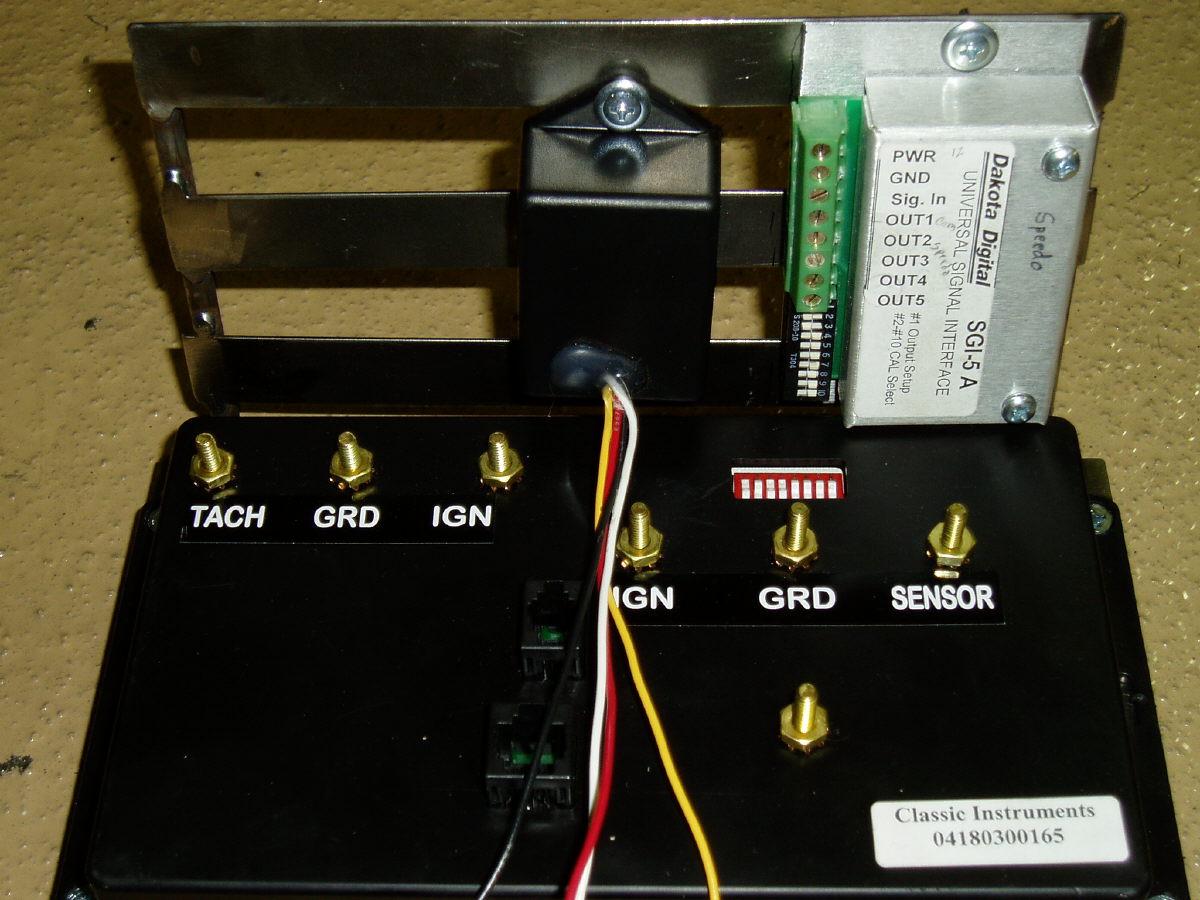
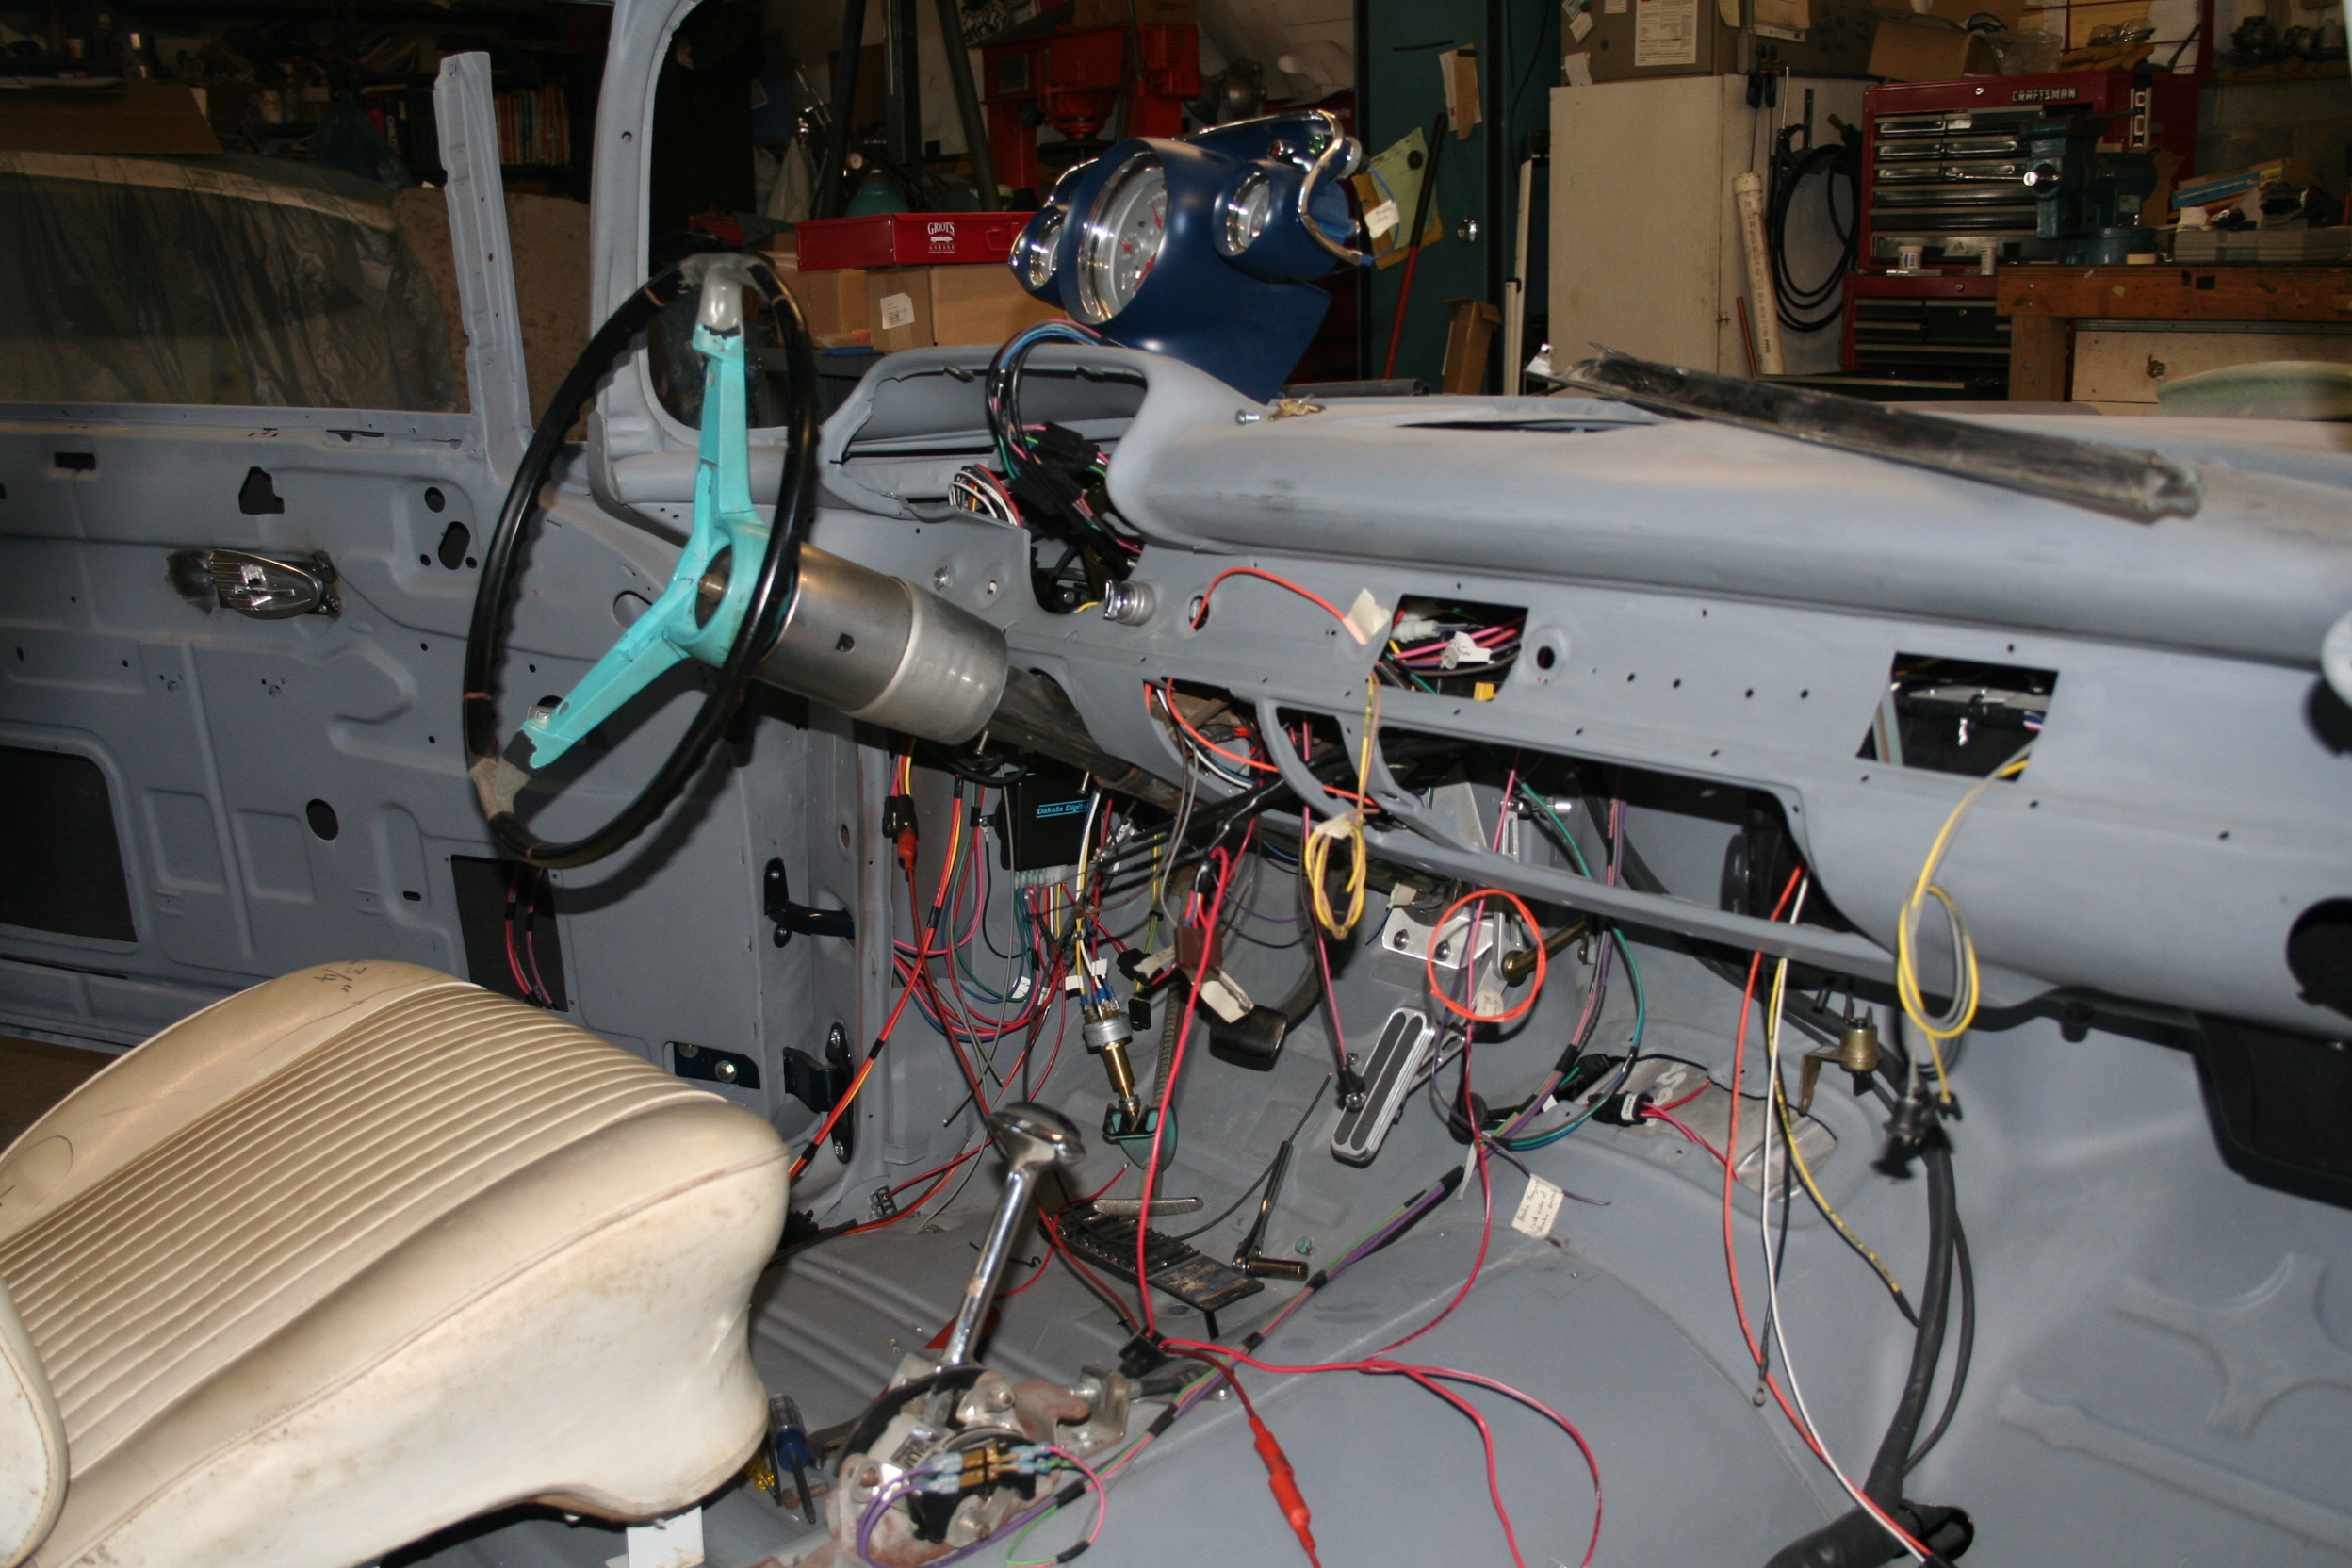
Wiring this car is very interesting. Starting with the American Autowire kit, provisions had to be made to accommodate the modified LS1 engine harness from Street & Performance, the digital gauges from Classic Instruments, the cruise control from Dakota Digital, the windshield wiper set-up from Raingear, the heating and A/C system from Hot Rod Air, Radio with CD Changer, and much more believe it or not! Steve made a separate bracket just to hold the electronic modules related to the gauges. The LS1 Computer will live under the front passenger's seat. |
 |
| Gauges |
|
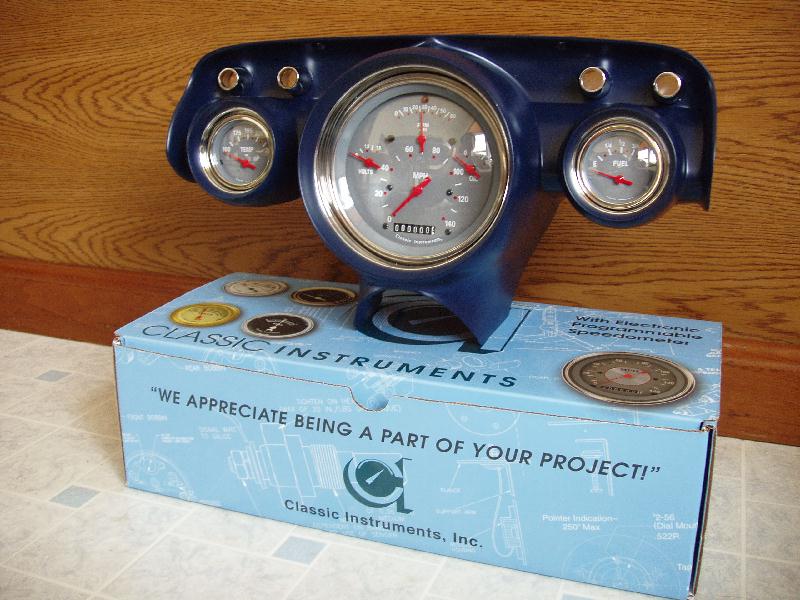
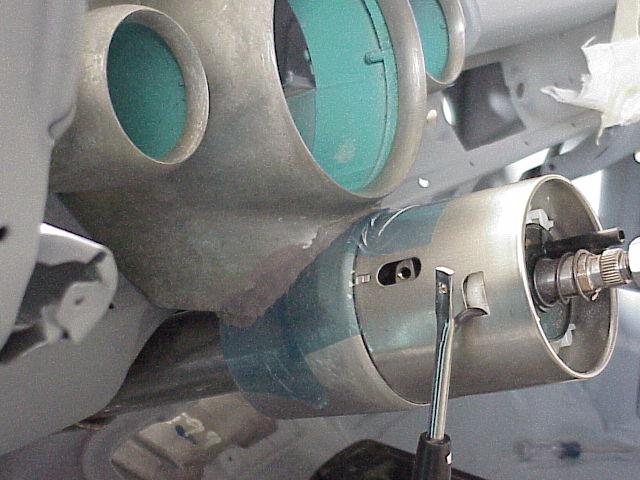
March 21, 2004 - Steve painted the instrument housing, so I installed the Classic Instruments electronic gauges. Gauges are wired into plugs for easy R&R in the future. |

 |
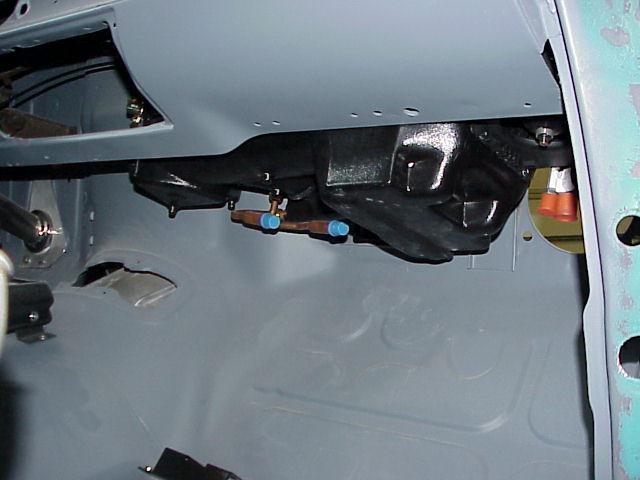
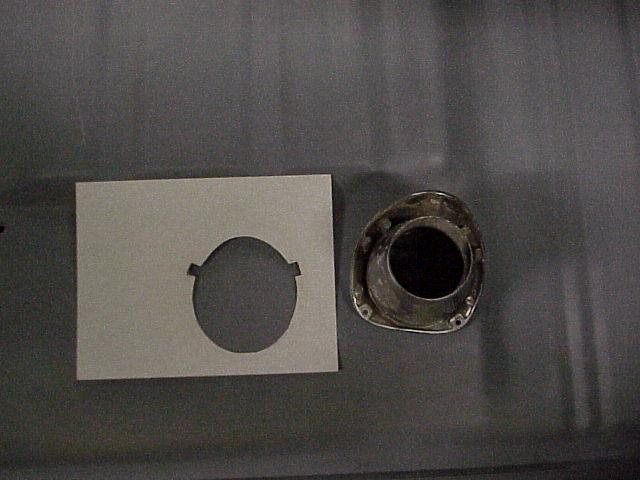
| Heater & A/C Unit Pre-fit |
|
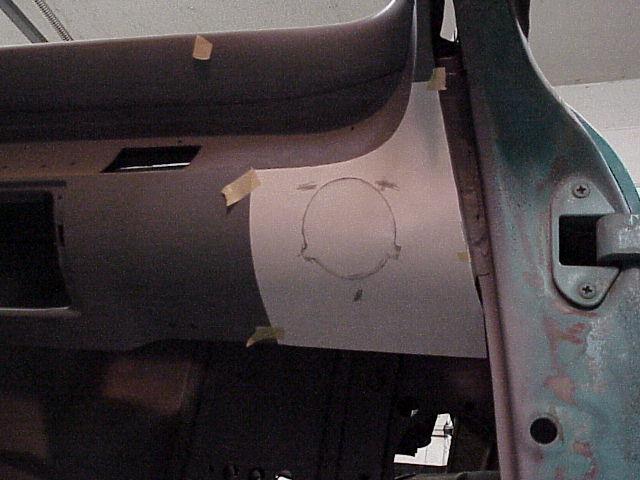
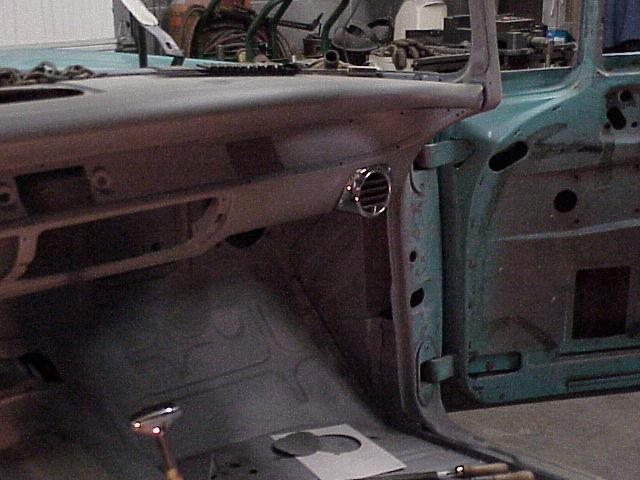
October 25, 2003 - Pre-fitting of heater / air conditioning unit from Hot Rod Air. I am using original vents. Steve made paper templates and cut the holes in the dash with a saw. |
 |
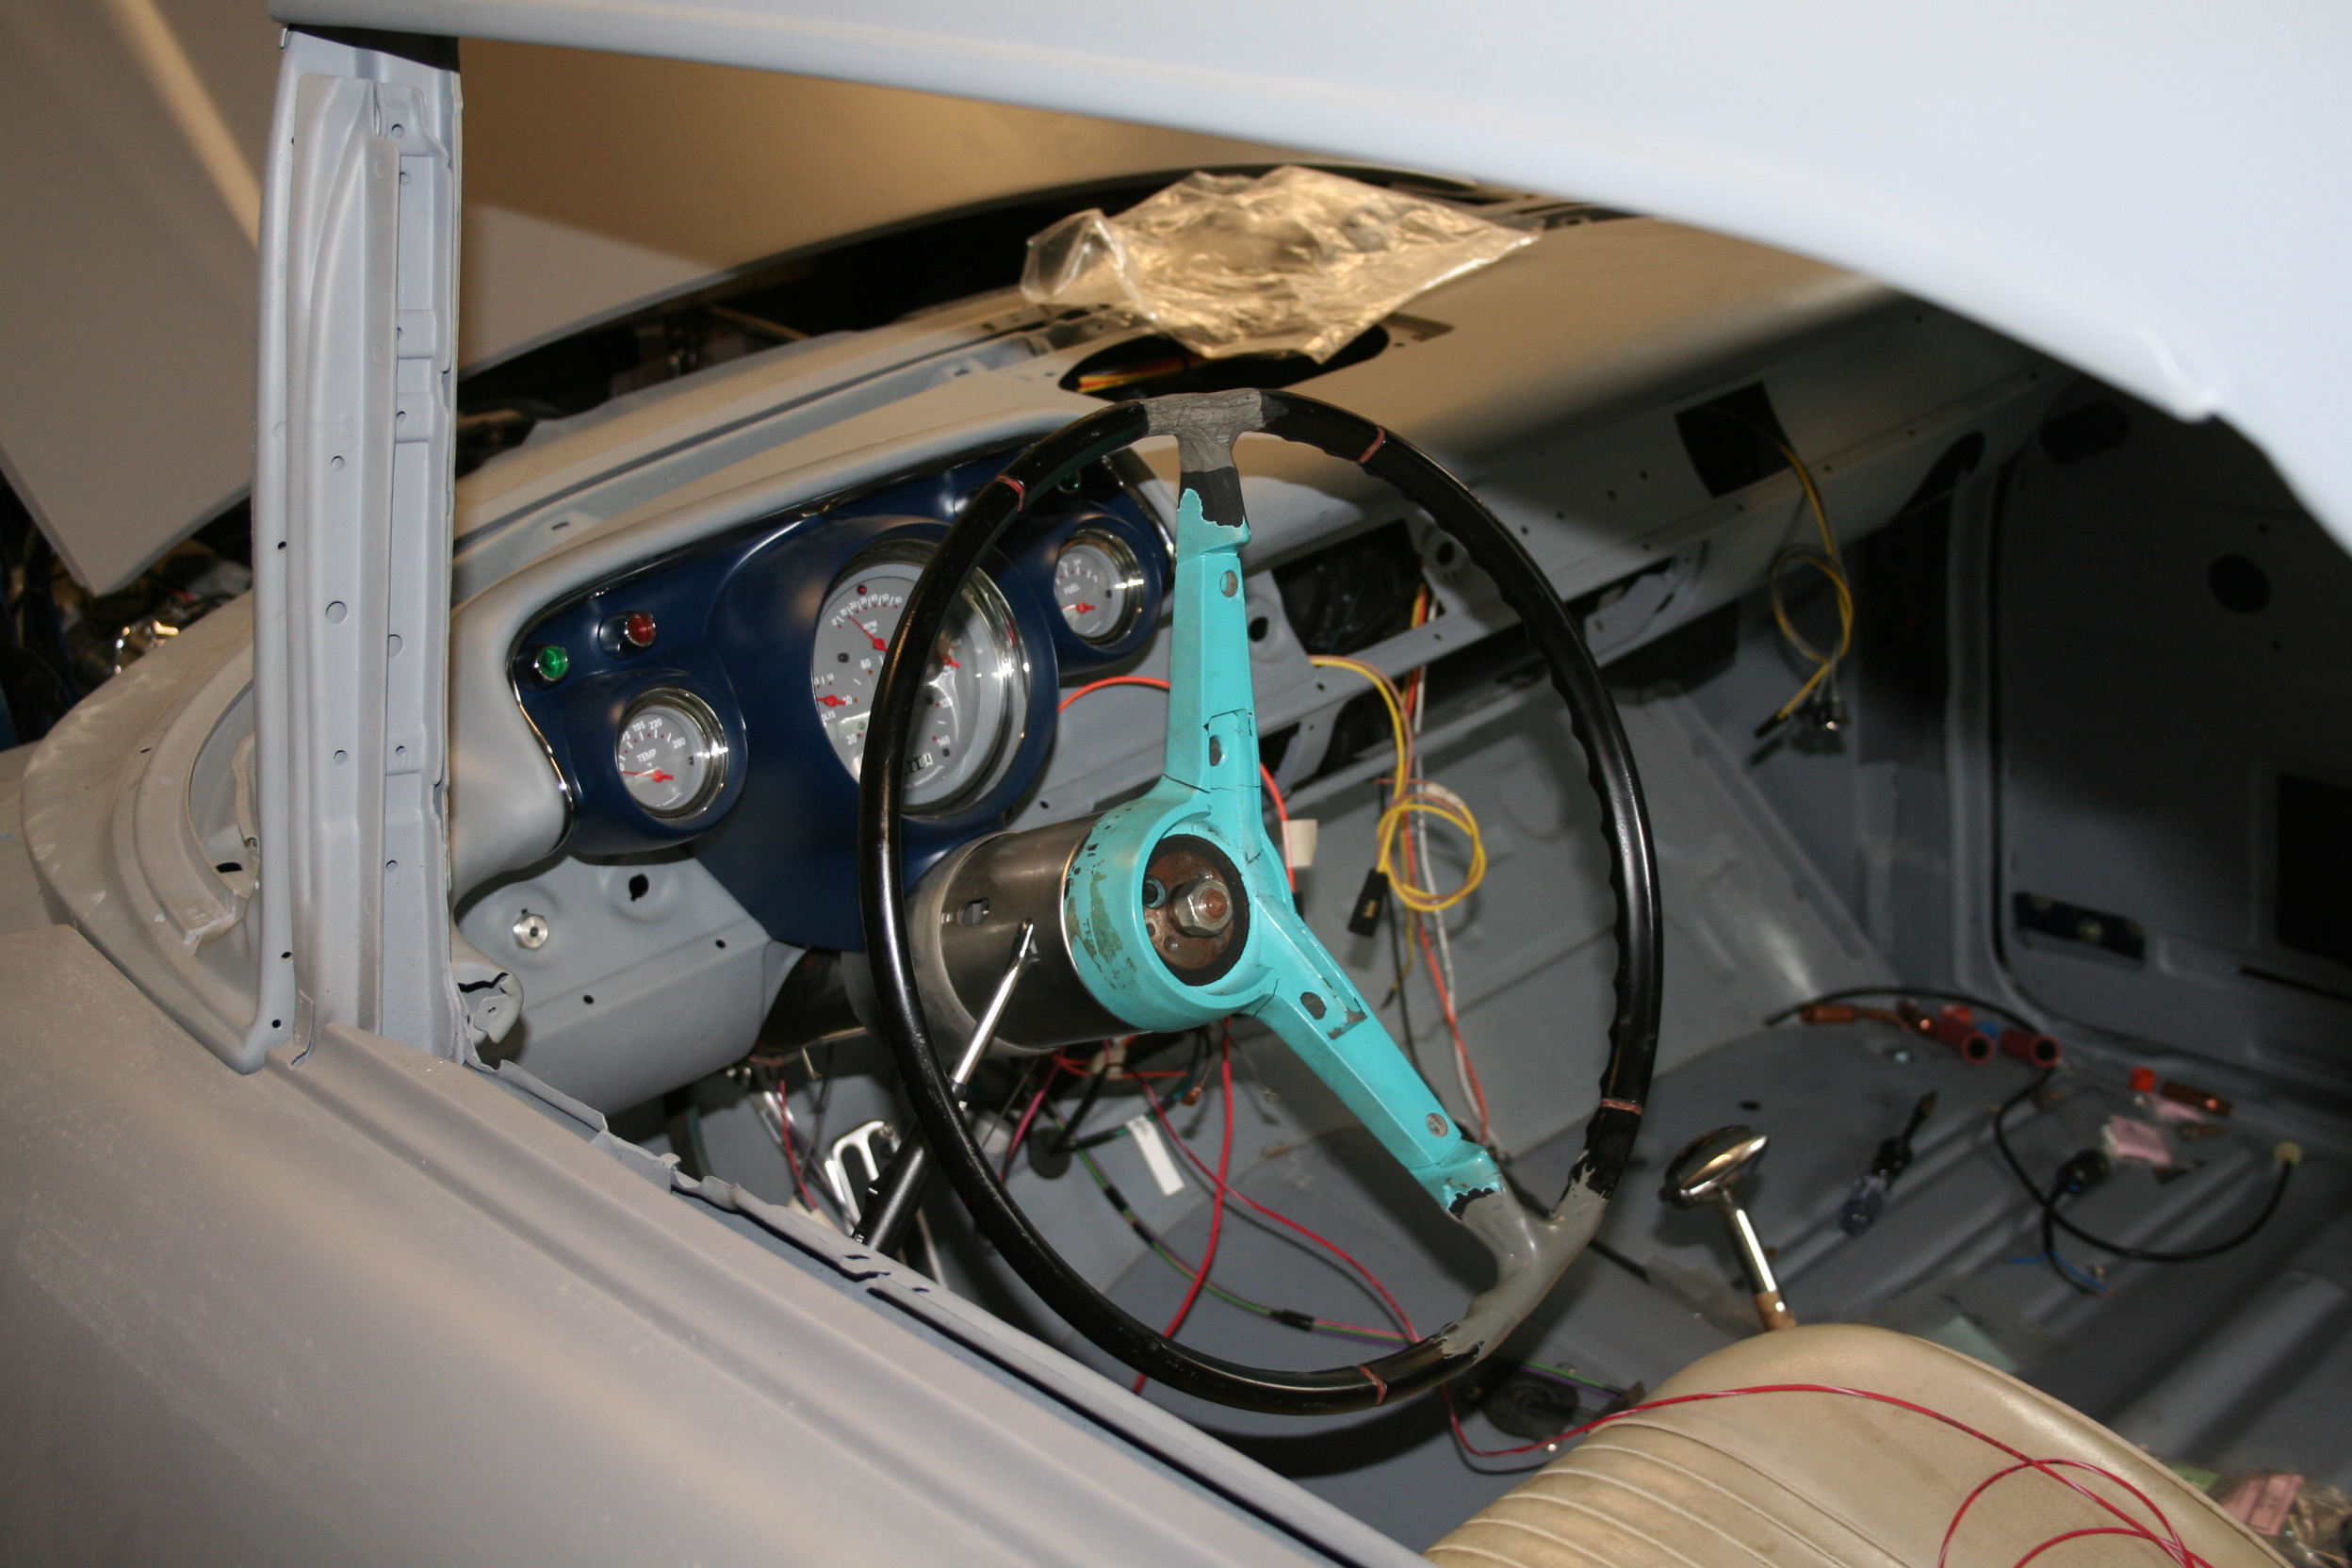
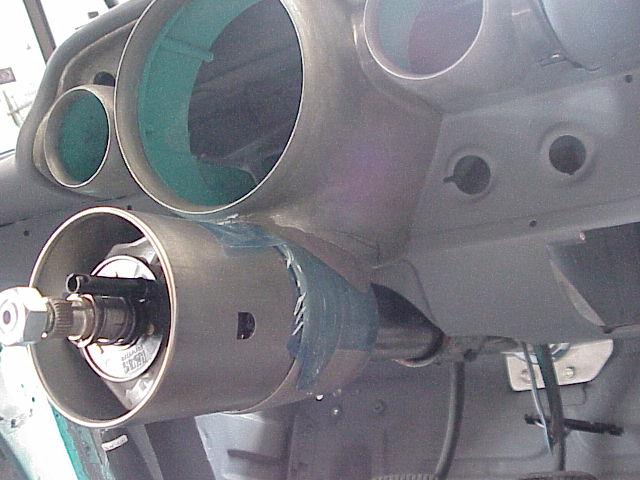
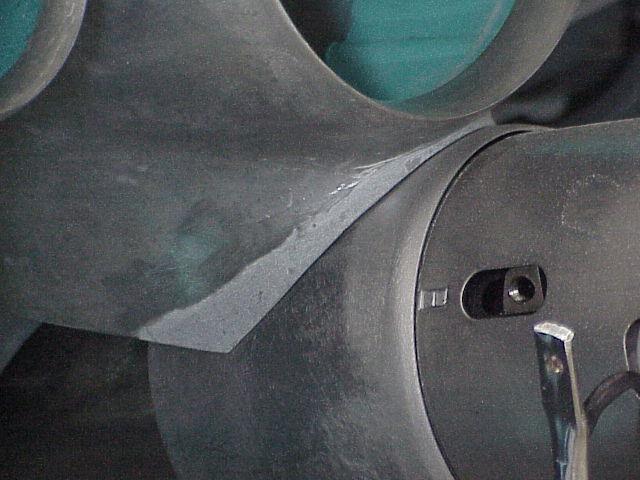
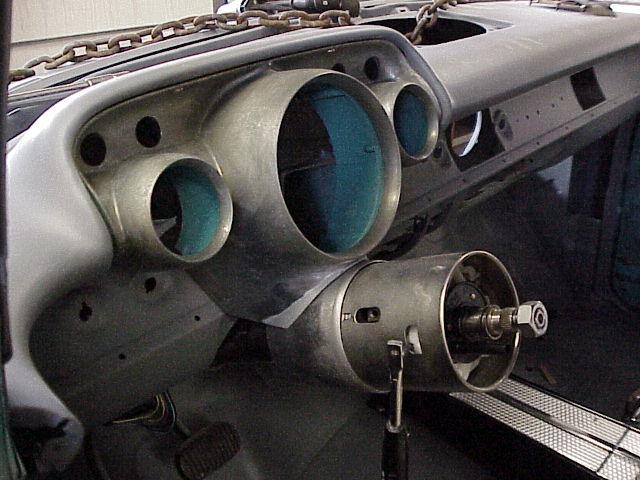
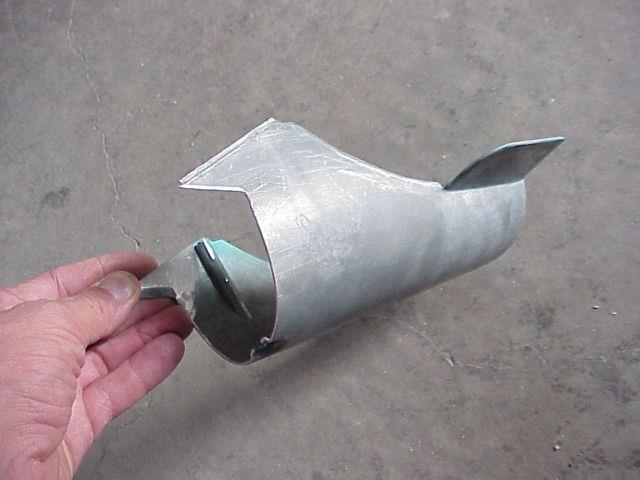
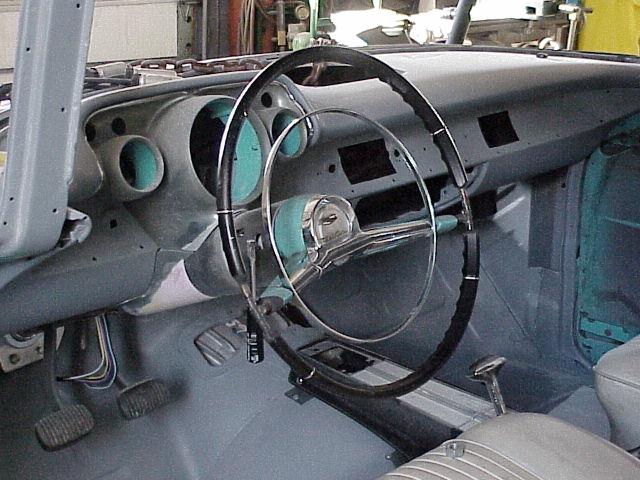
| Tilt Steering Column |
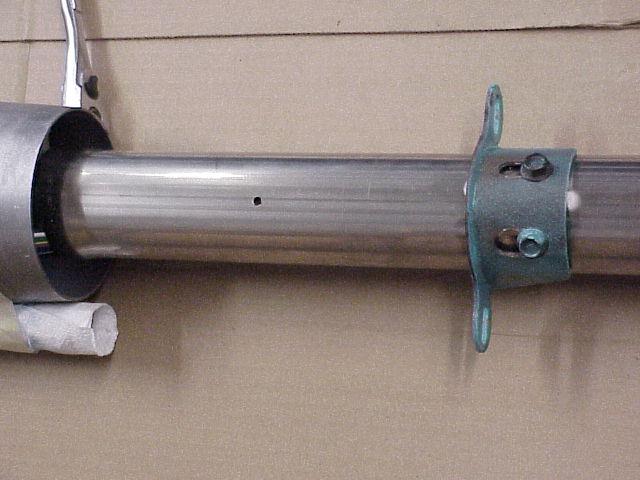
| September 17, 2003 - Using aftermarket tilt steering columns such as the Flaming River column that I am using, push the steering wheel mounting position more than one inch back towards the driver seat. That is not acceptable to me, since I feel that the wheel is too close to the driver even in its stock position. To solve this problem, Steve modified the mounting bracket to position the column two inches forward. By doing so, the instrument cluster housing and the lower cover had to be trimmed a lot to allow enough room for the tilt column's body to fit. I think the end result will be very clean once everything is painted and assembled. |
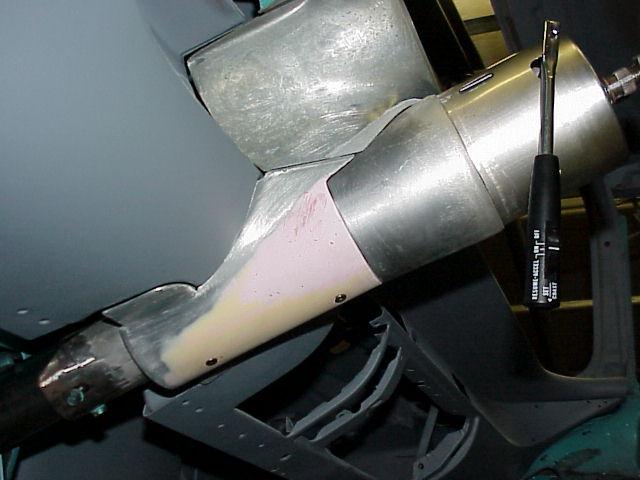 |
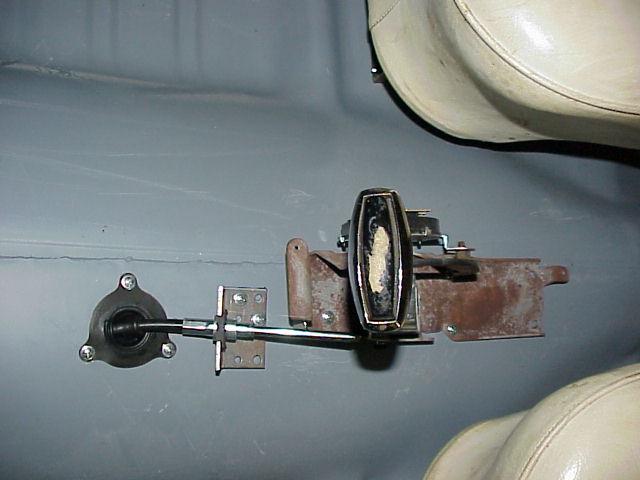
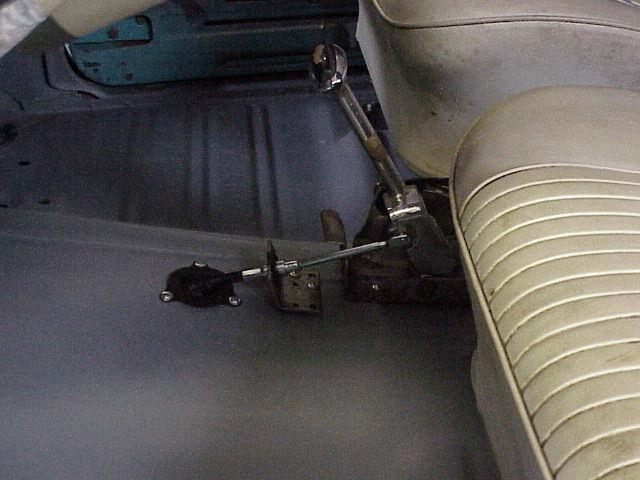
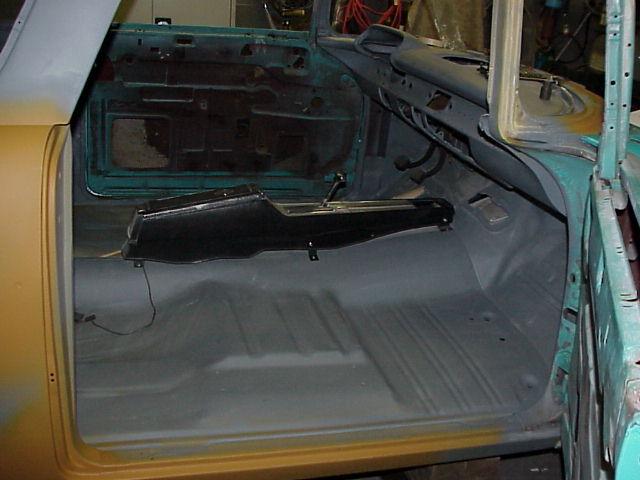
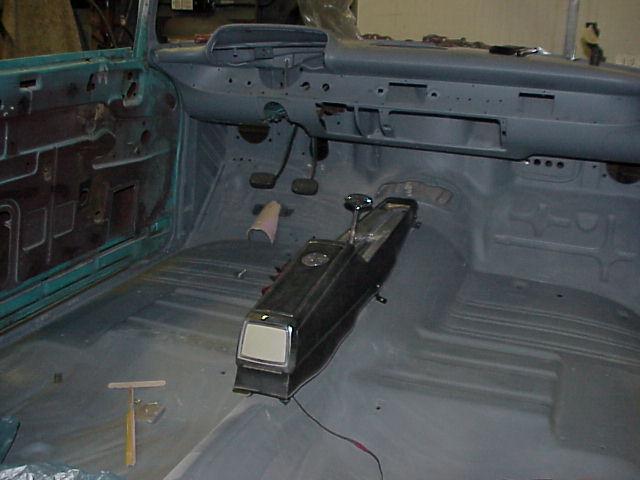
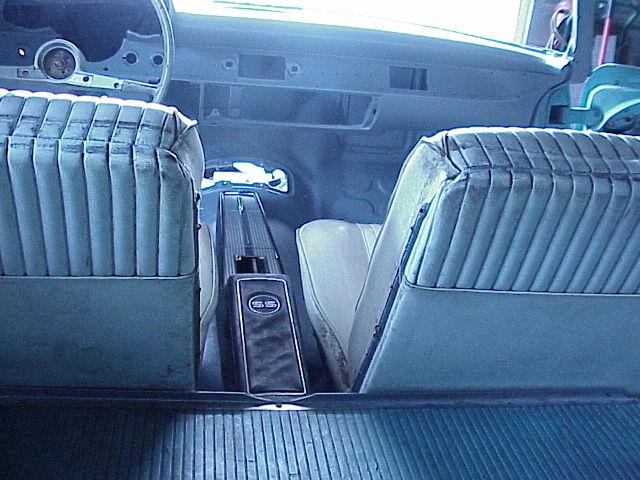
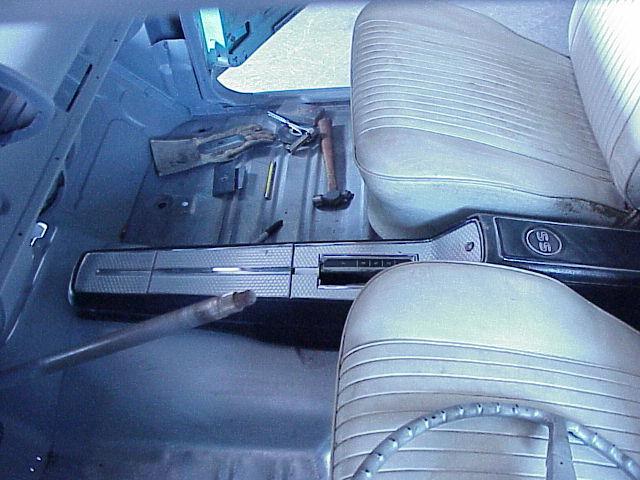
| 1964 Impala SS Shifter & Console |
| September 17, 2003 - The '64 Impala SS floor shifter was modified from a linkage-type two speed automatic shifter to a cable-type four speed shifter by using a kit from Shiftworks. The console is now mounted to the hump using original type brackets purchased from Classics Industries. |
 |
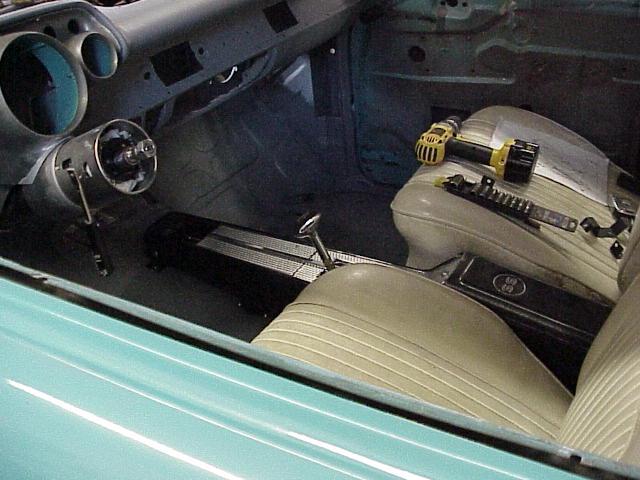
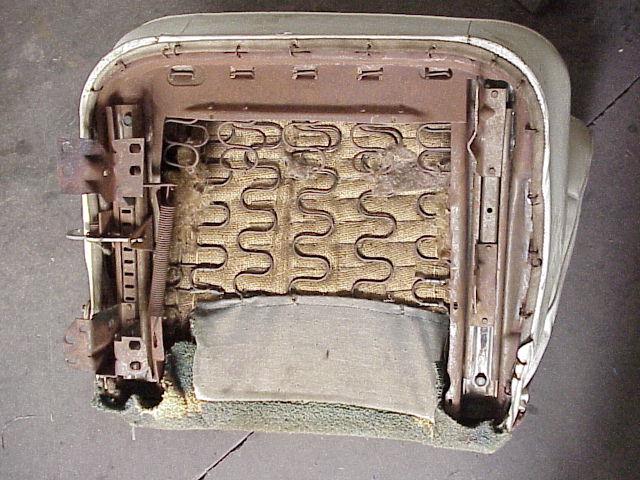
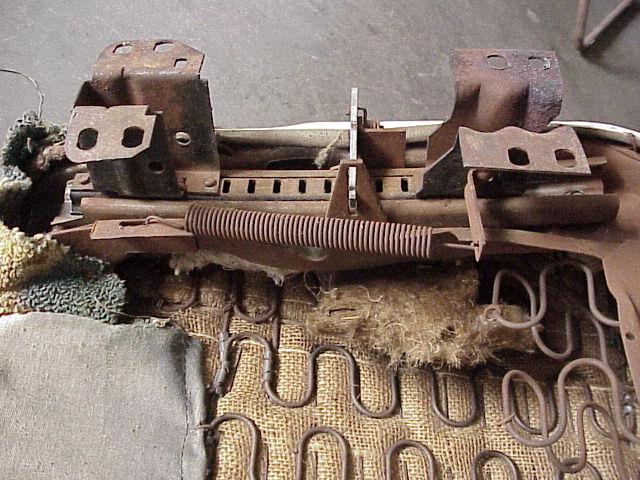
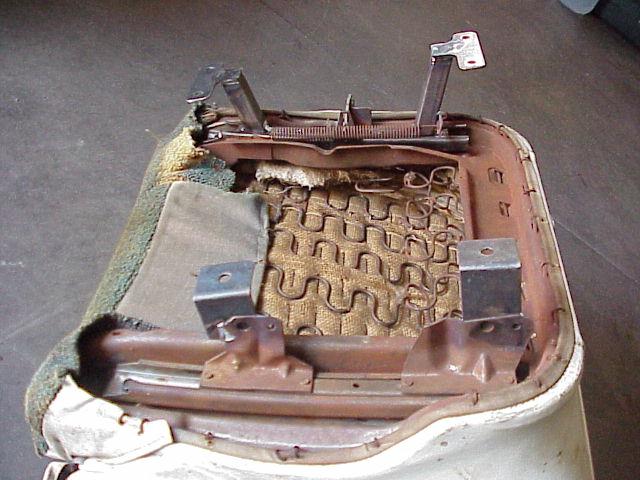
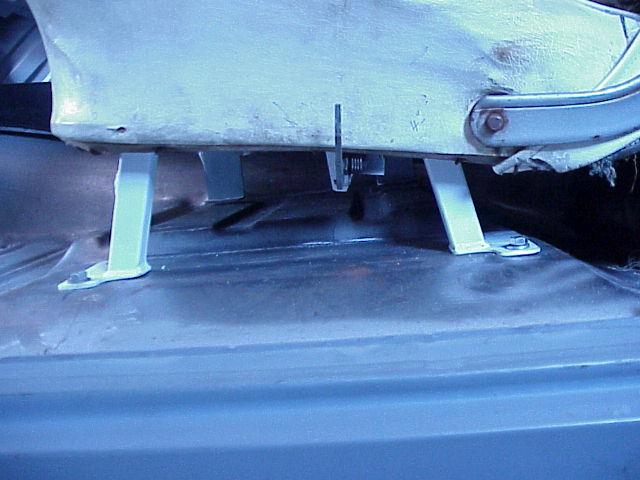
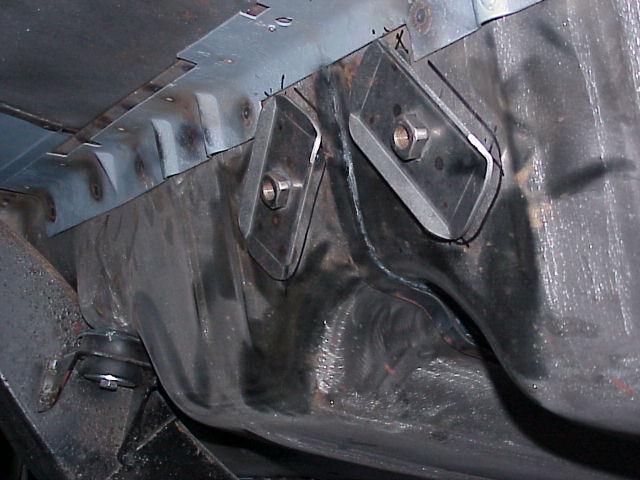
| Front Seats Modified |
| July 15, 2003 - Steve made extensive modifications to the '64 Impala SS bucket seat tracks to make them fit the original mounting points for the '57 bench seat. Two new anchors are welded to the floor on the inboard side for each seat. |
 |
 |
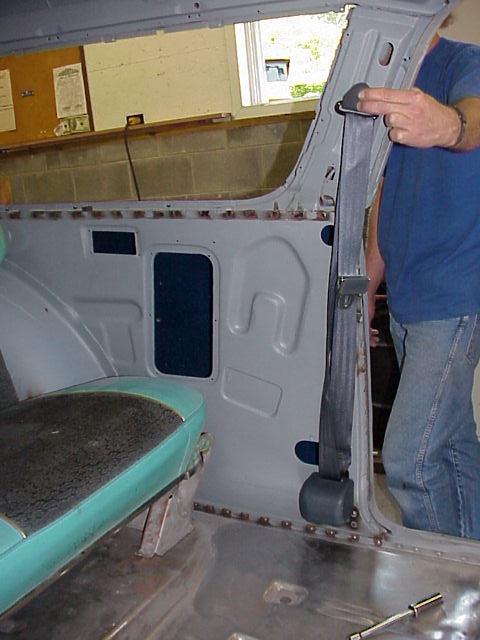
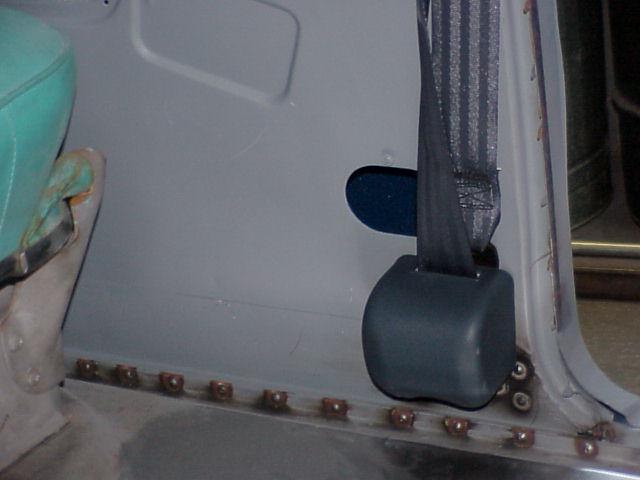
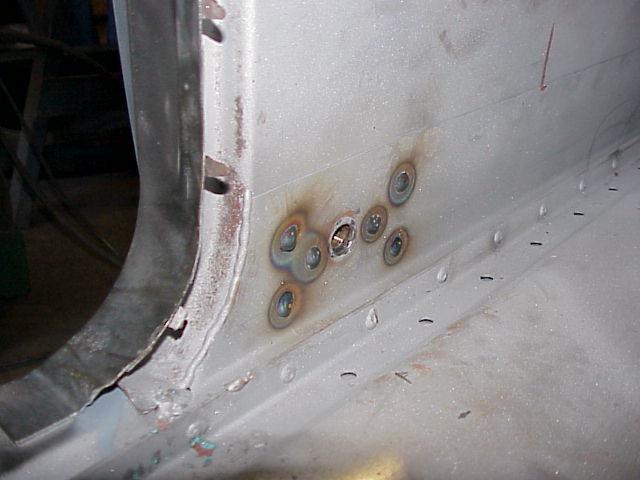
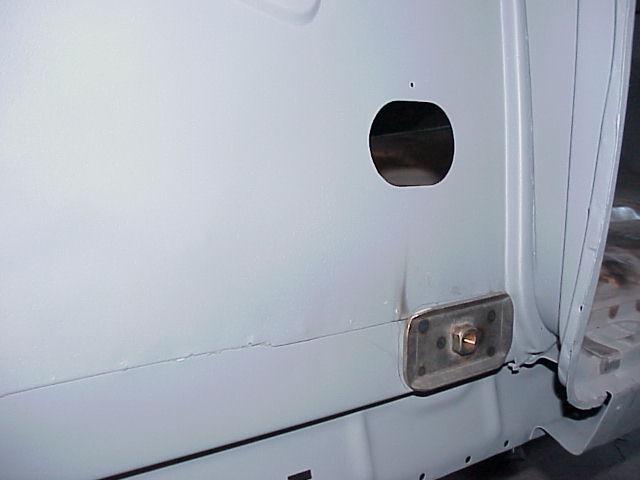
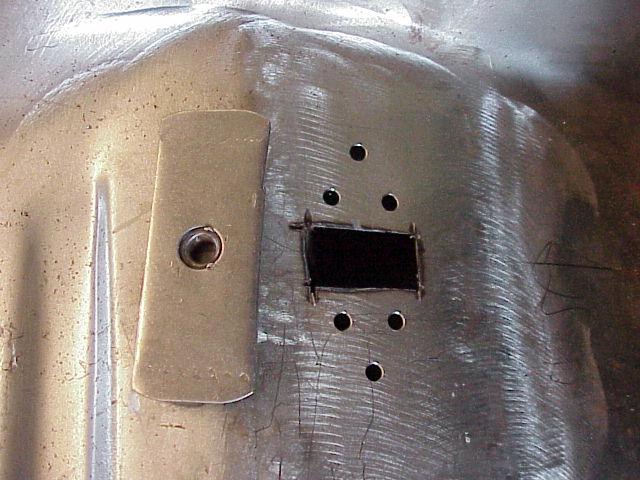
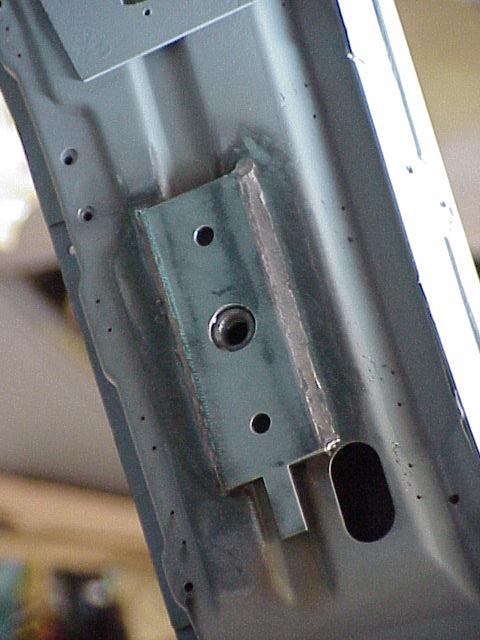
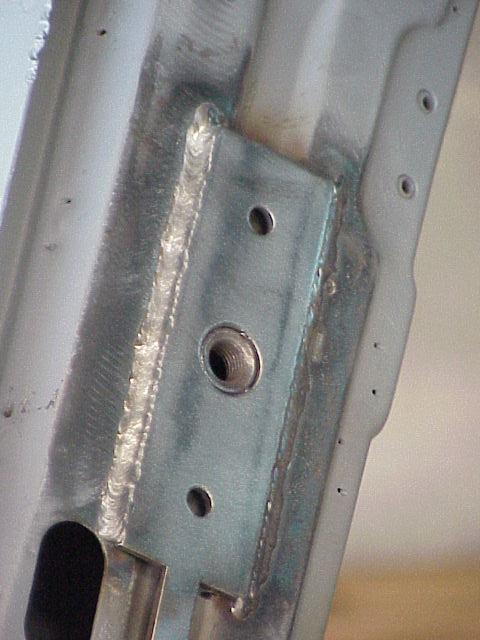
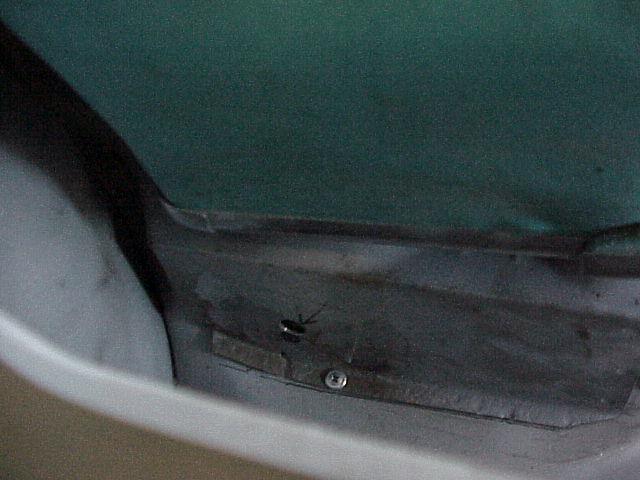
| Seatbelt Anchors Installed |
| June 29, 2003 - Front seat belts are 3-point retractables. Reels will be mounted to the inner quarter panels just behind the door openings. Top mount is welded to the B pillar. All of the seatbelts and hardware were sourced from Juliano's Hot Rod Parts. |
 |
 |
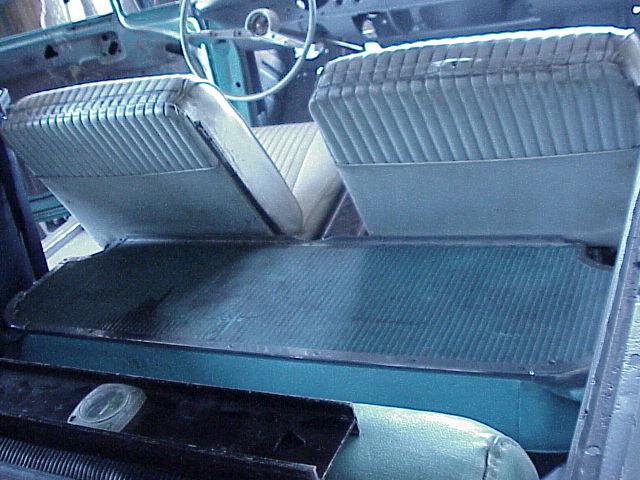
| The rear seat reels will be mounted to the seat bottom brackets. The latch-side belts will be anchored to the floor panel behind the seats. |
 |
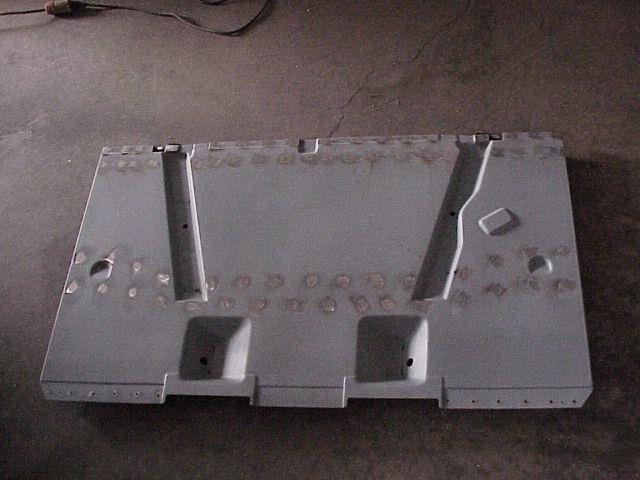
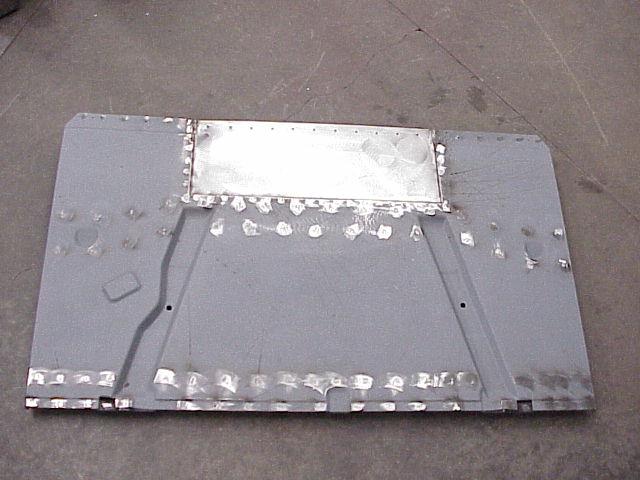
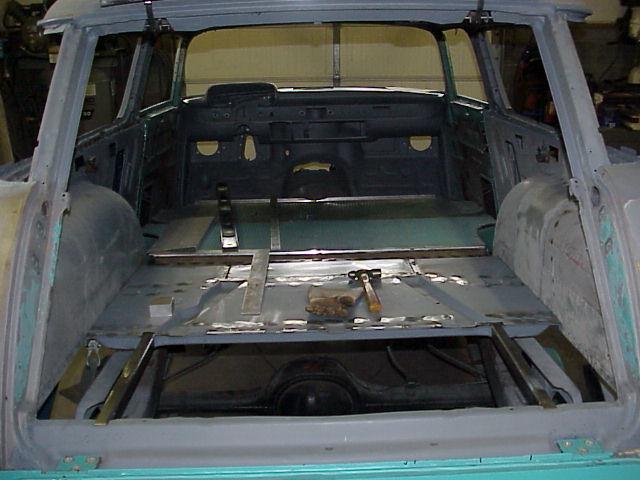
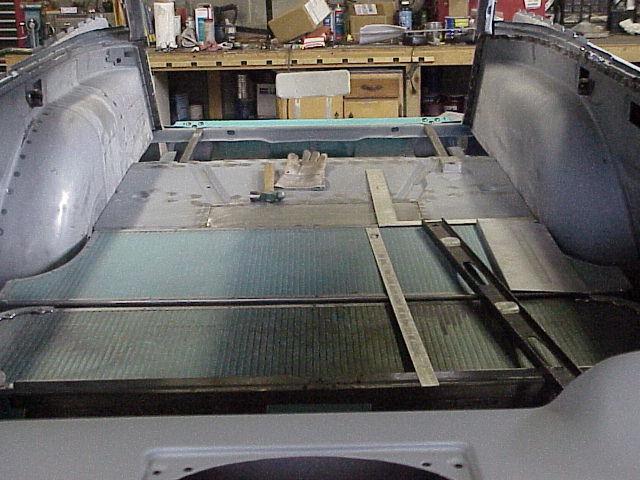
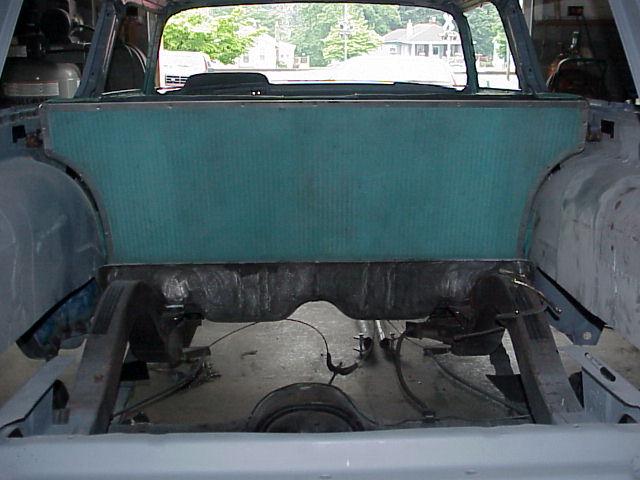
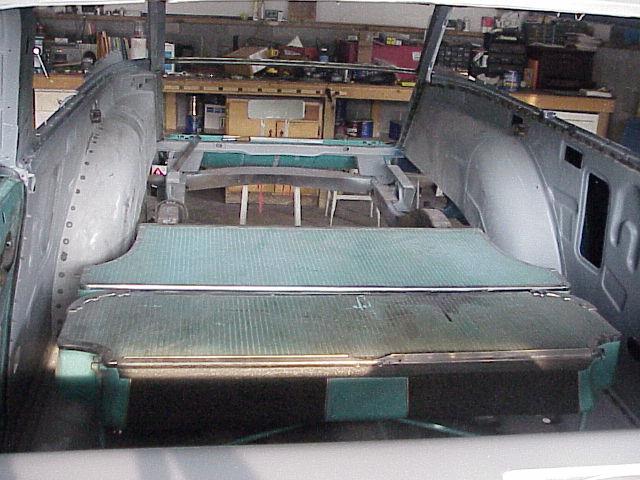
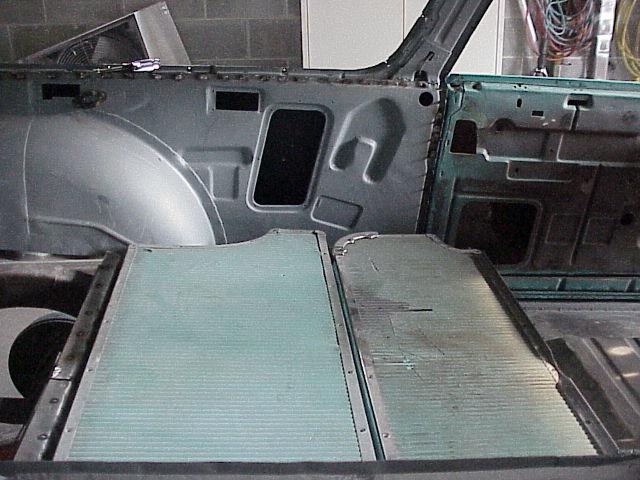
| Cargo Deck Sheet Metal Installed |
| June 21, 2003 - Steve attached the braces and eliminated the shock absorber mounts from the cargo deck sheet metal before welding it into place. |
 |
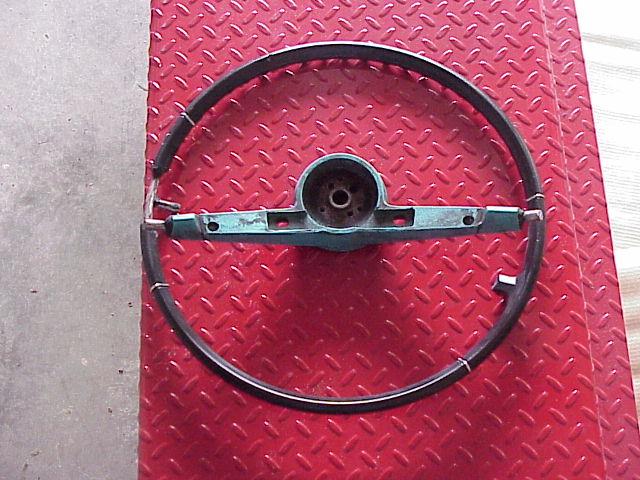
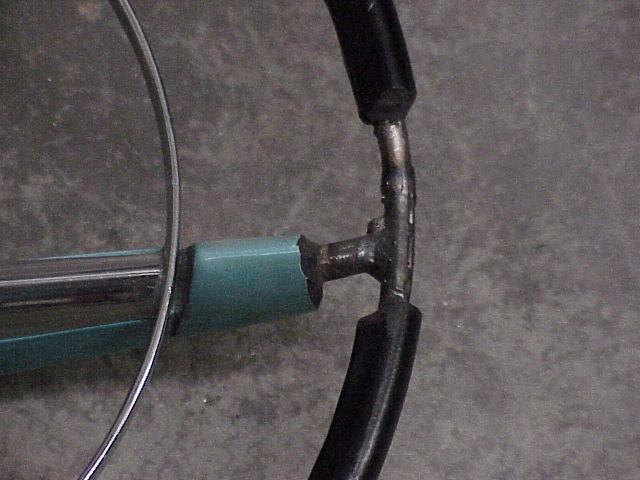
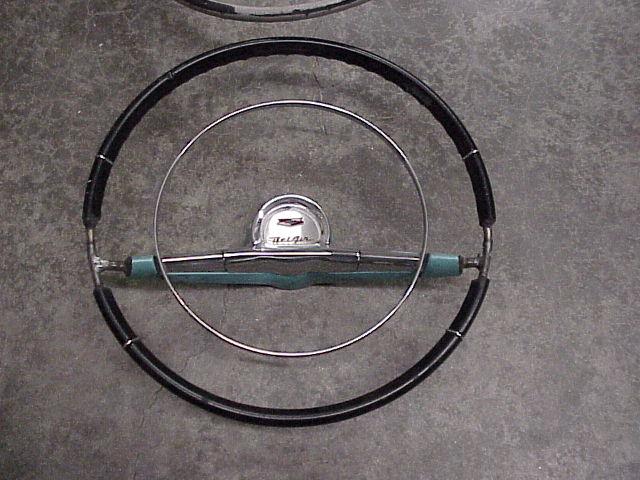
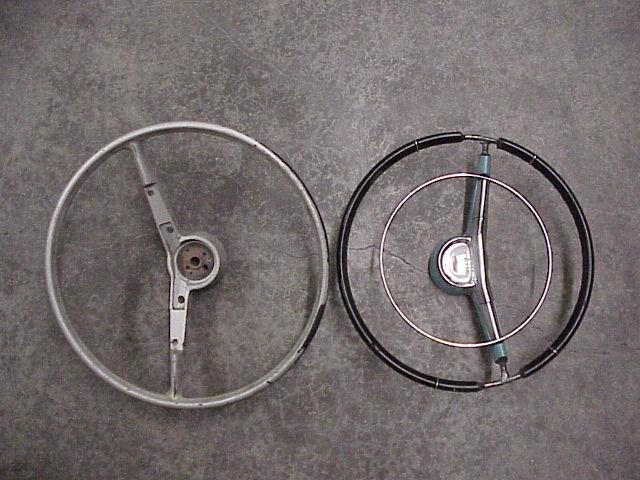
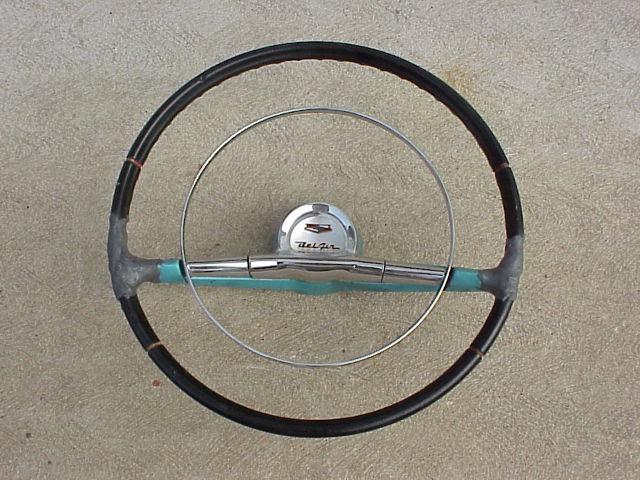
| Steering Wheel |
| The steering box will be replaced by a power rack from a late model Corvette, so the need for a large 18" steering wheel is eliminated. I would like to keep the original look if possible. Based on a tip from ChevyTalk, I bought a steering wheel from a mid 60's Impala that is a bit smaller. The Impala wheel is approximately 16" diameter. I cut the centers out of both wheels, and will weld the center from the '57 onto the rim of the Impala wheel. |

 |
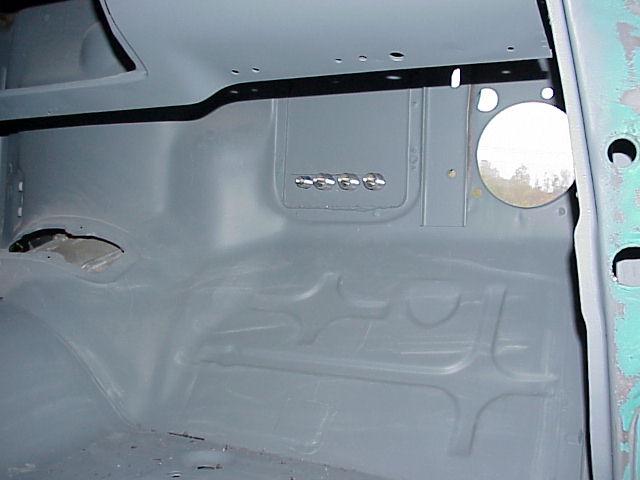
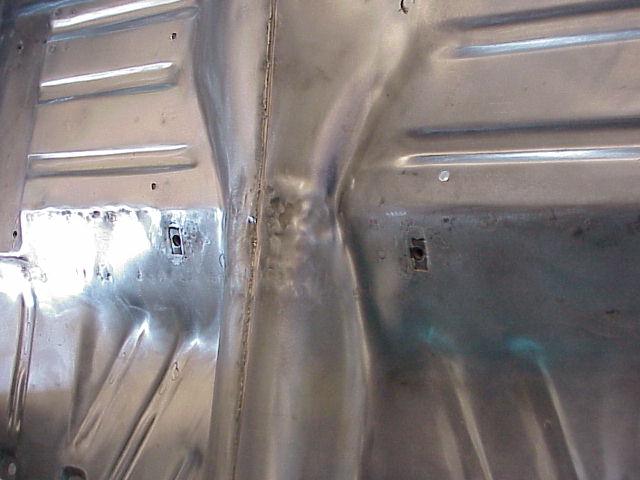
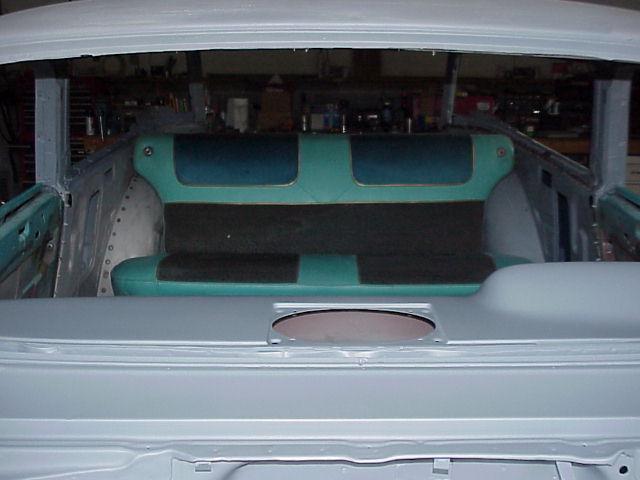
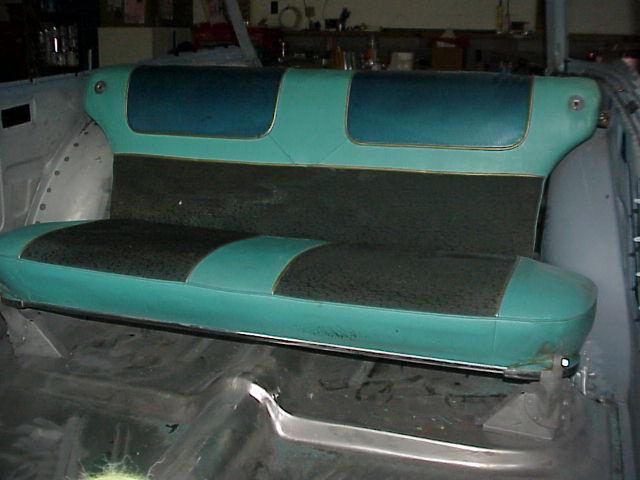
| Rear Seat Mounting Points |
| June 16, 2003 - With the floor and inner fender wells having been replaced, the mounting points for the rear seat had to be reestablished. Steve used a combination of measurements taken before disassembly, measurements and pictures from Dick Burrows' Nomad, and old fashioned trial and error to get them in place and folding correctly. |
 |
|
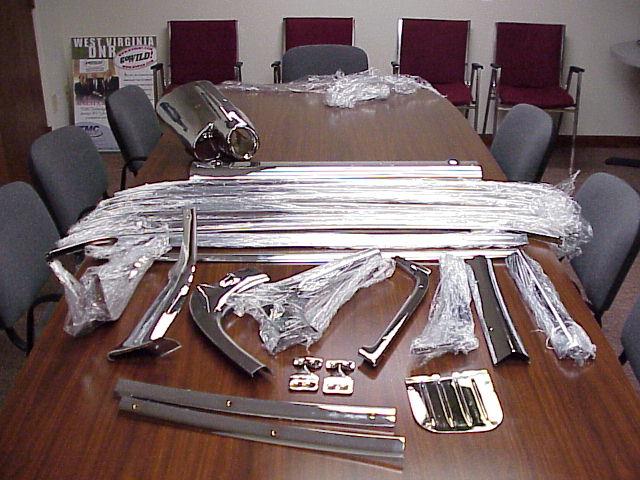
Interior Chrome Parts |
|
May 21, 2003 - I sent my headliner bows and virtually all of the other interior chrome parts out to Leonard's Chrome Plating in St. Albans, West Virginia. It was delivered back to me today, and I am very happy with their work. This should look good in combination with the planned dark blue interior colors. Based on my approval of the first batch, I sent several other parts off to be re-chromed, including the bucket seat trim and two more rear bumper ends. |
|
|
|
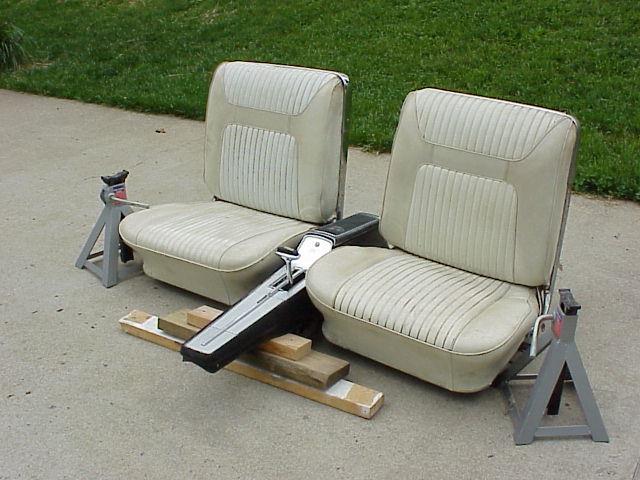
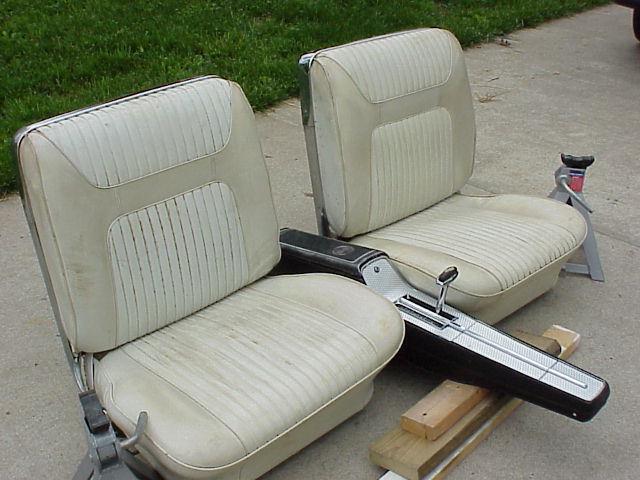
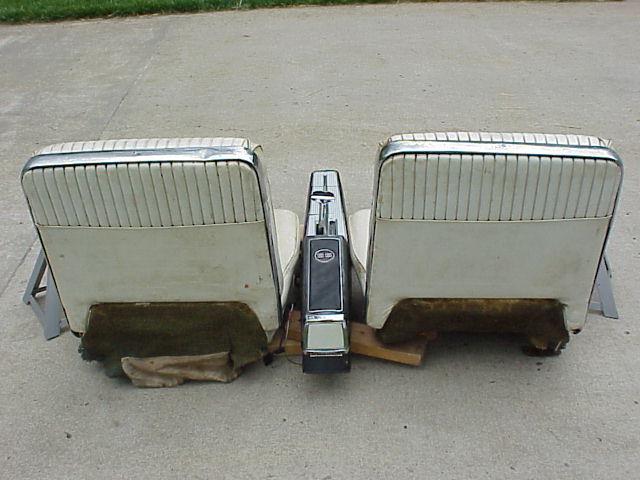
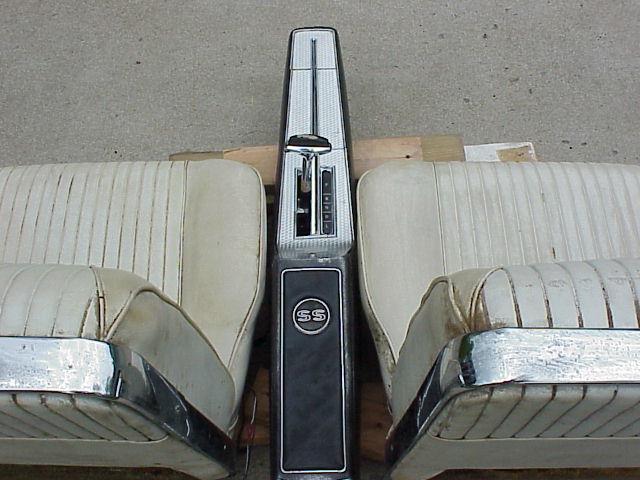
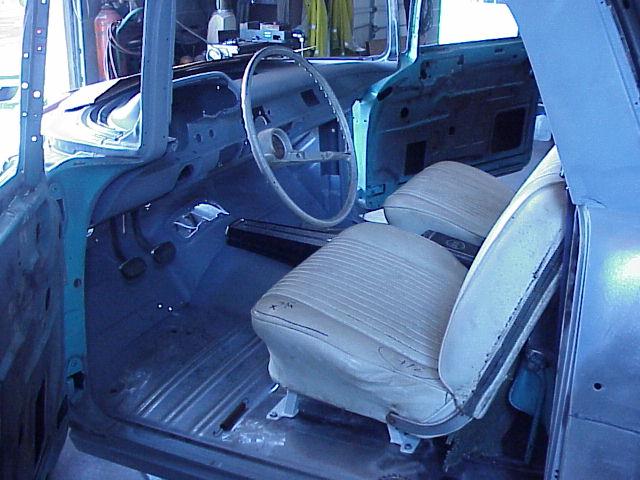
Front Seats & Console |
|
On May 3rd, 2003, I went to a large swap meet in Ohio to look for parts. After corresponding via email for a while, I met Dick Burrows there and traded him for a pair of front bucket seats. I had purchased the console and shifter on Ebay earlier this year. I will adapt the Powerglide-based shifter to operate the 4-speed 4L60E with a conversion kit from Shiftworks. |
|
|
|
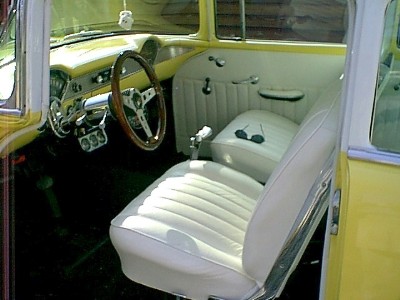
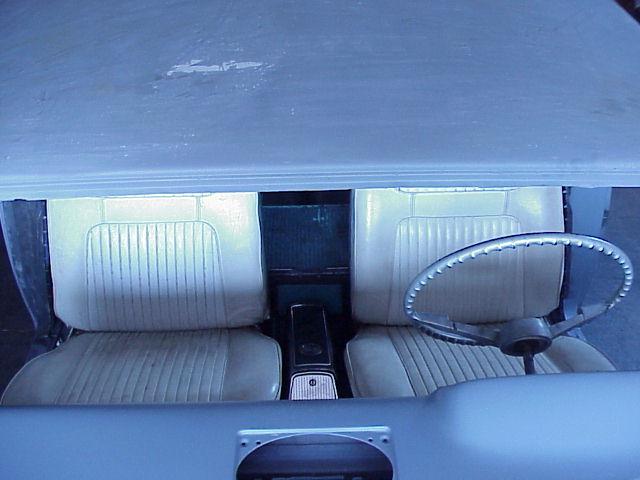
My inspiration for using this particular type of seats came from this picture: |
|
|