|
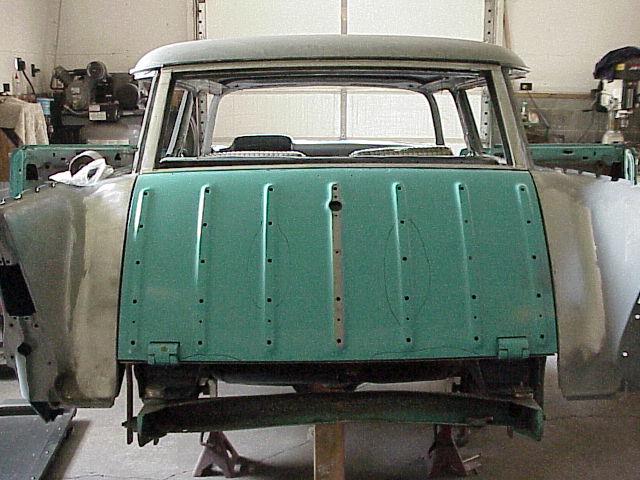
The body of this Nomad will be restored to its original form with few exceptions. |
|
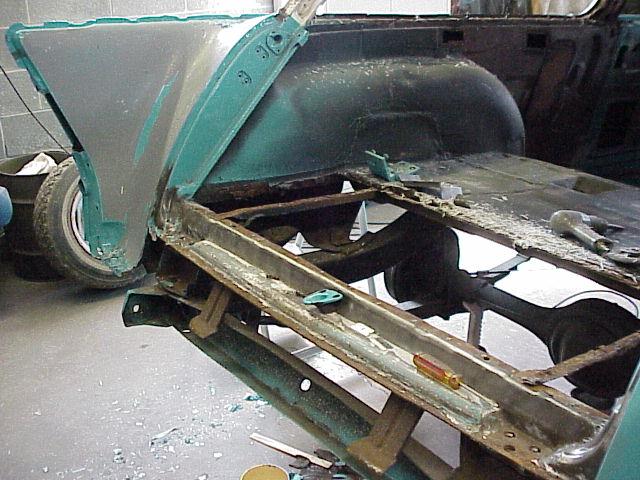
After stripping the car of everything that will come off the body (except the doors), the shell-on-frame went to Steve Hamilton. Steve will be in charge of the body work, including replacing the floor pans, rocker panels, and other major panel replacement necessary to put the body into "like new" condition. |
|
Body Progress |
|
Progress pictures and descriptions are posted in reverse order, with the most recent information at the top. |
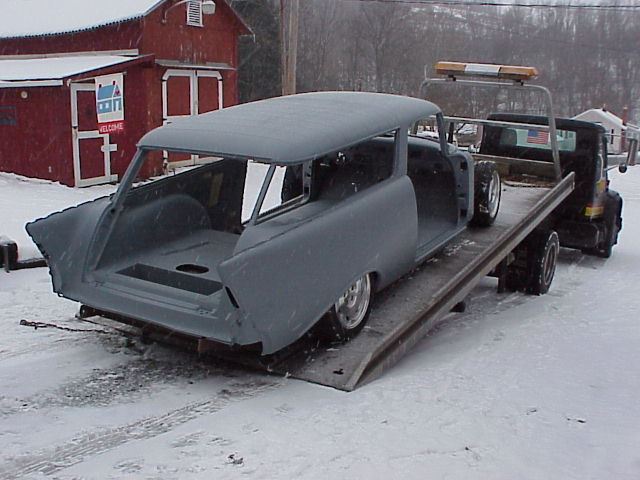
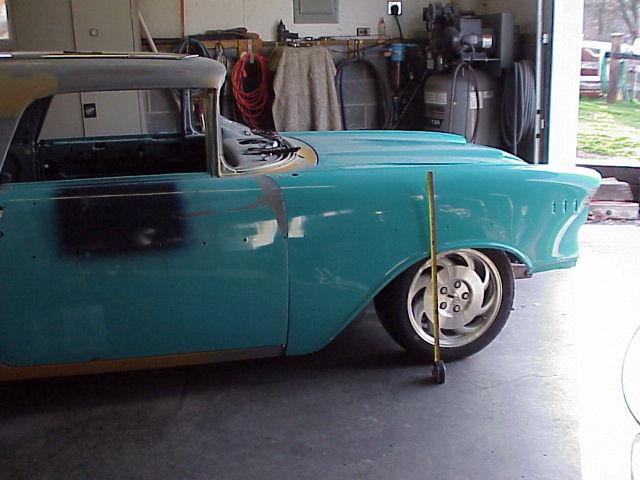
| First Test Drive |
|
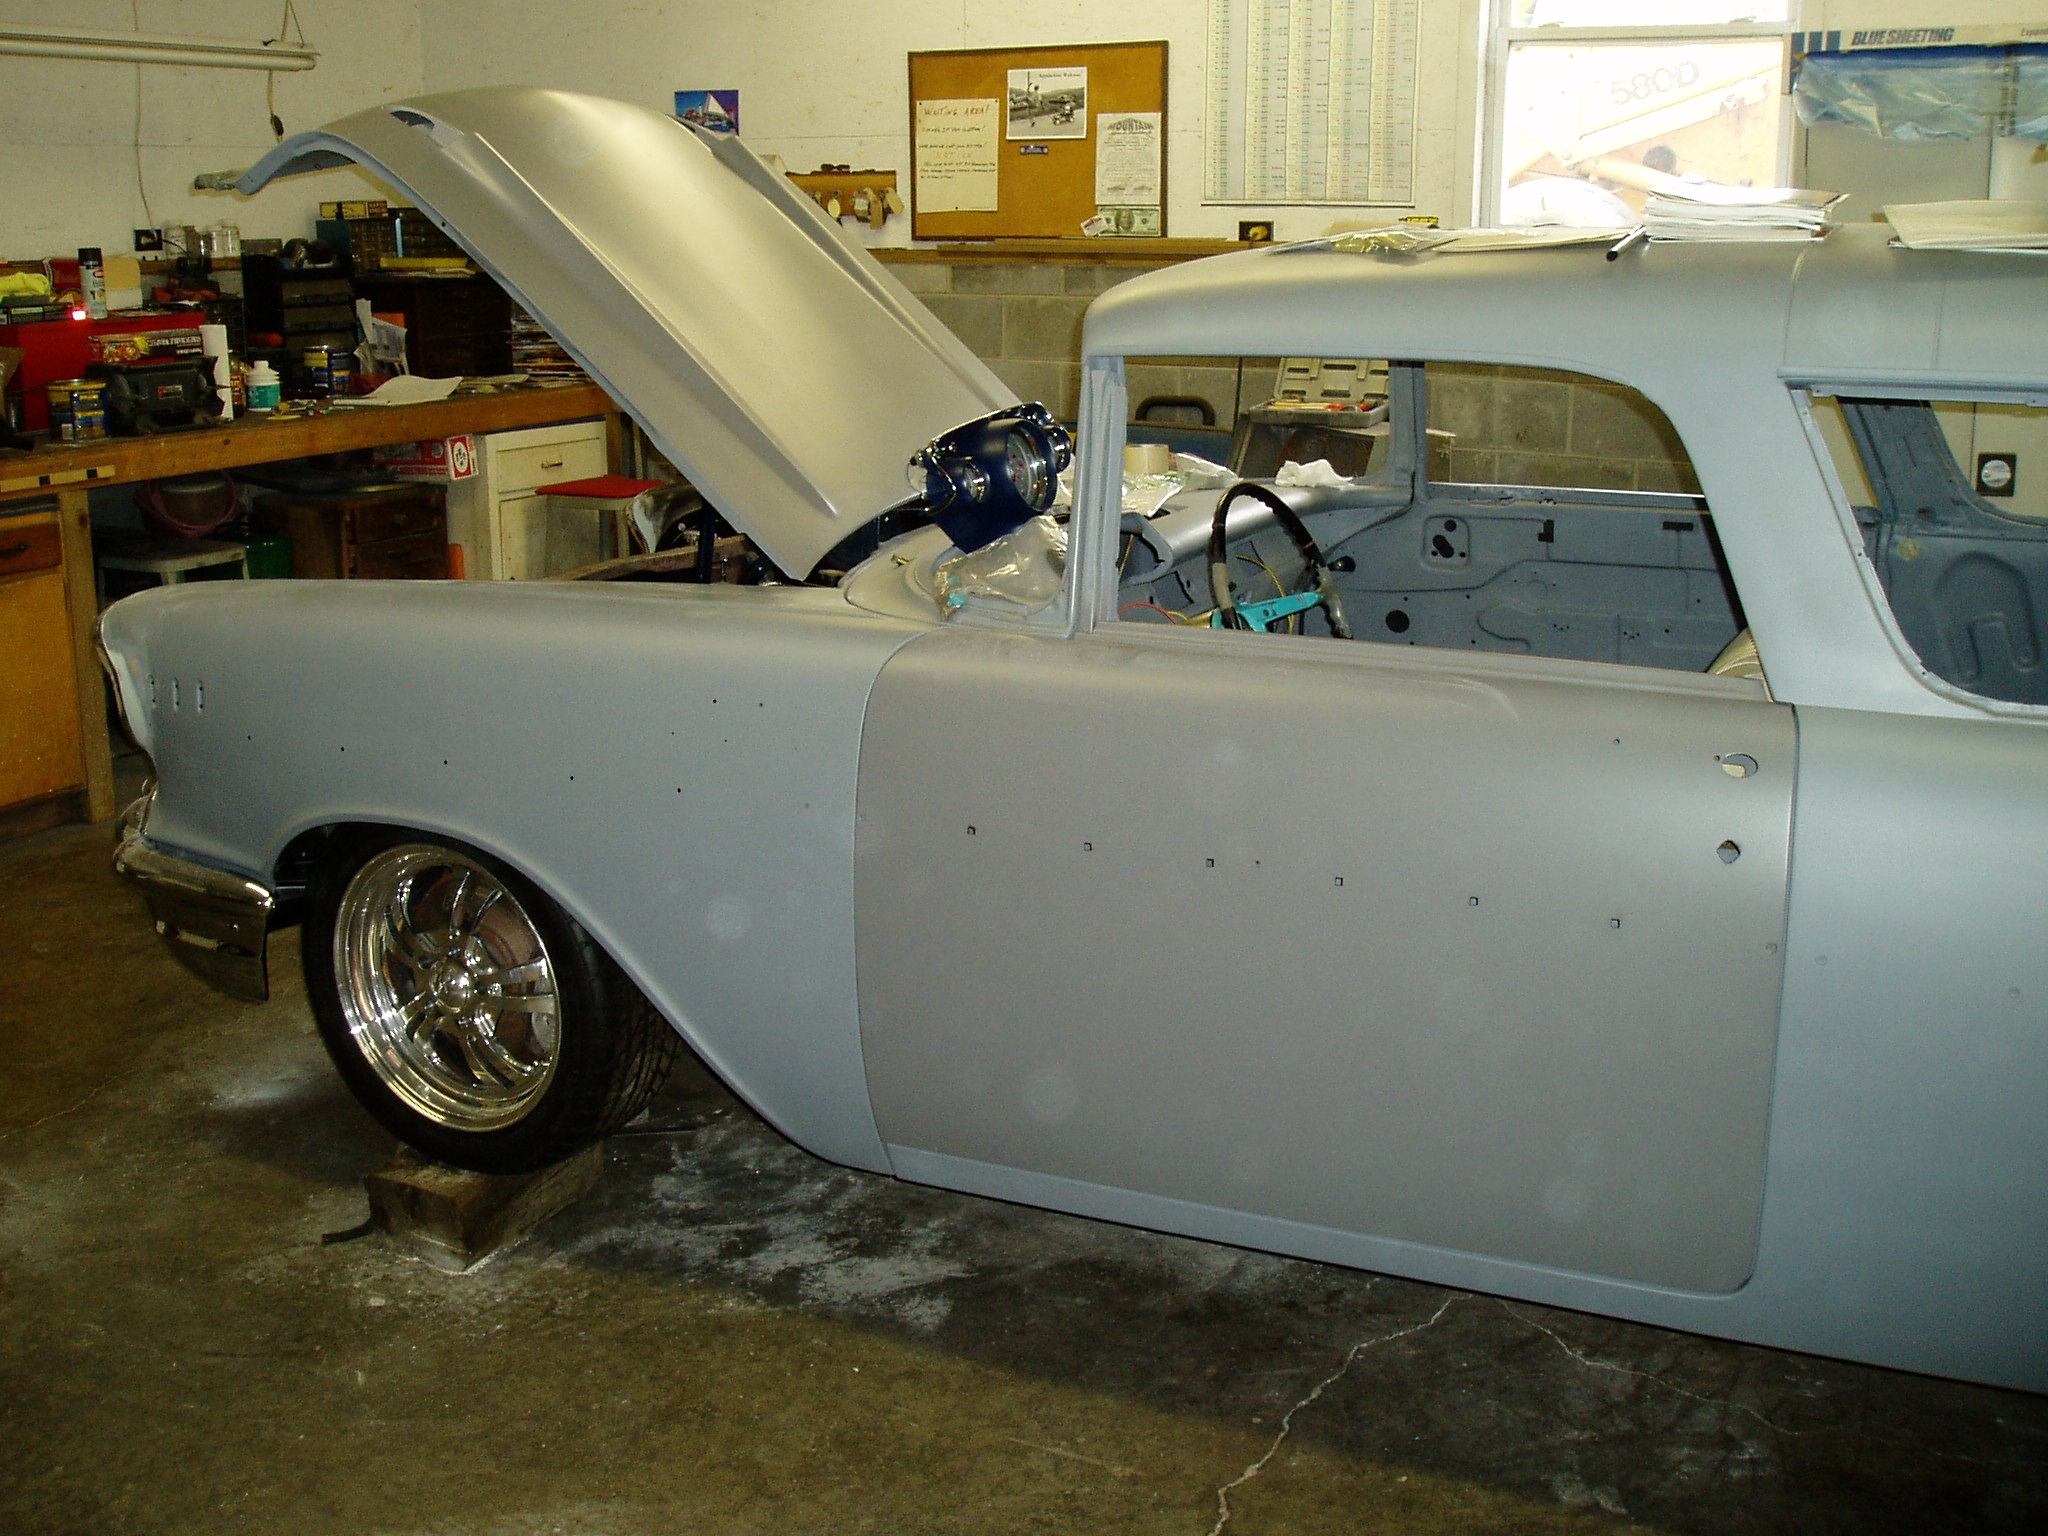
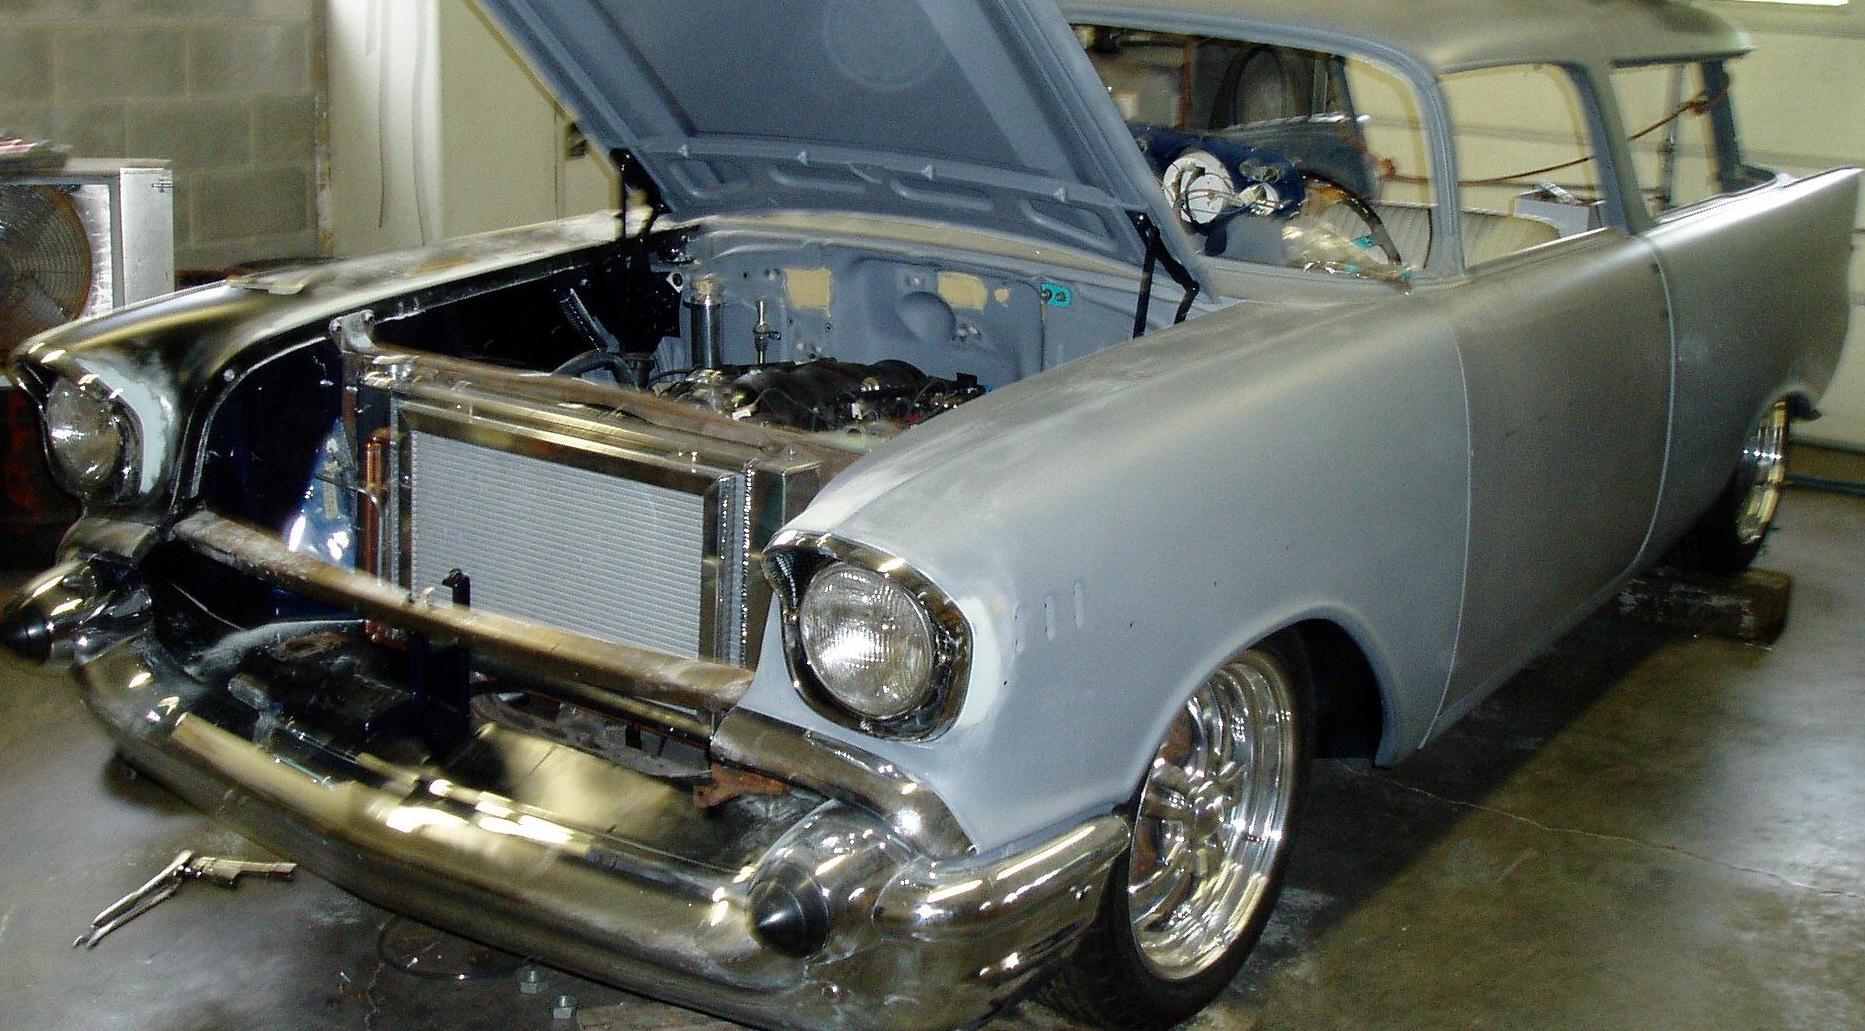
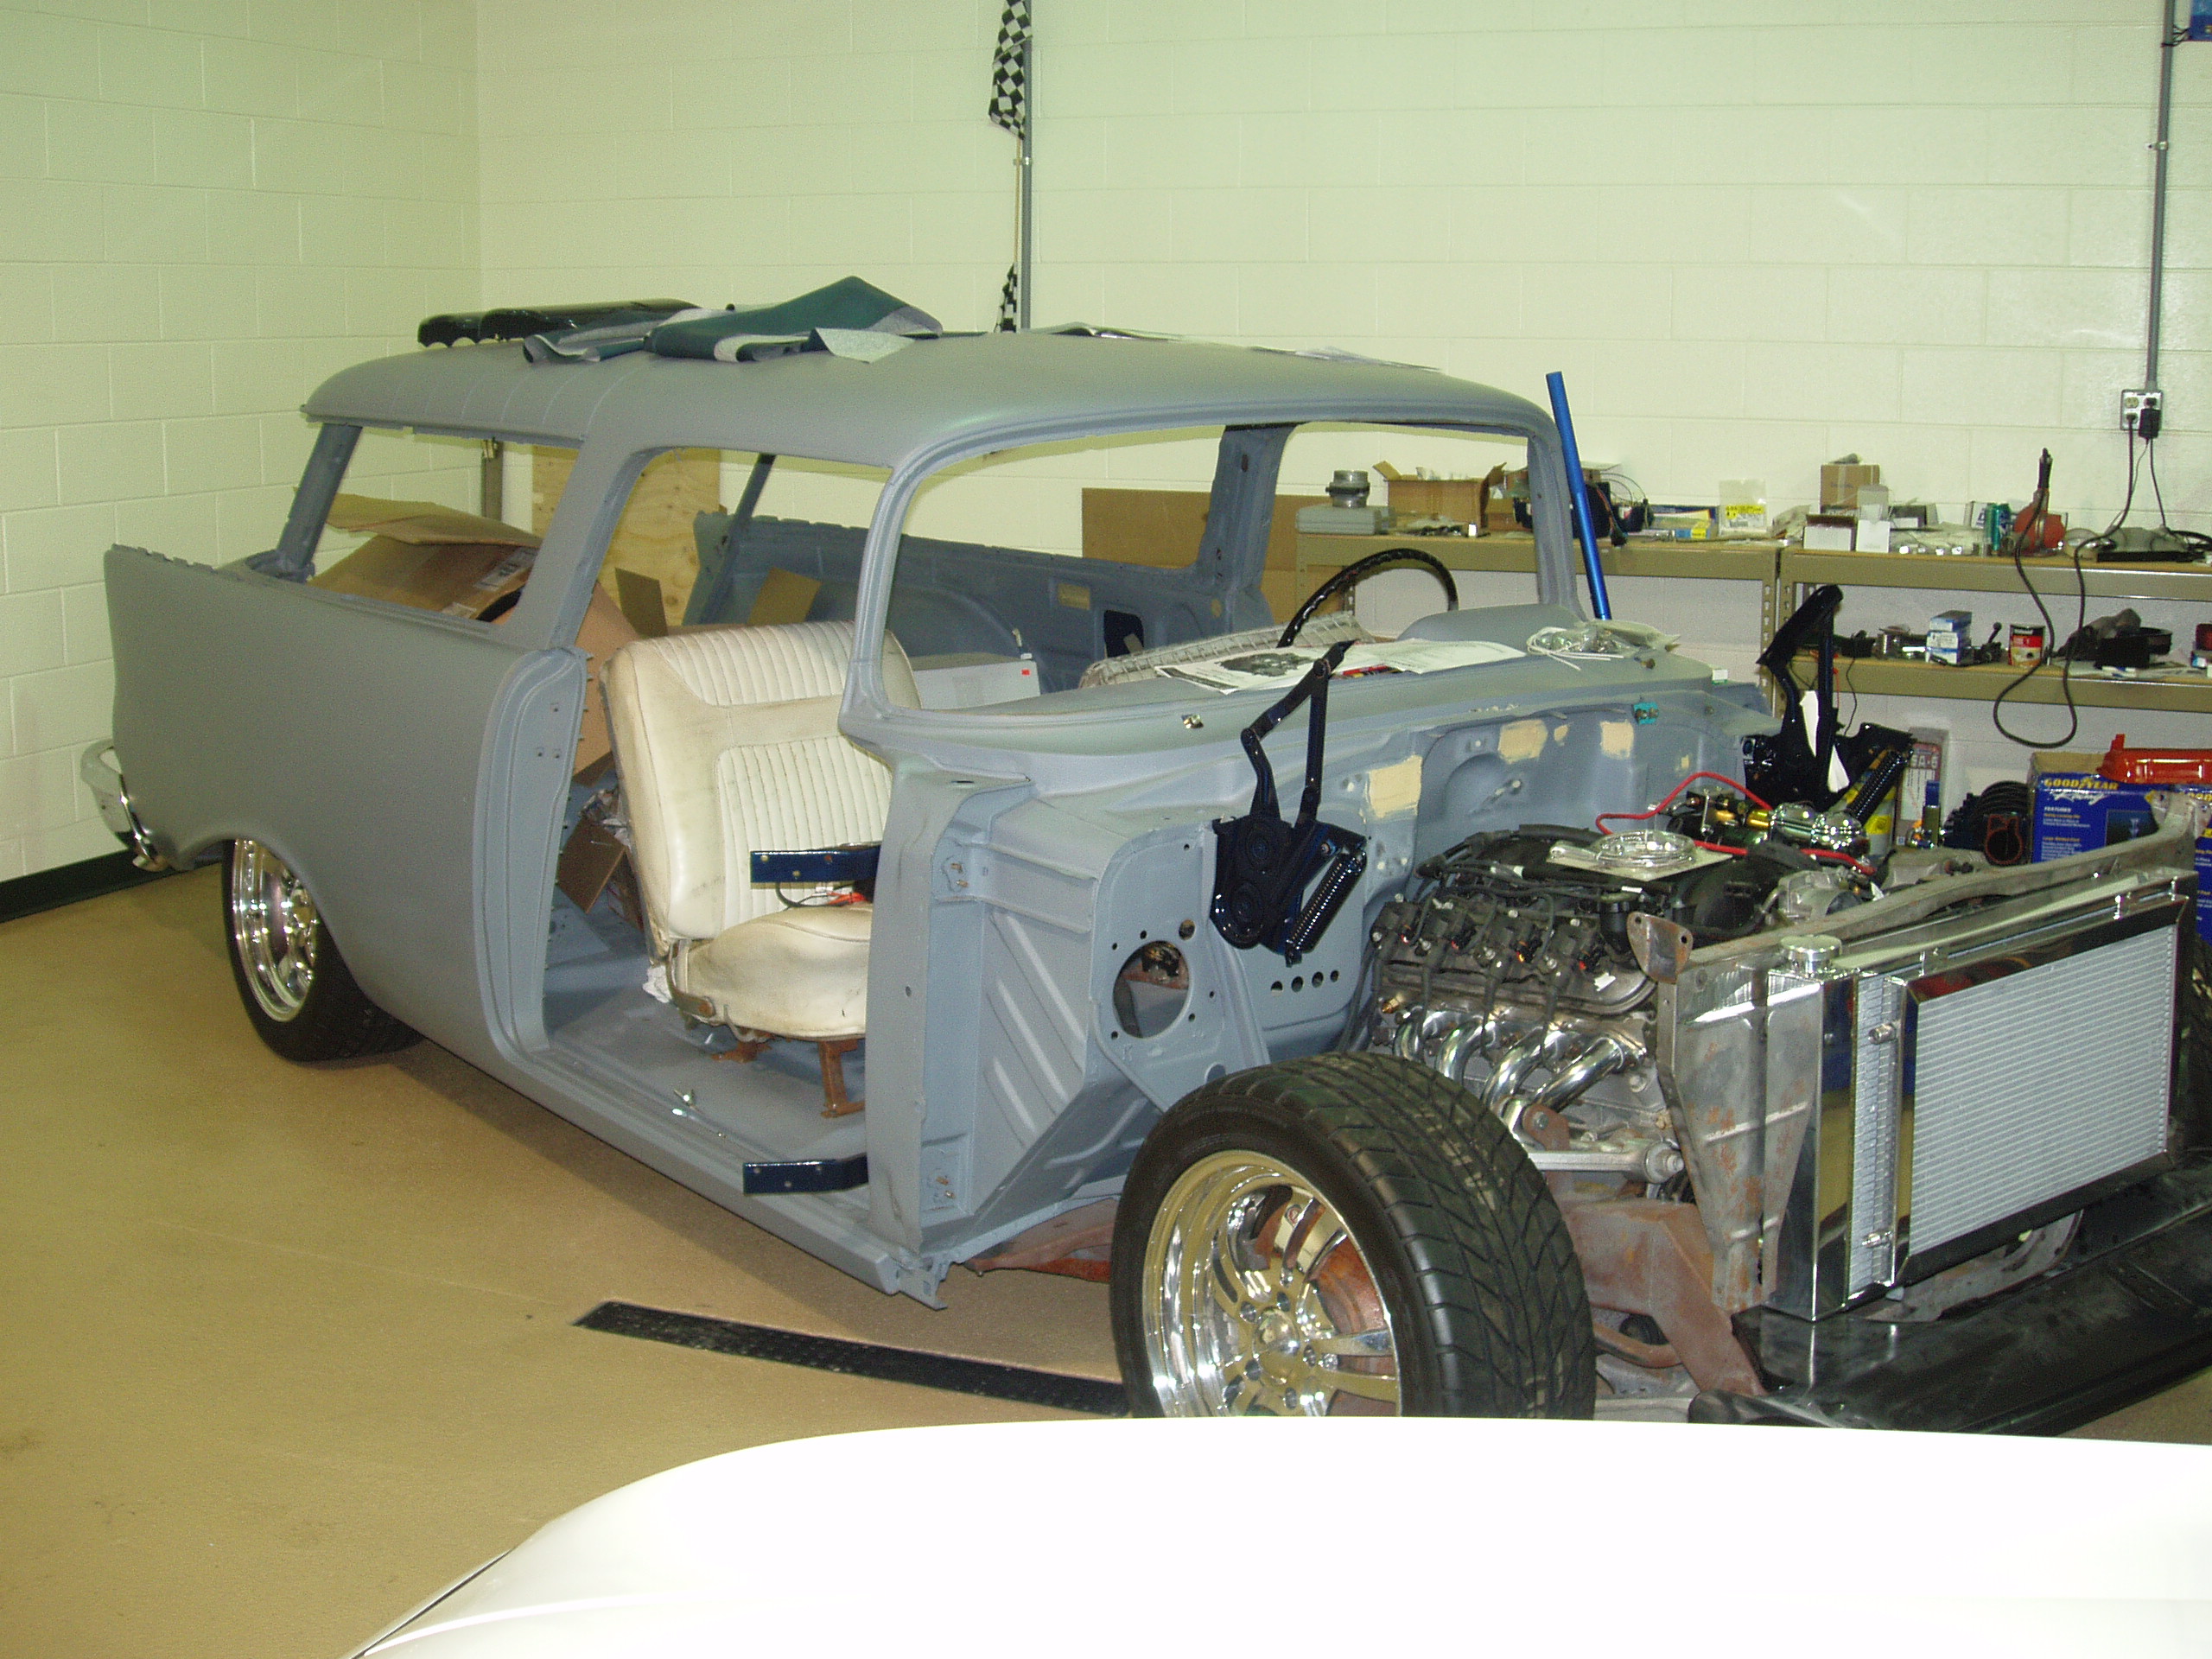
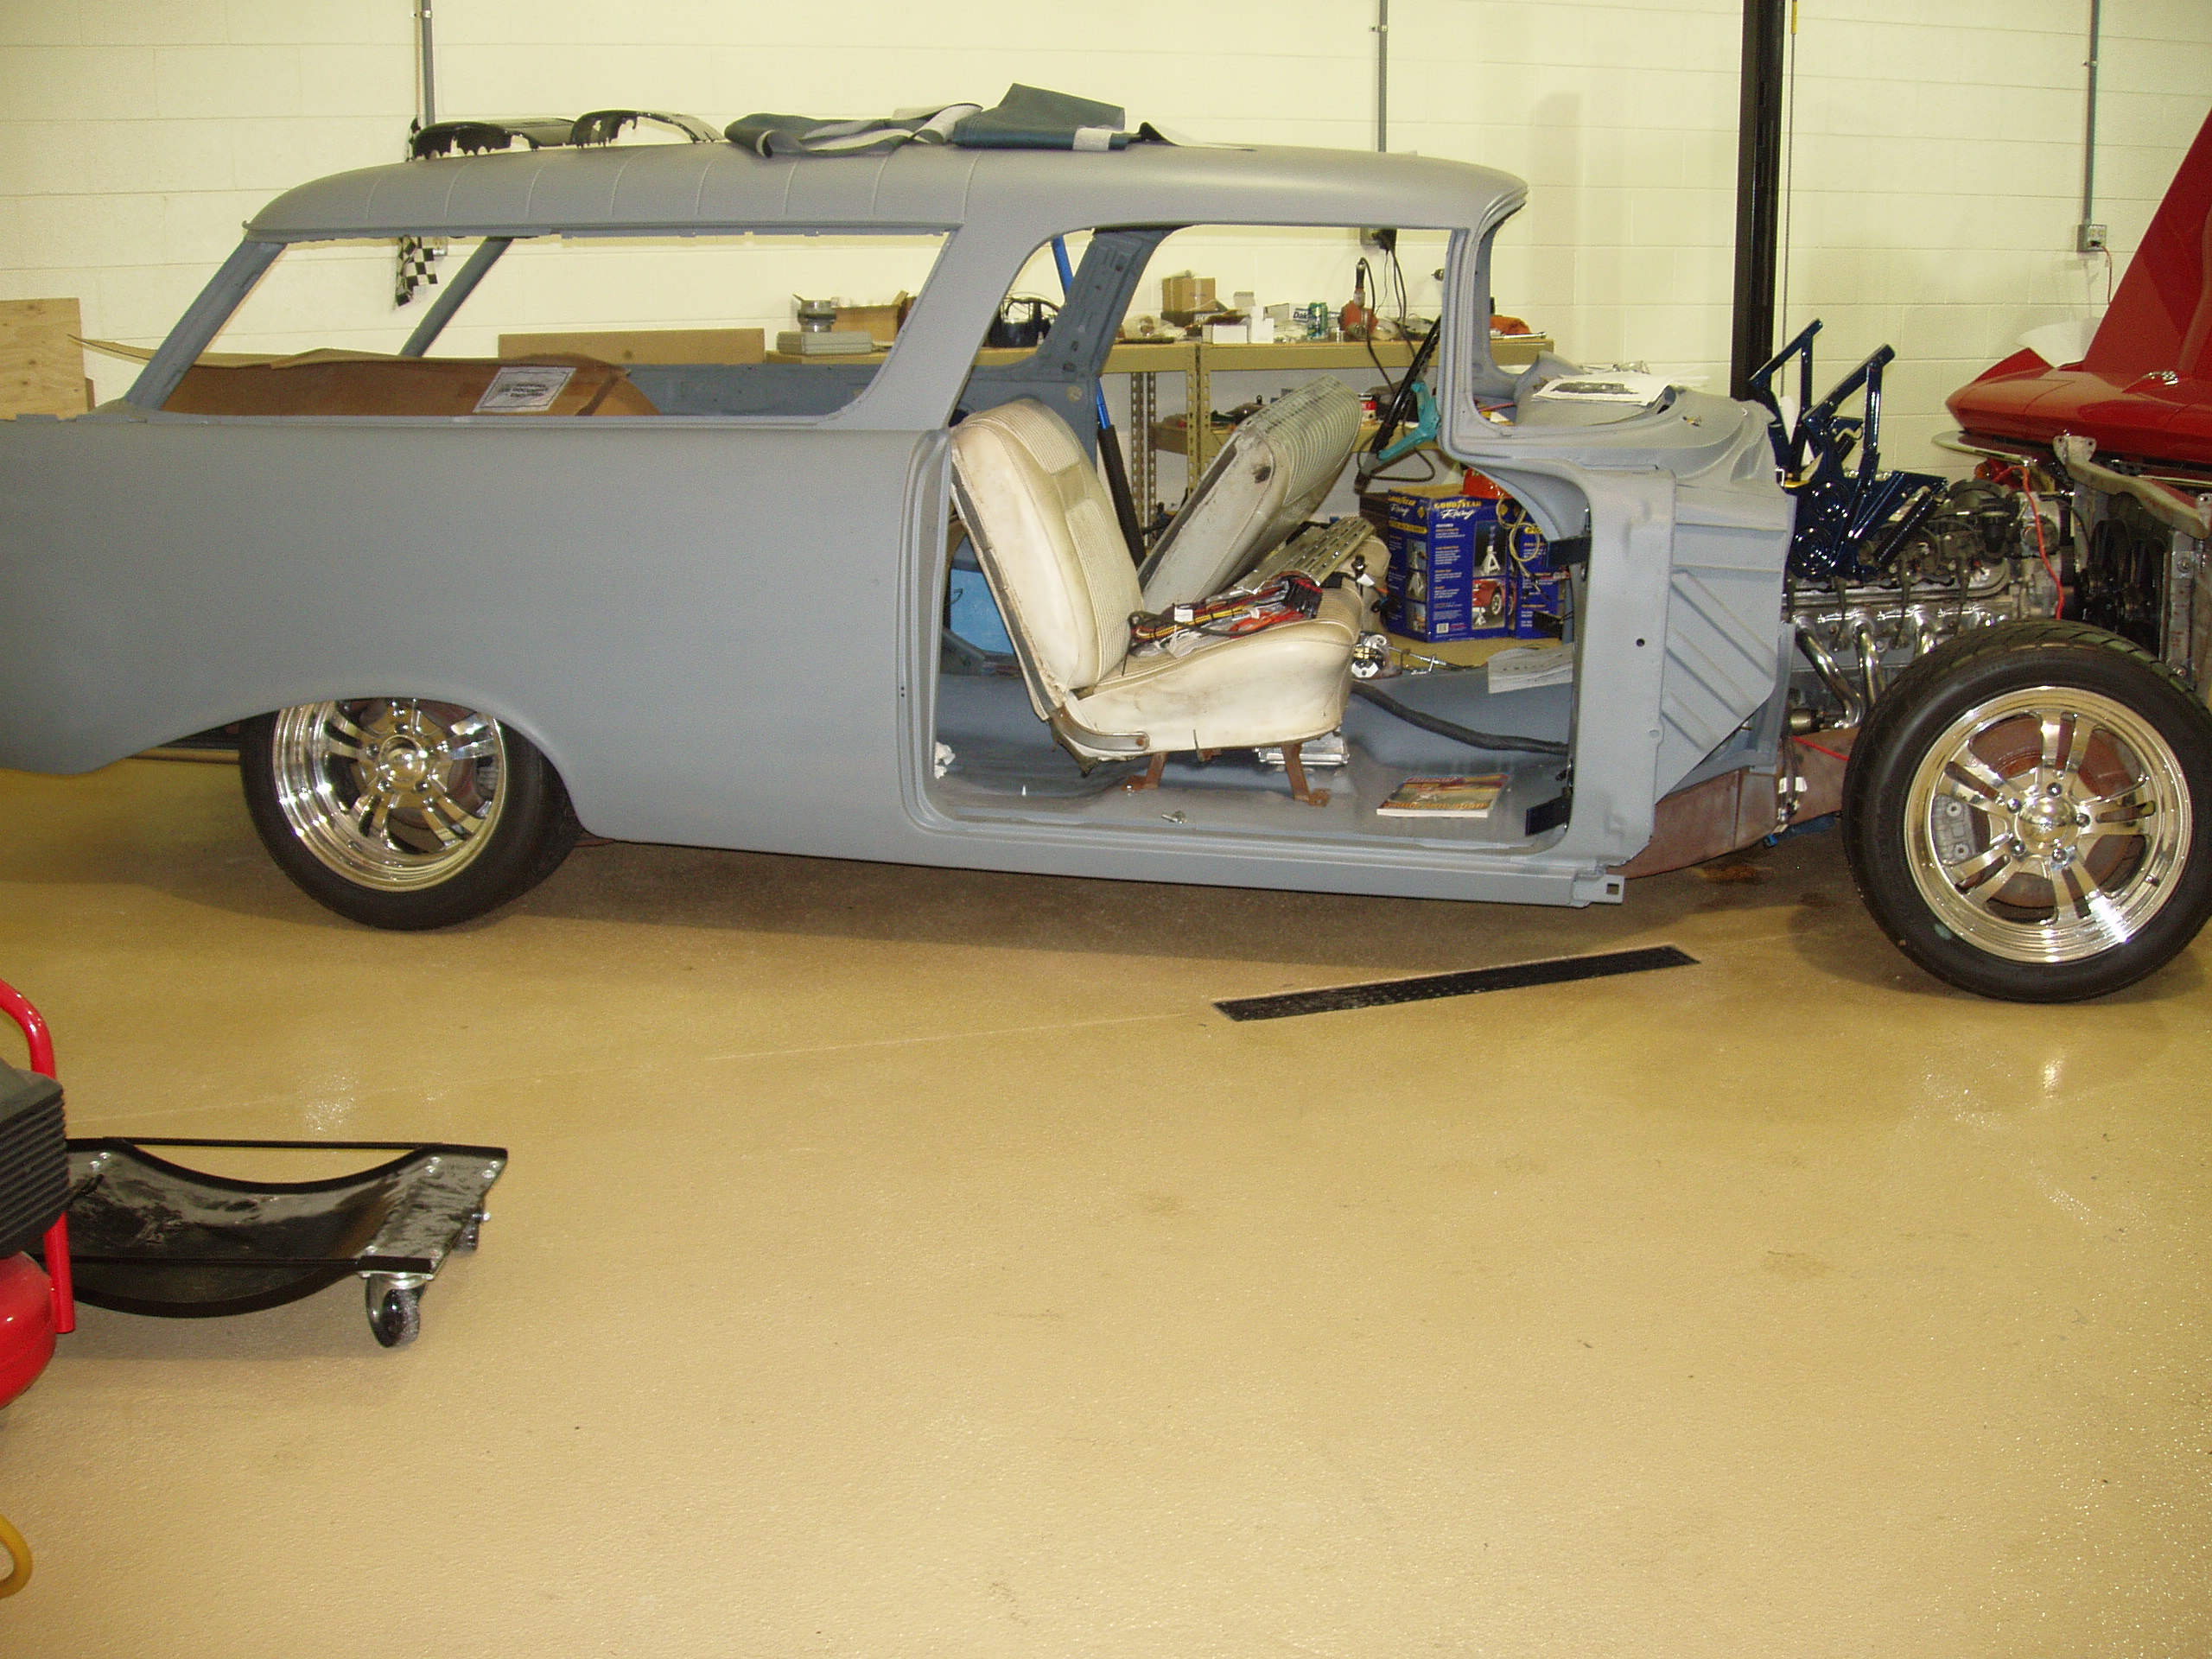
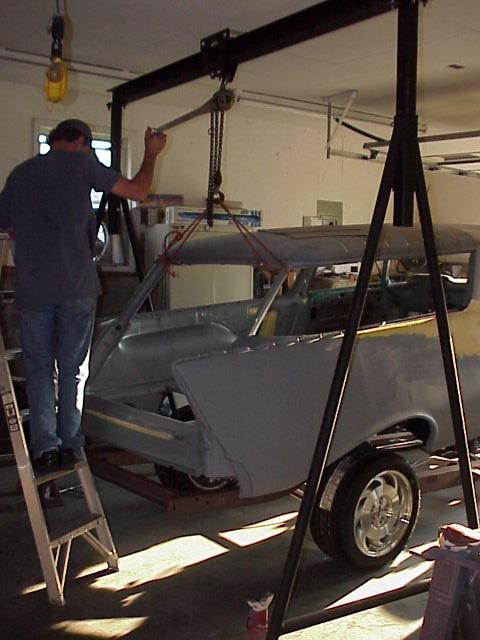
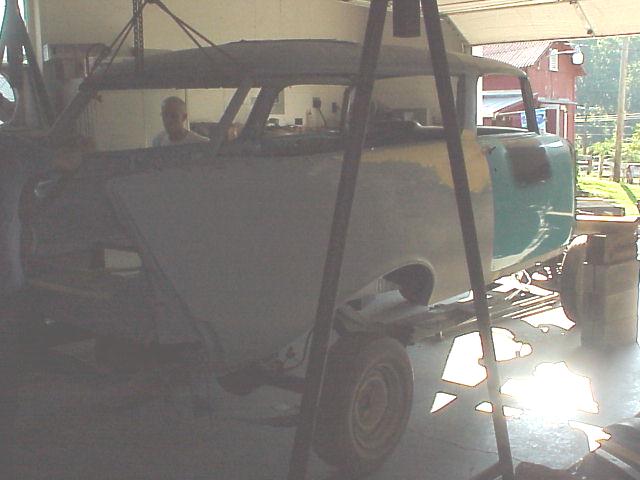
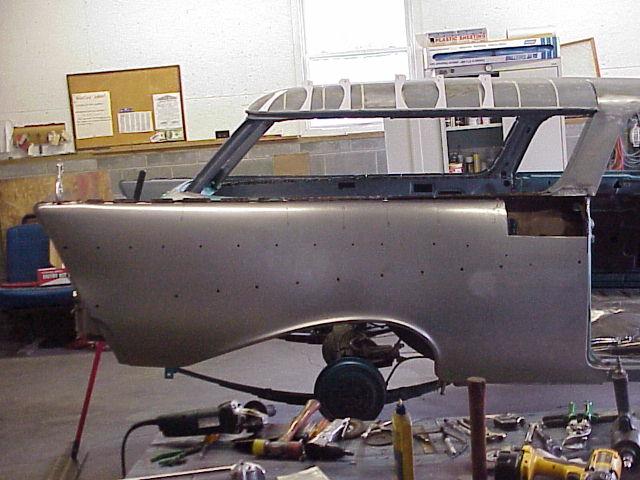
Summer, 2005 - Mockup of front sheet metal. First test drive. |

 |
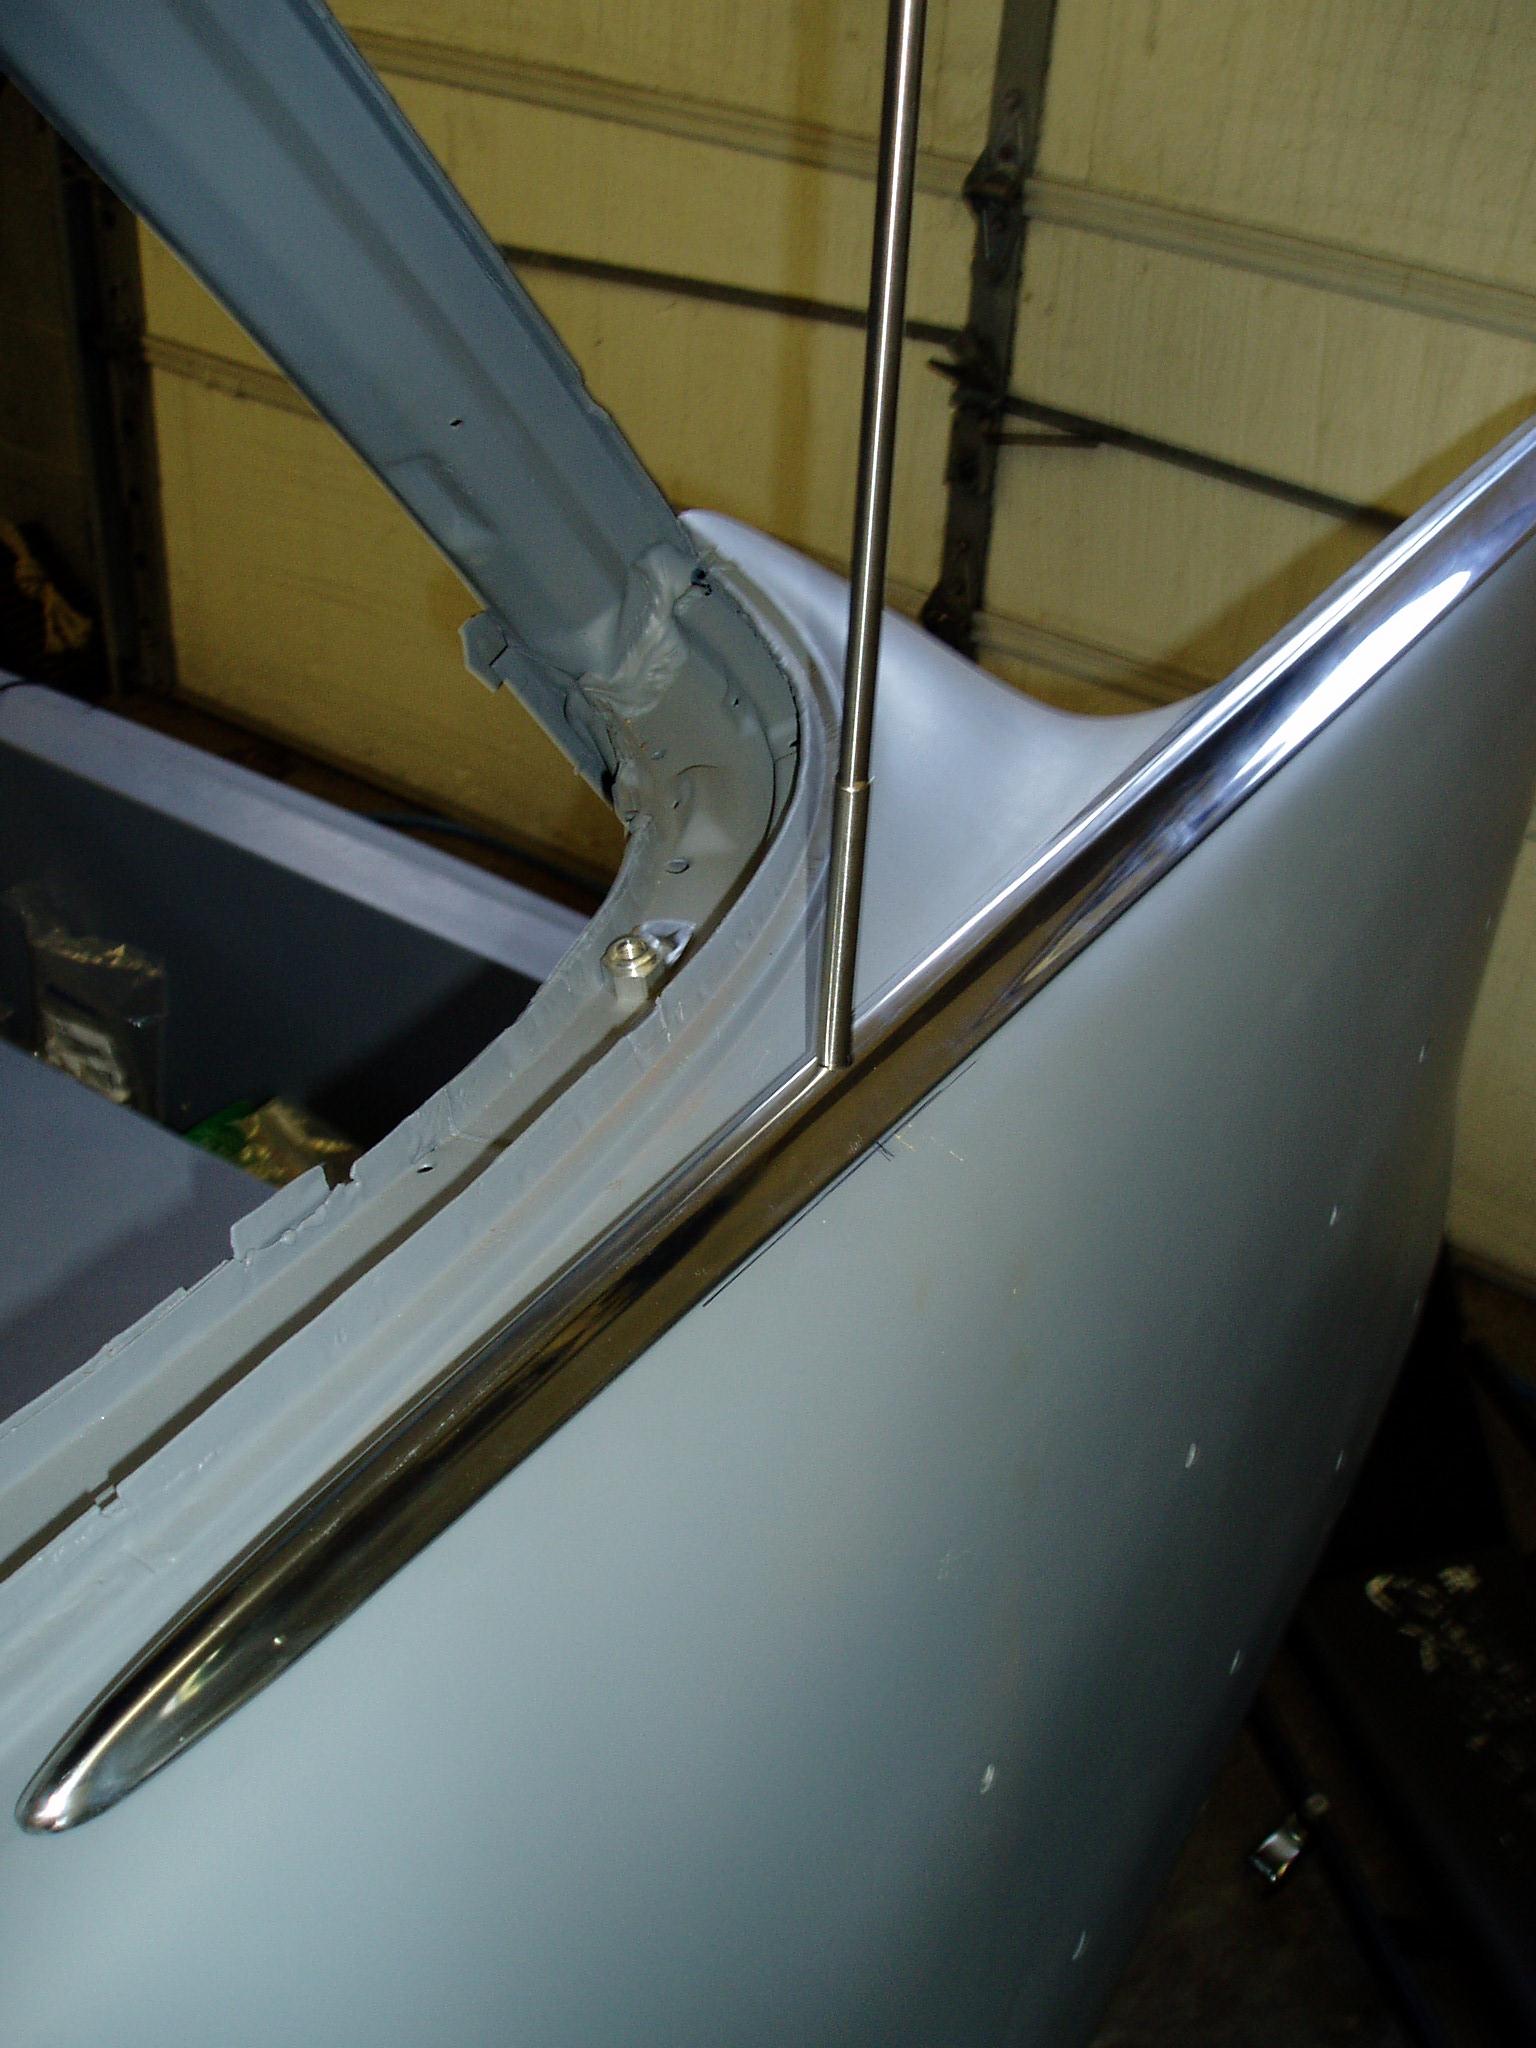
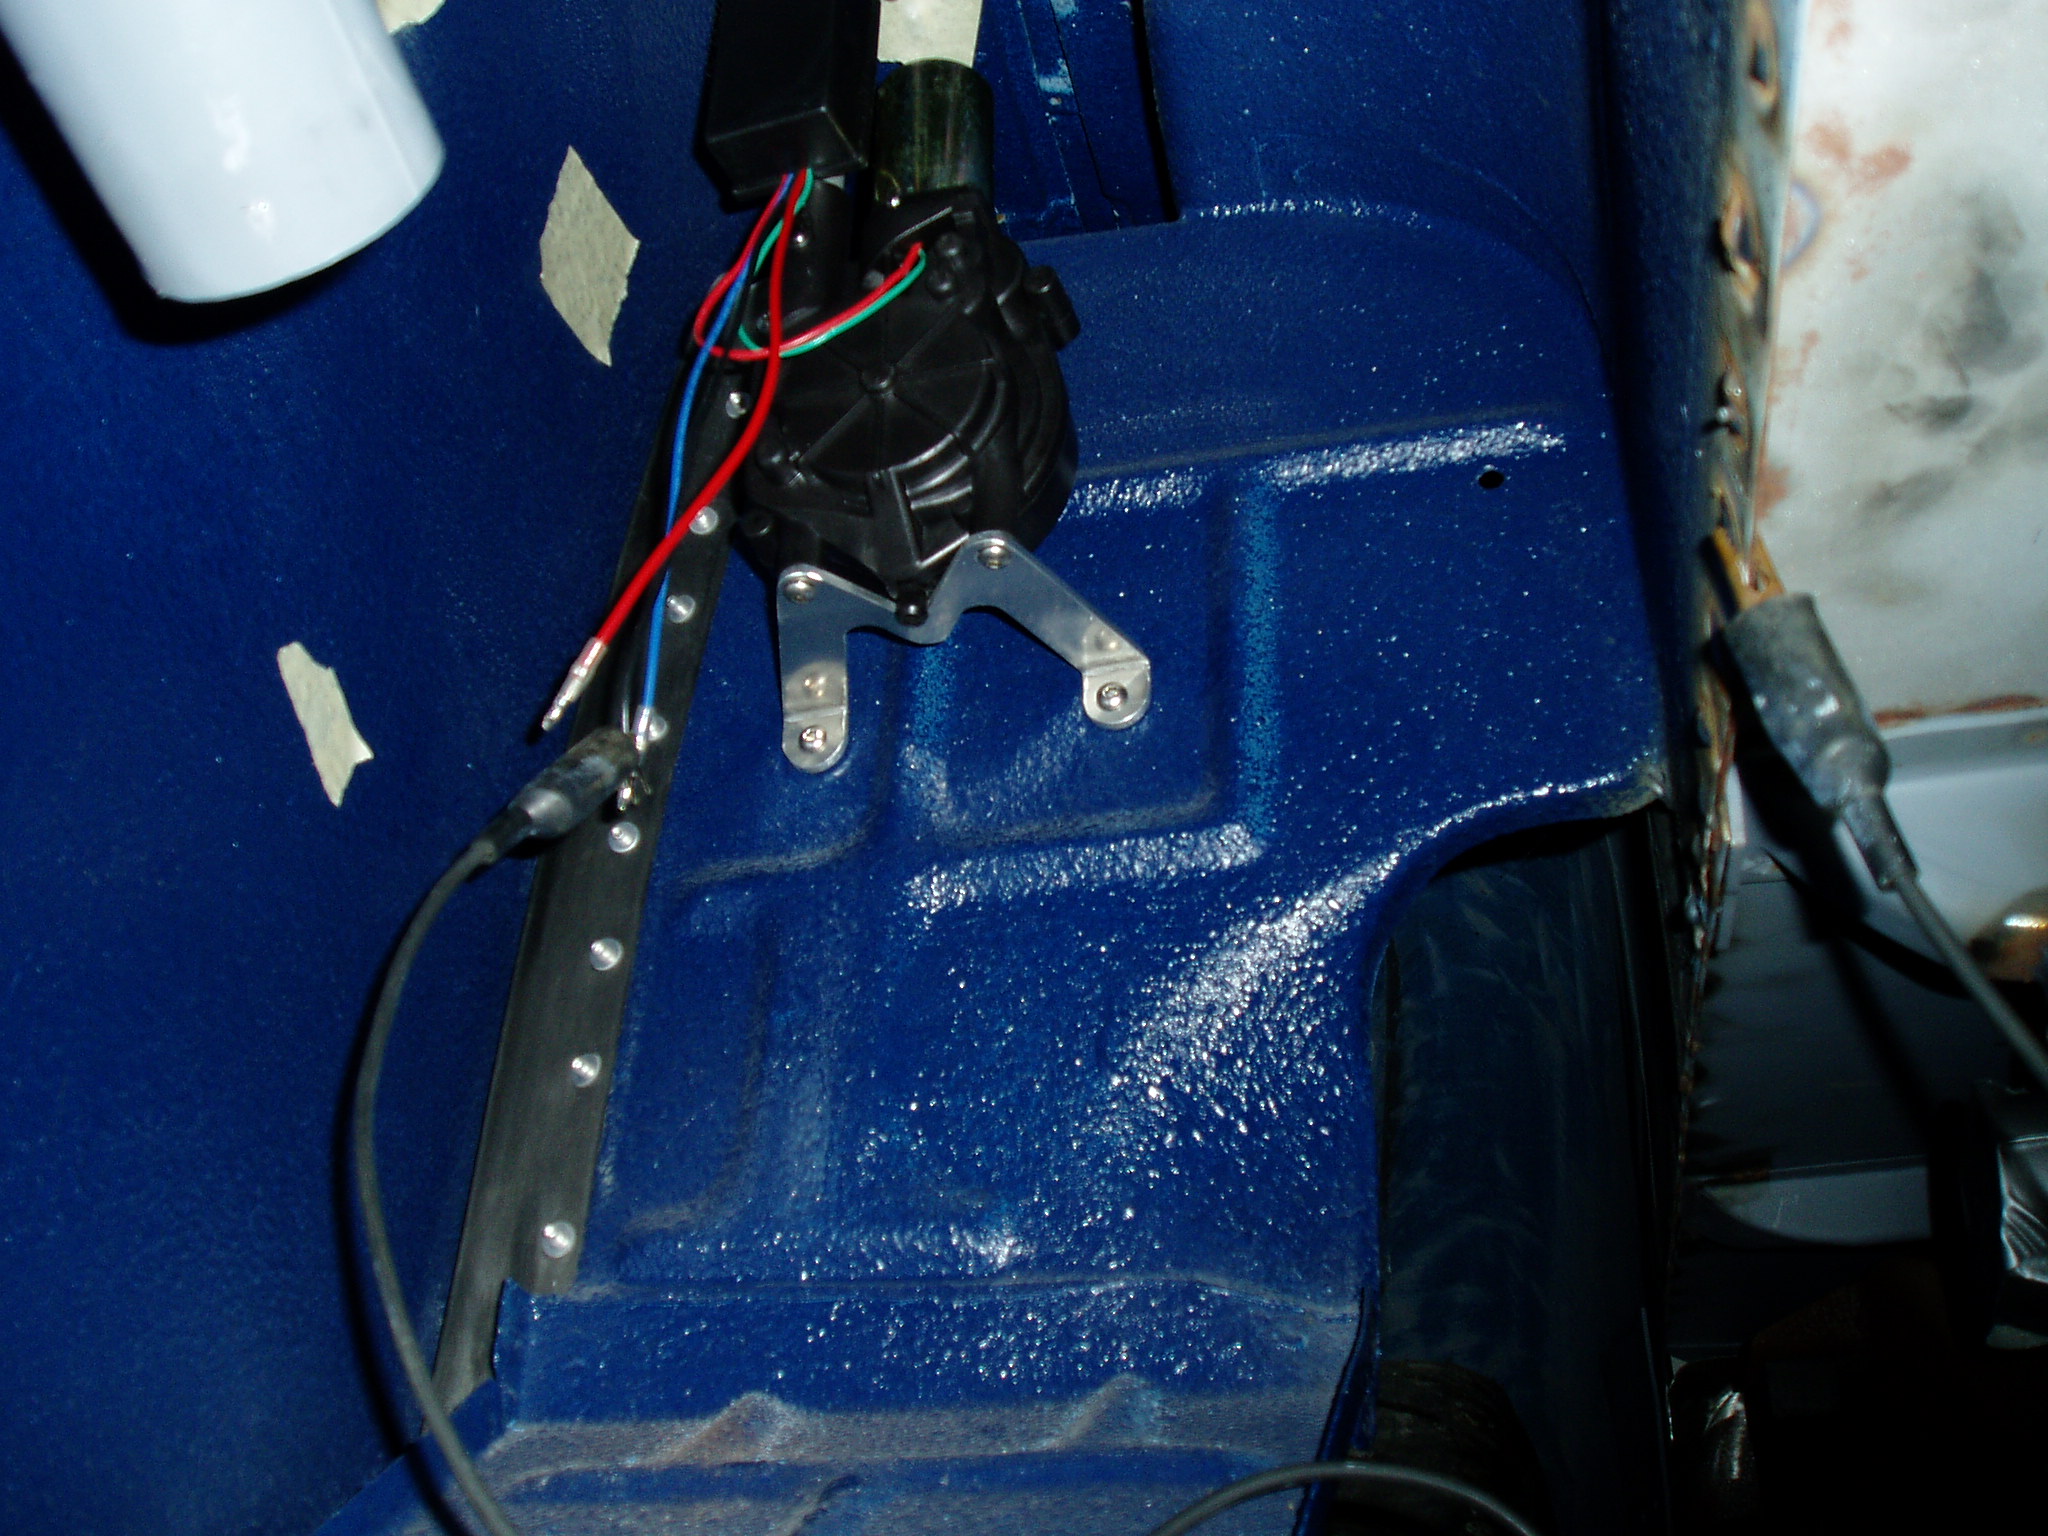
| Radio Antenna |
|
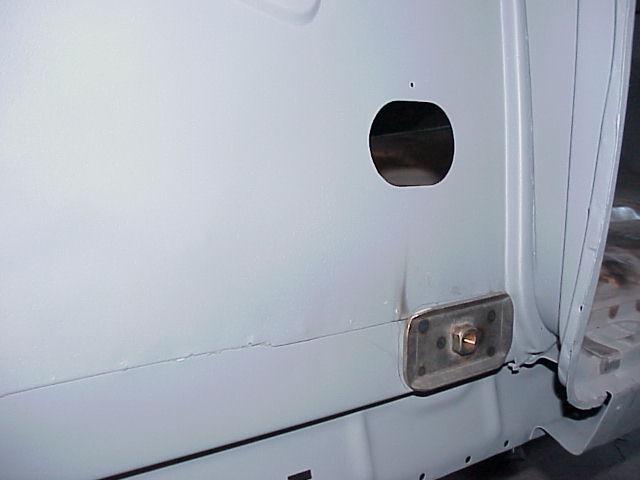
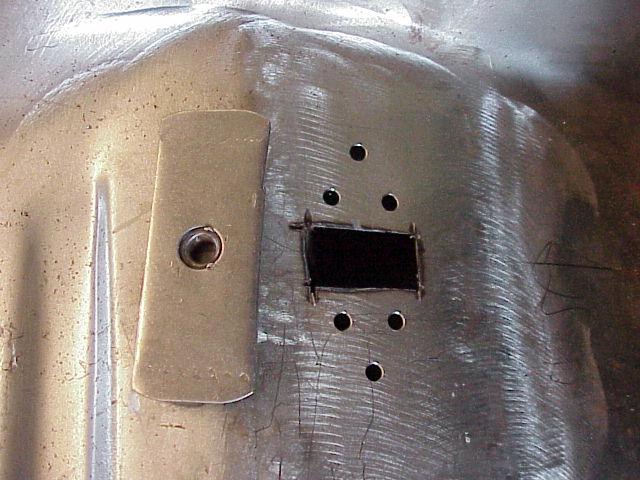
Summer, 2005 - Installed 'hidden' electric antenna in left quarter panel. |


 |
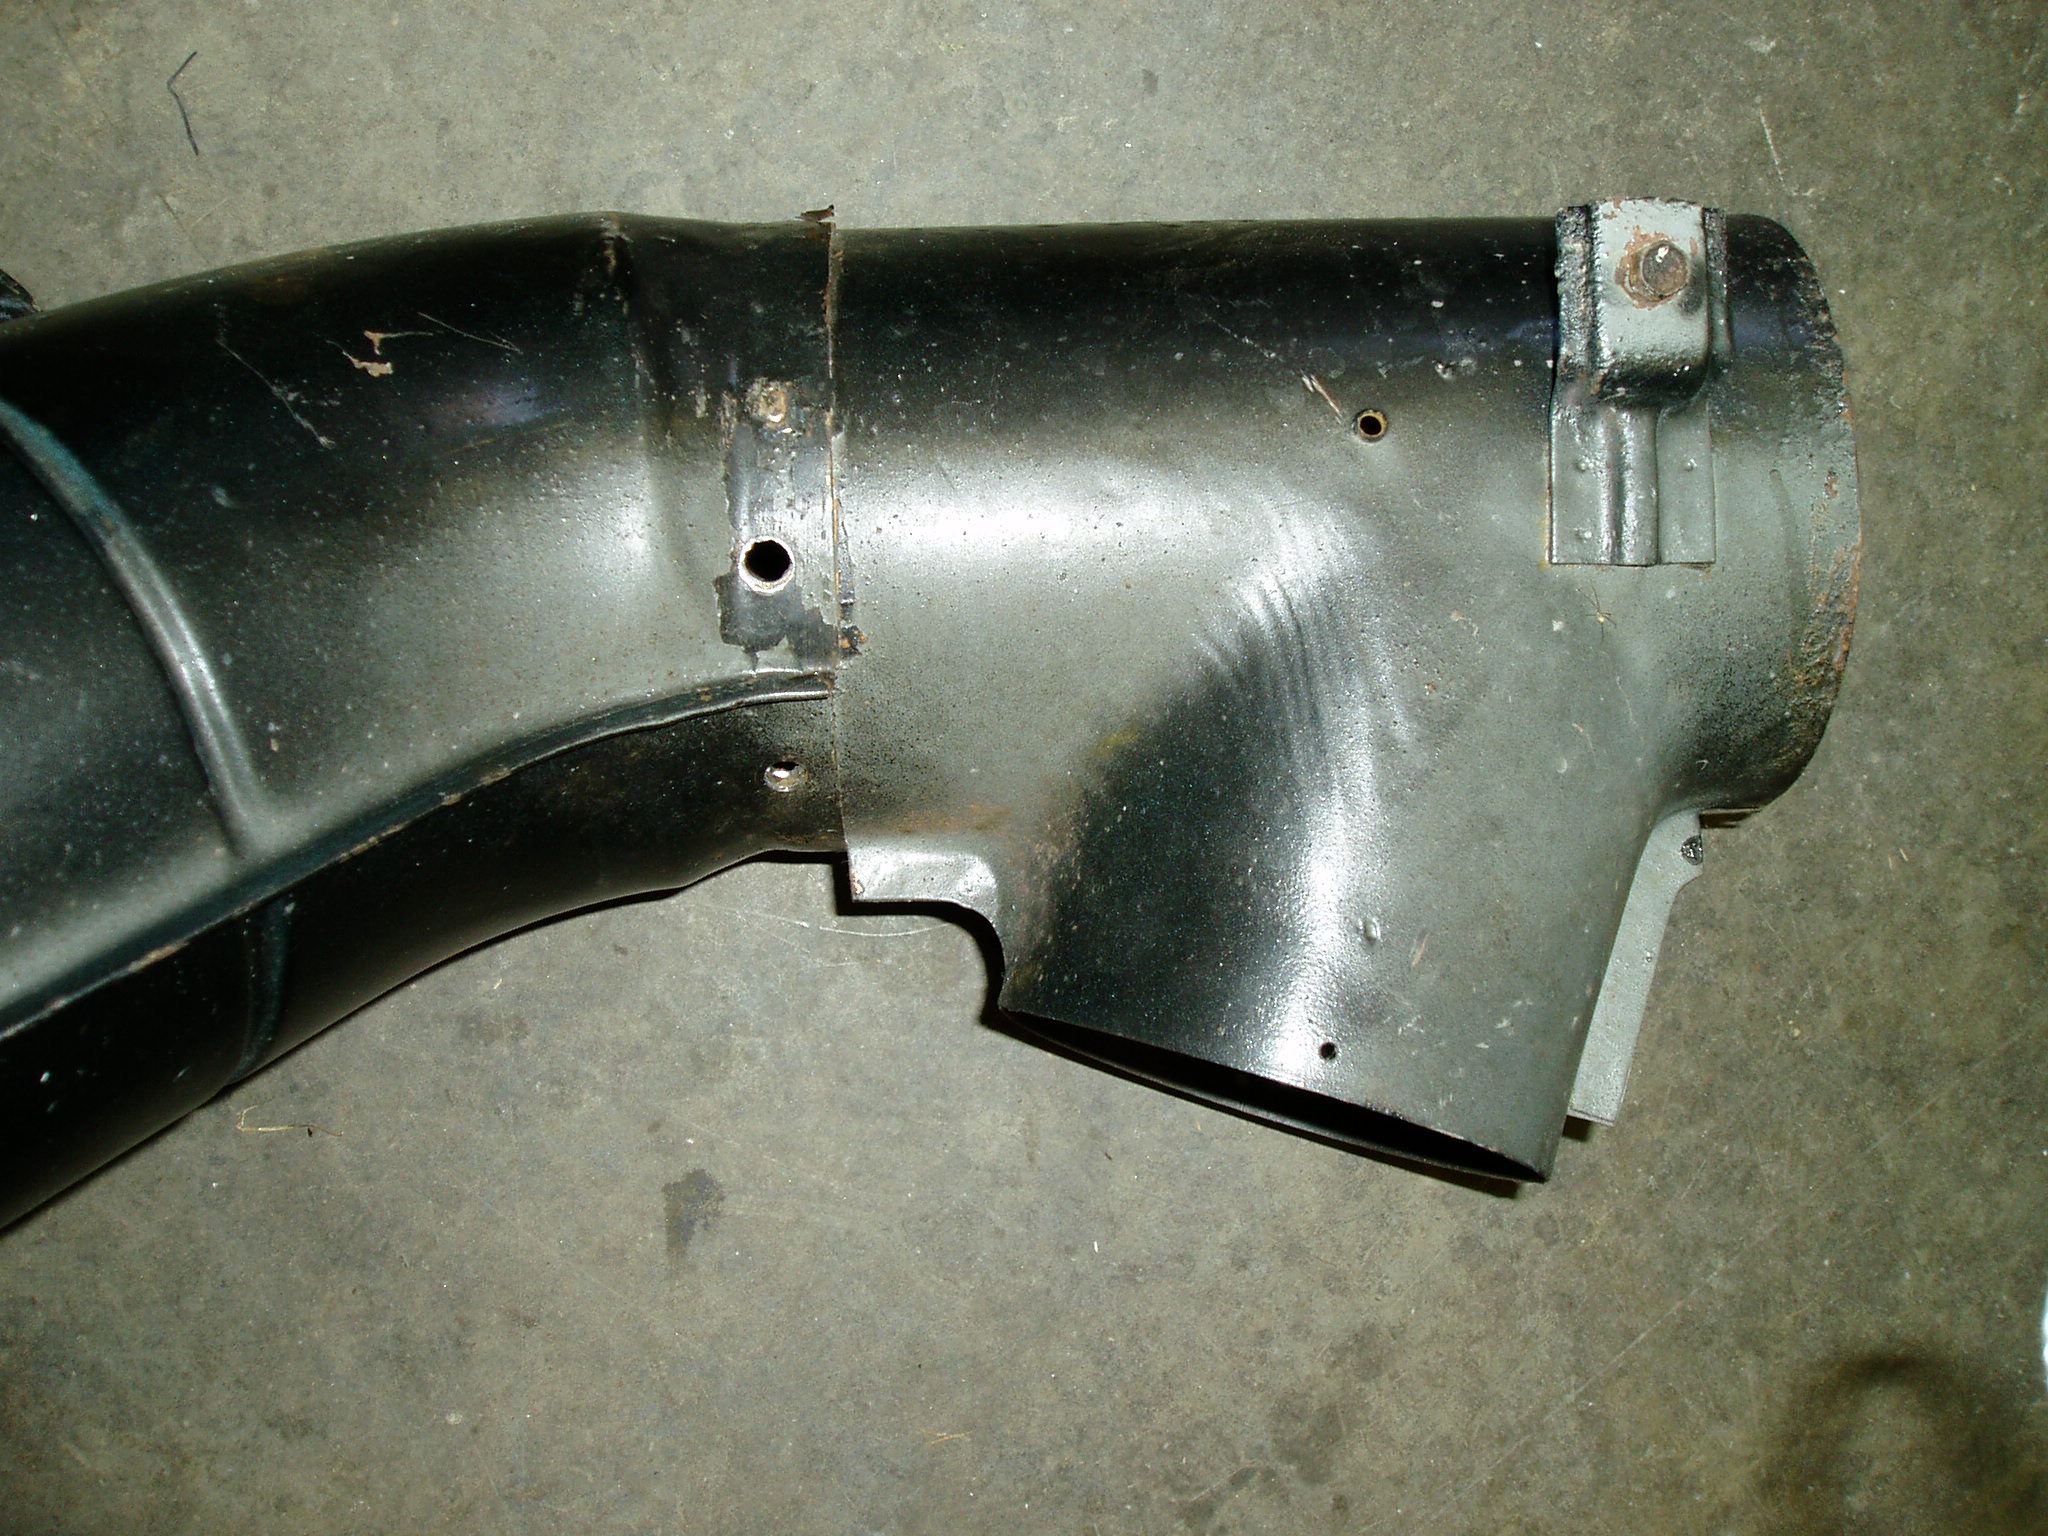
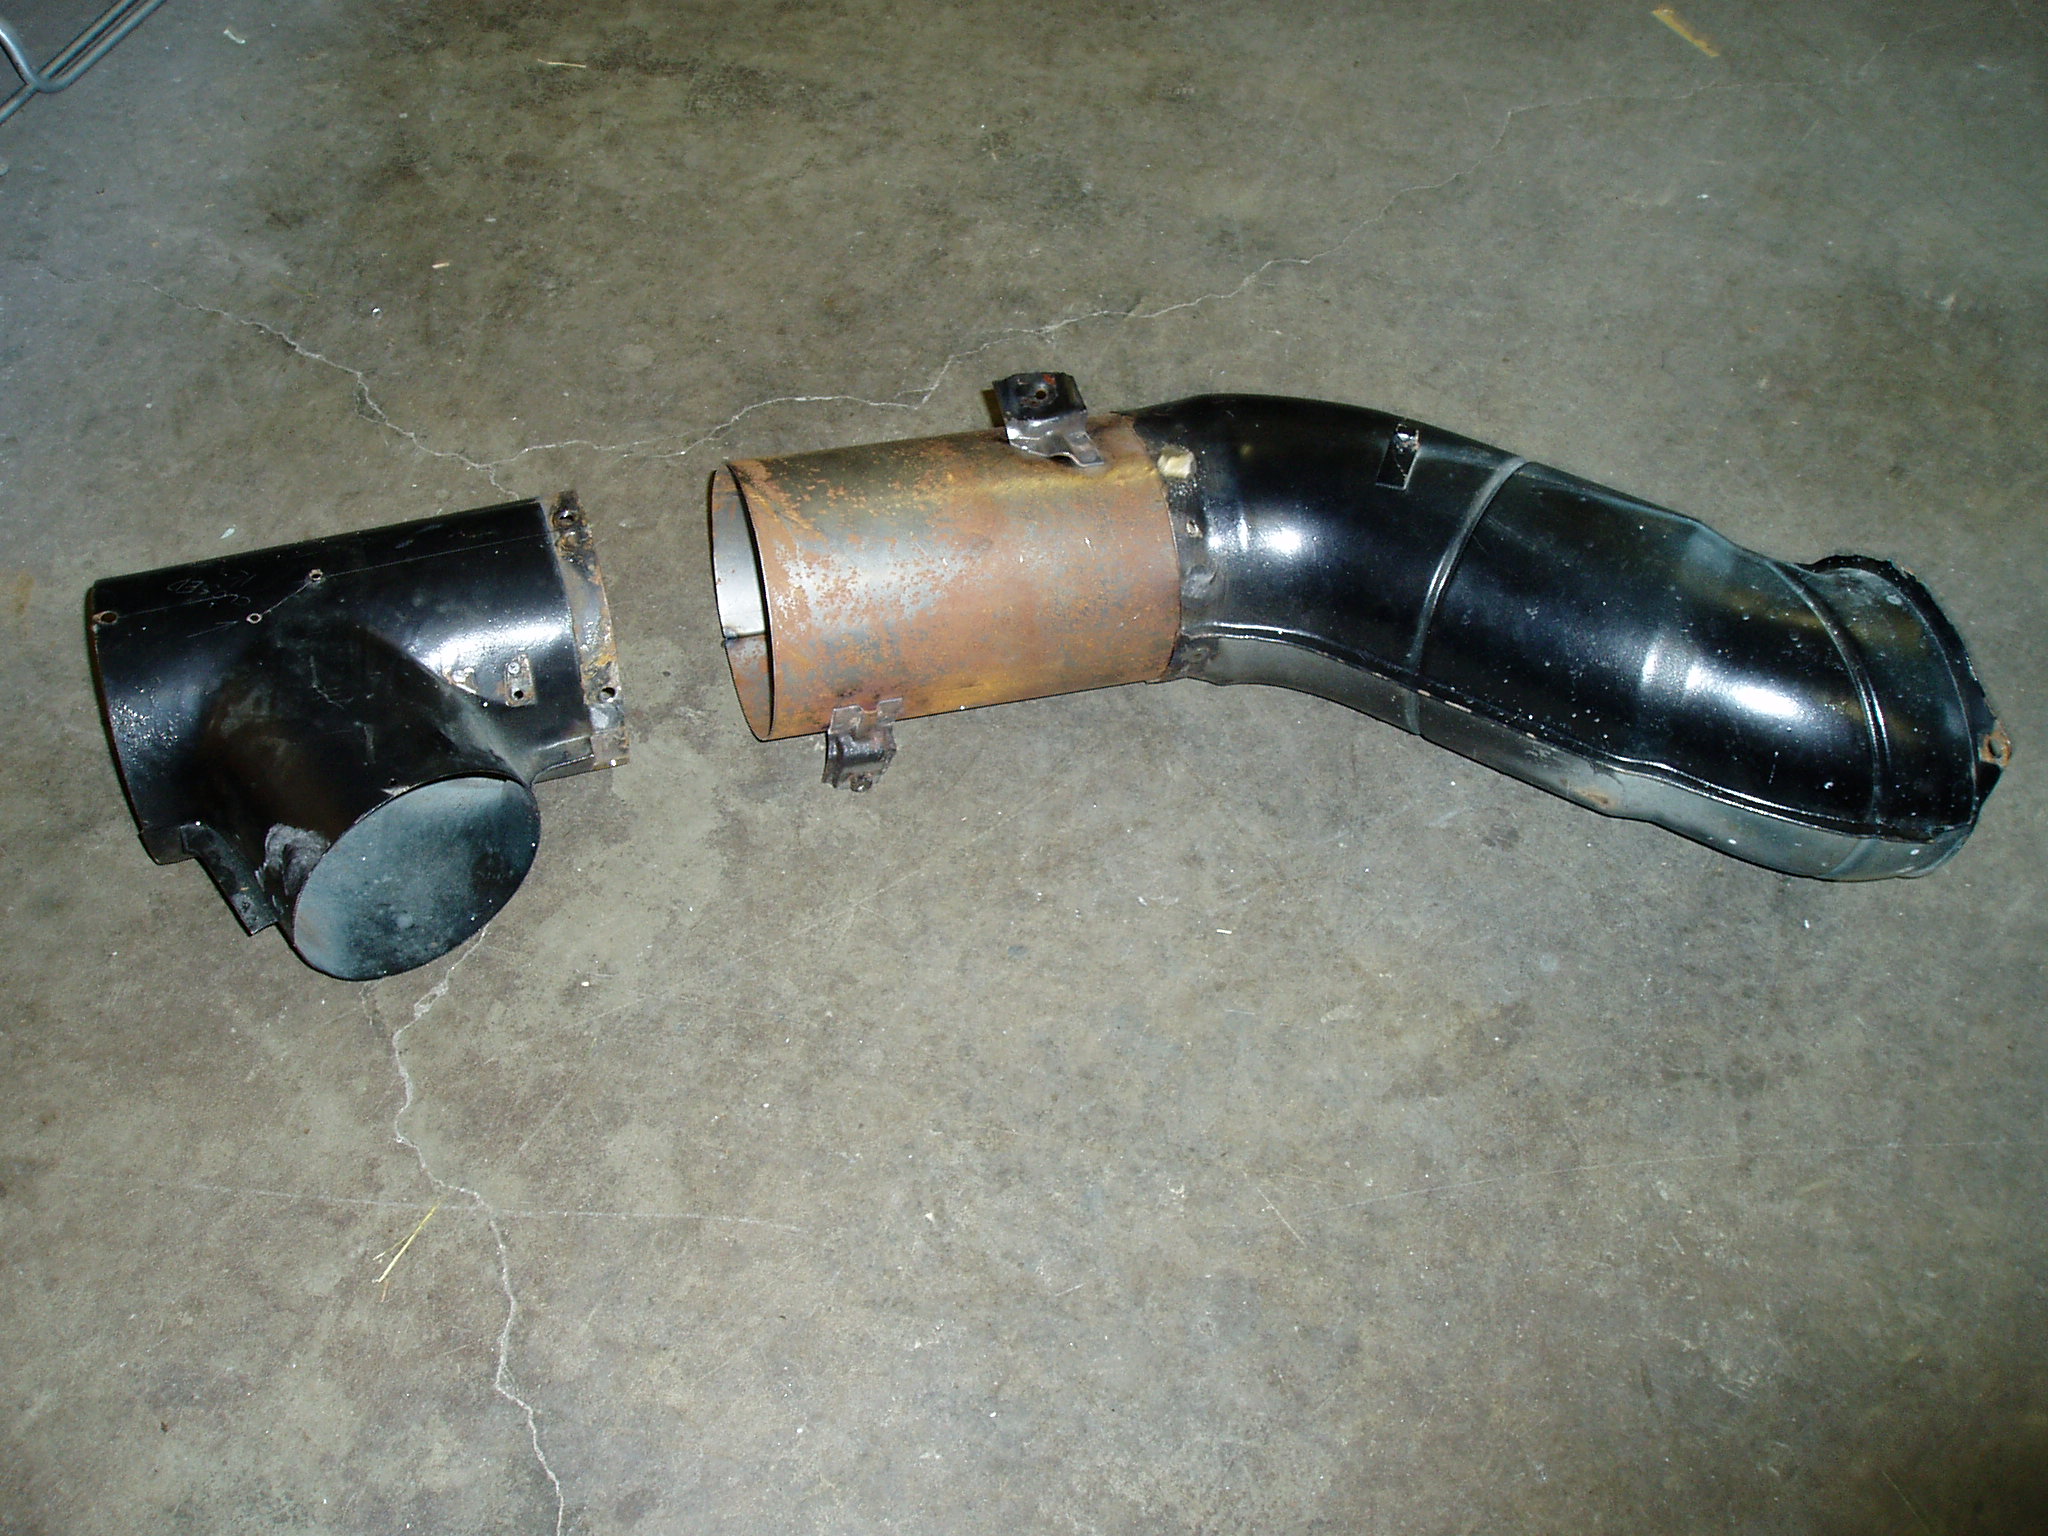
| Fresh Air Duct Modified |
|
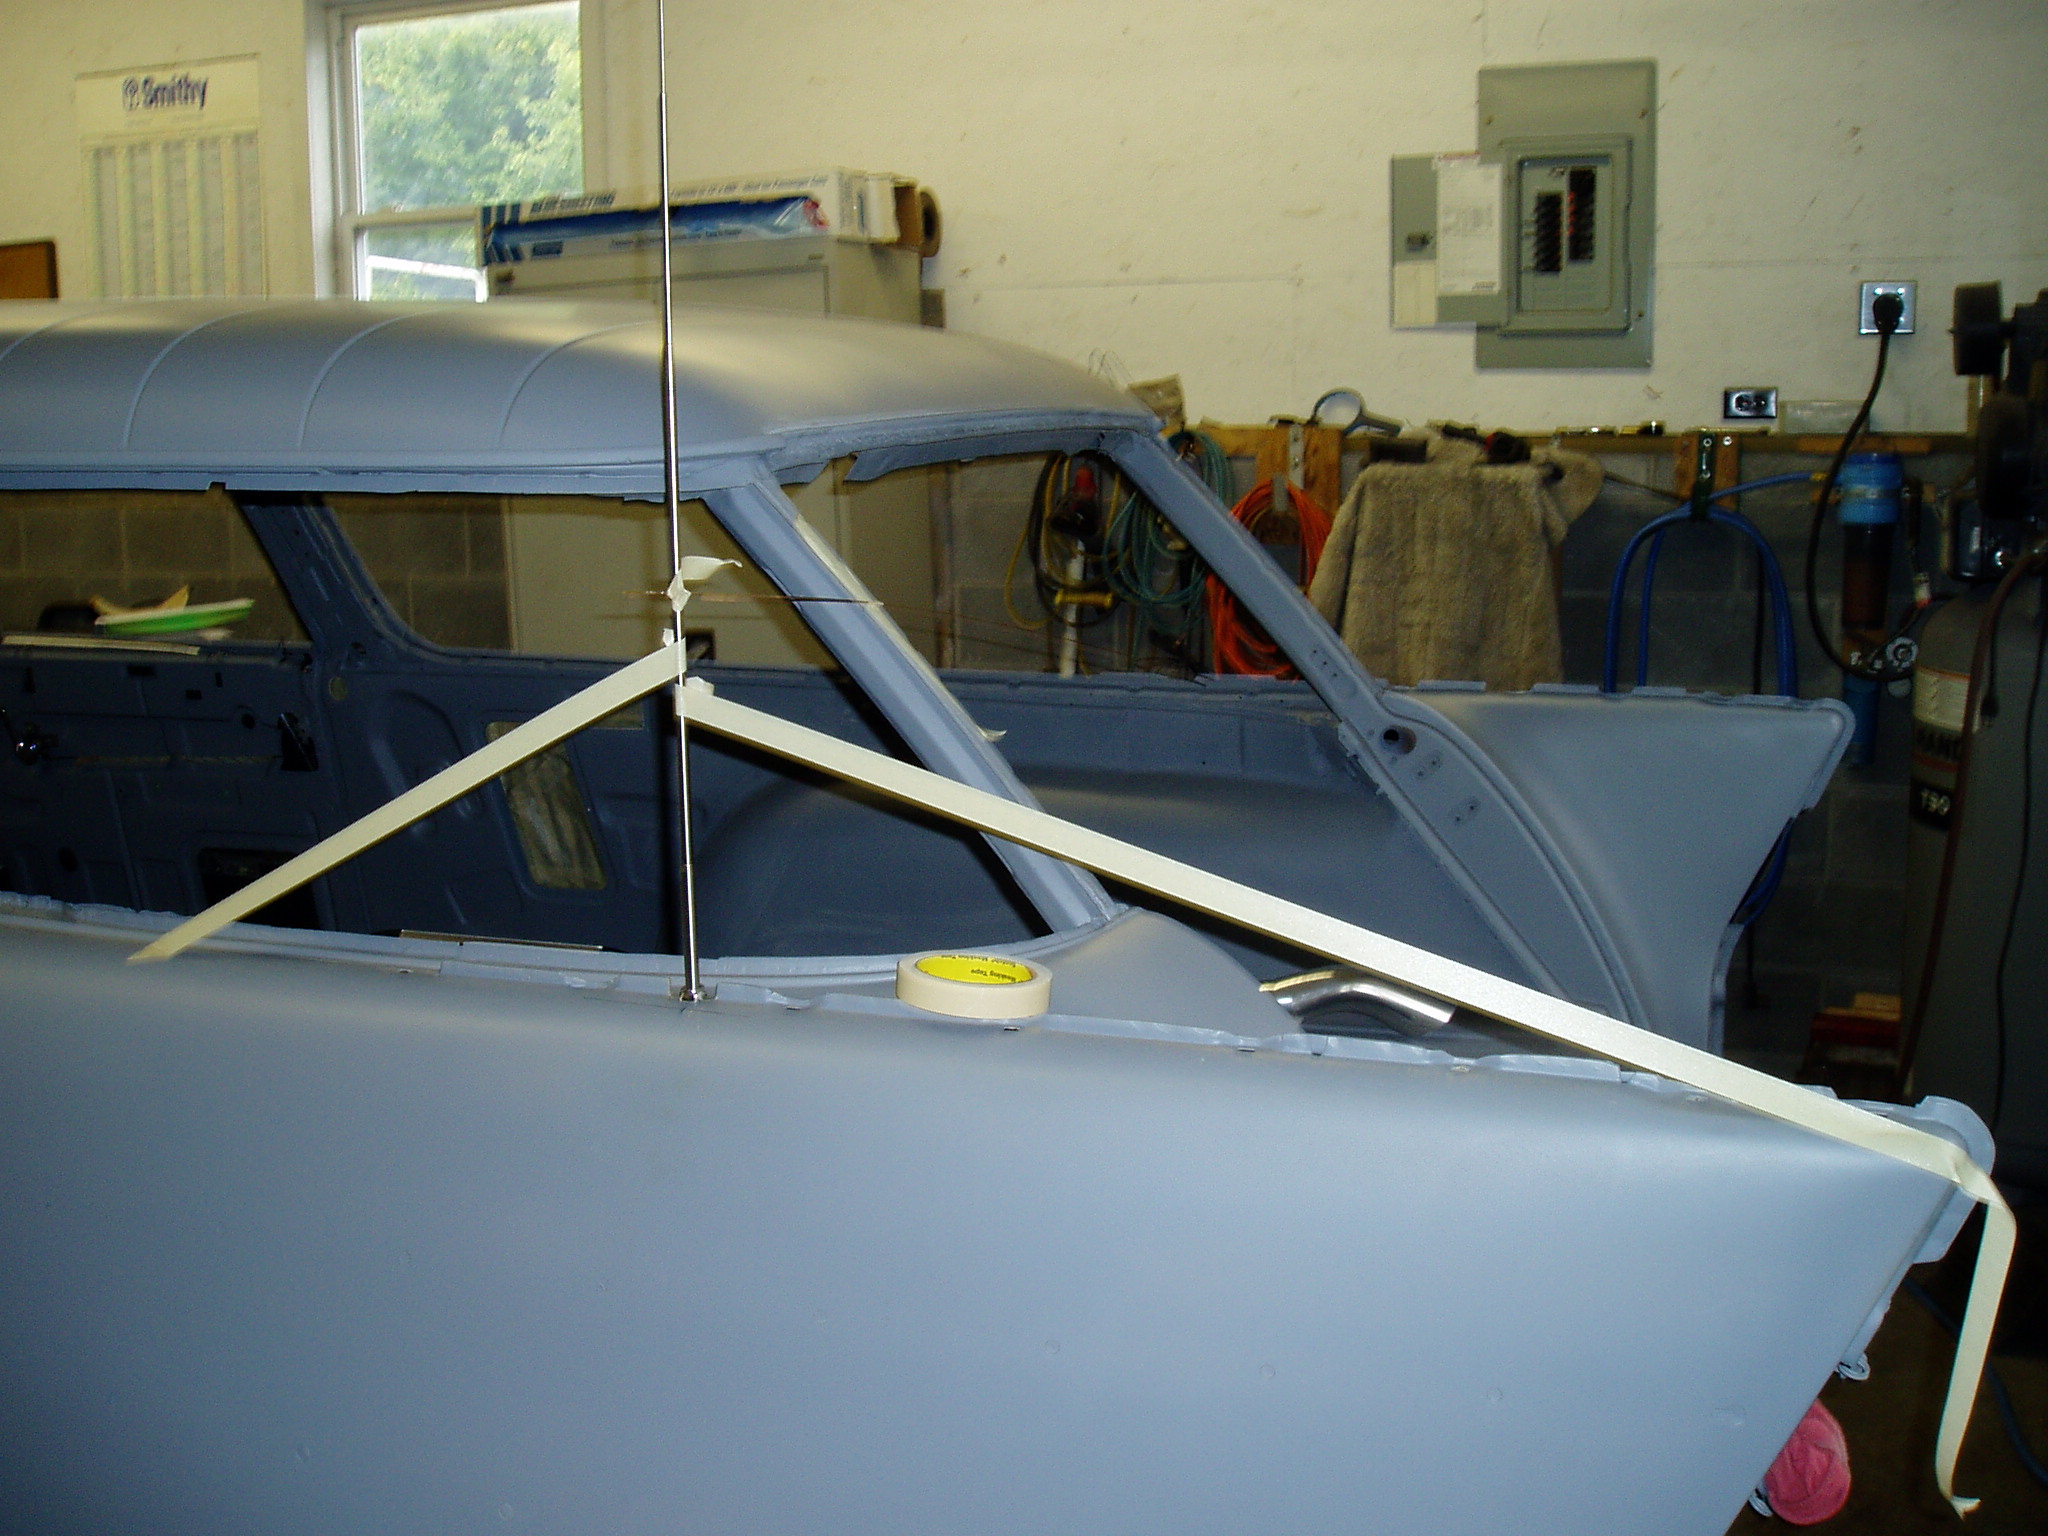
Summer, 2005 - Modified fresh air intake duct to eliminate "T" on passenger side. |

 |
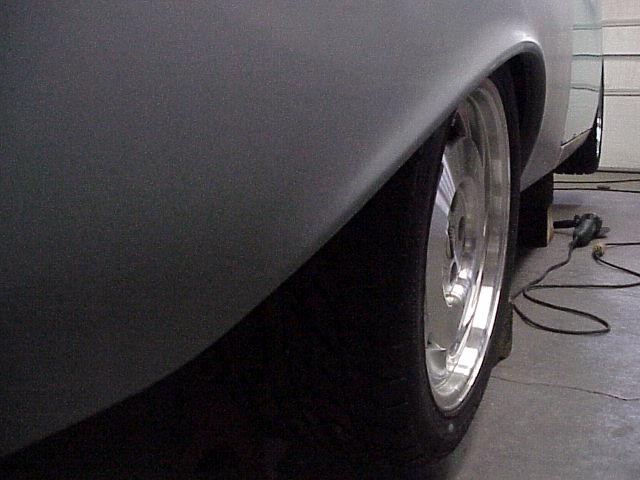
| Custom Wheels |
|
May 15, 2004 - New wheels from Boyd Coddington were installed. I like the dished look on the rear. |

 |
| Hood Prep |
|
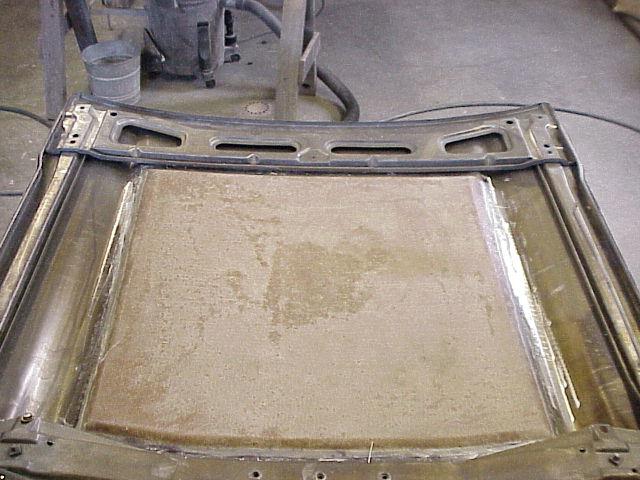
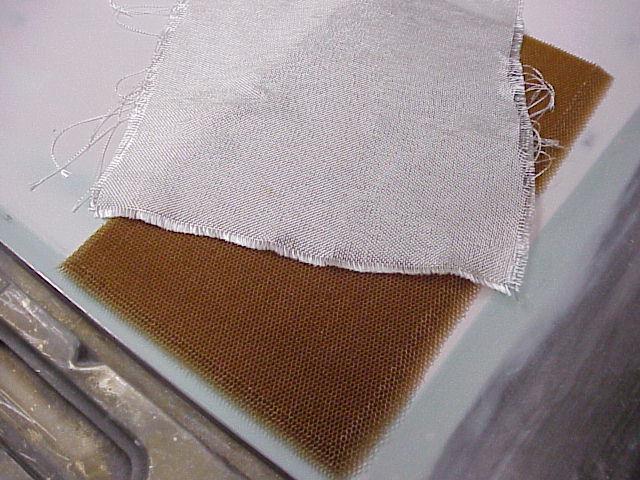
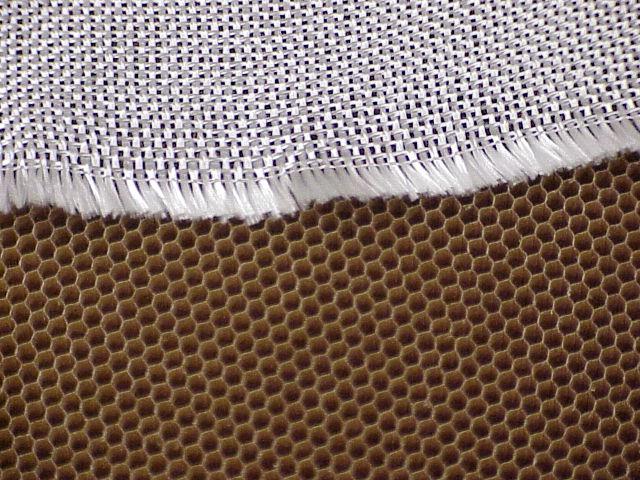
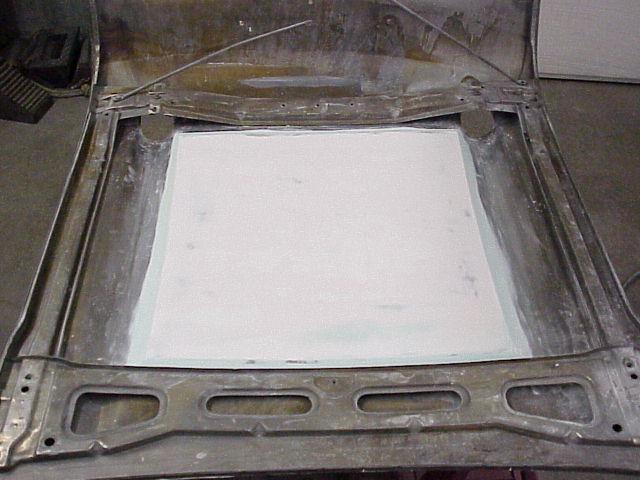
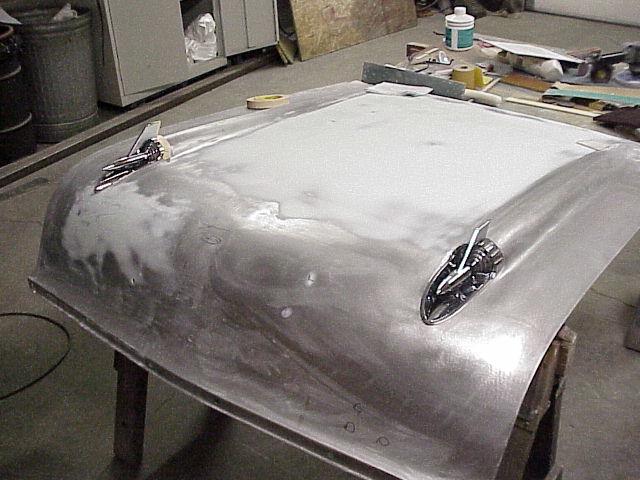
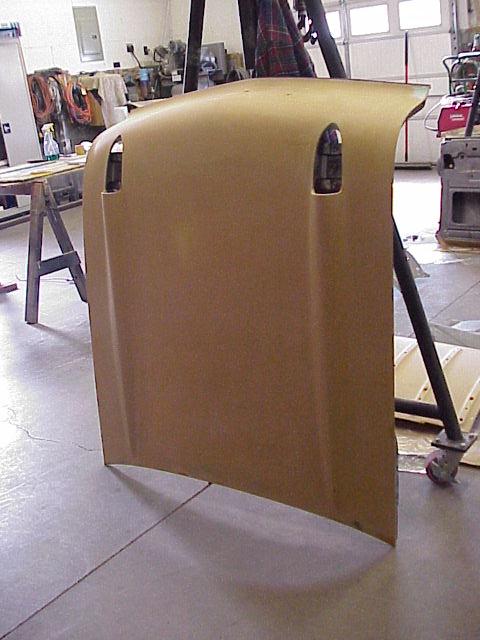
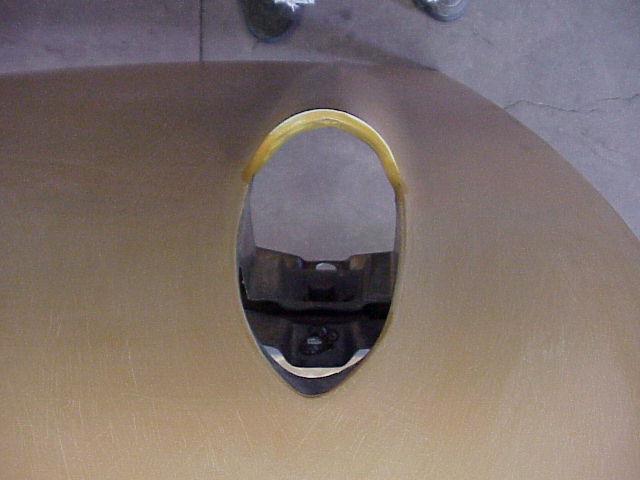
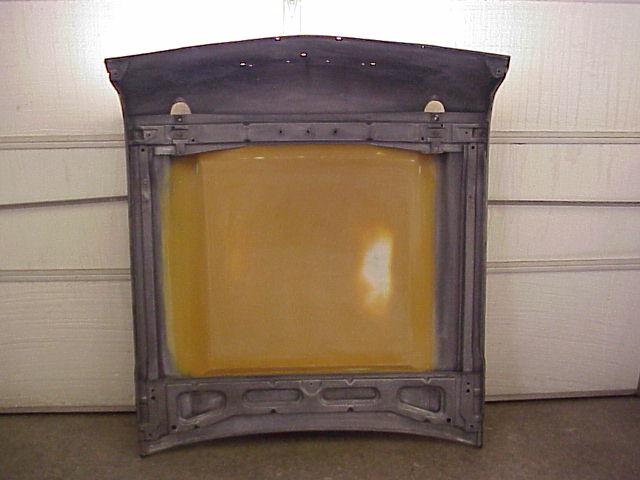
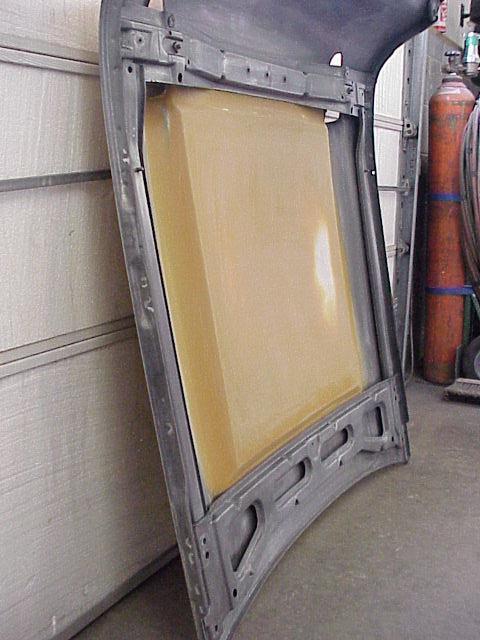
March 28, 2004 - Steve found the hood to be difficult to work on because it had a tendency to flex in the center, similar to the 'oil can' effect. His answer to the problem significantly enhanced the rigidity of the hood and improved the looks of the inside of it. Steve laminated the underside of the hood with a high strength lightweight composite material that was actually developed for the aerospace industry. It is very strong, very light, and eliminates the stock center brace. The other 'area of interest' on the hood was the fit of the rockets. They were not even close; so the openings were built up to fit the rockets. |

 |
 |
| Painting Small Parts |
|
March 21, 2004 - Steve started painting small parts. Note tool made to prep and paint hood hinge springs. |

 |
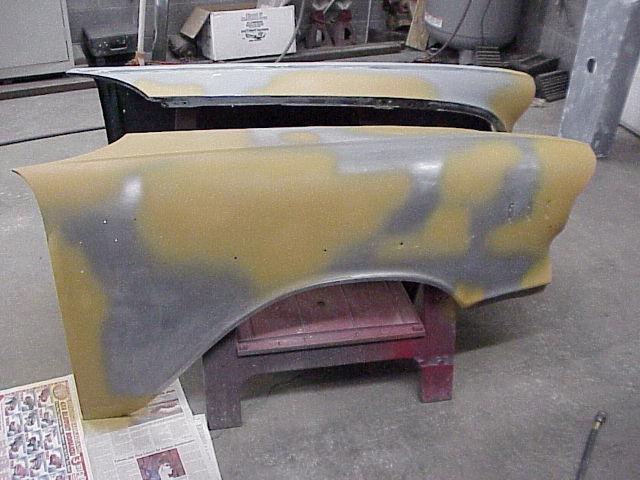
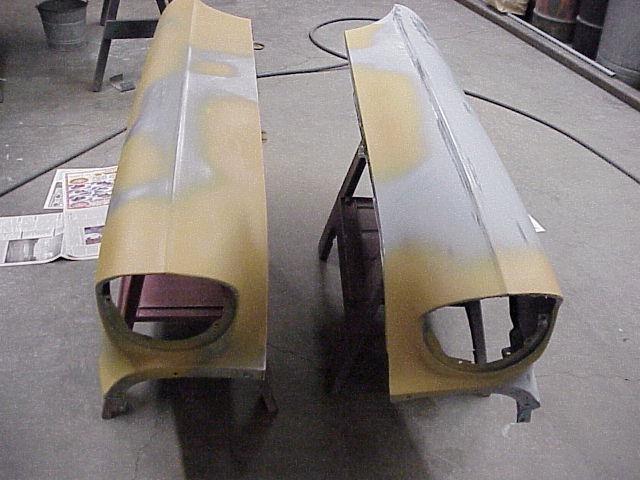
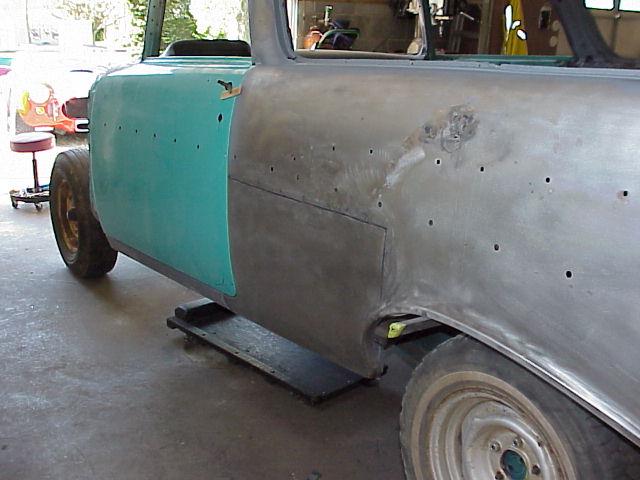
| Doors and Fenders Prepped for Paint |
| February 14, 2004 - Doors and fenders prepped for paint. |


 |
| Tailgate |
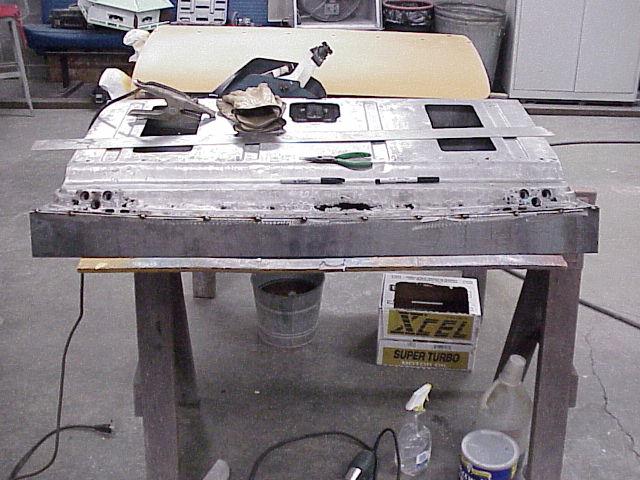
| February 14, 2004 - Steve began work on lower tailgate by making a jig and welding it to the gate to make sure it kept its shape. He fabricated a new panel for the bottom and welded it in place. Access holes were cut to allow full access to inside of gate. |
 |
| Body Parts Back from Stripper |
| February 6, 2004 - Picked up parts from Auto-Metal Paint Strippers in Cleveland, OH. Found very little rust except for bottom of tailgate. |

 |
| Temporary Move to Fairmont |
| January 29, 2004 - Moved from Colfax to Fairmont to have exhaust system made. |

 |
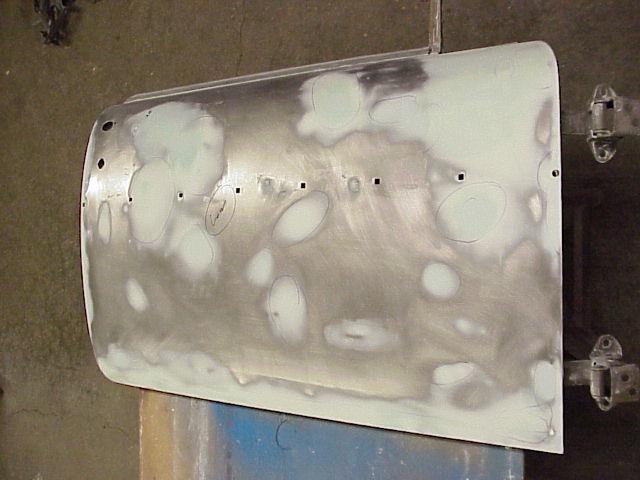
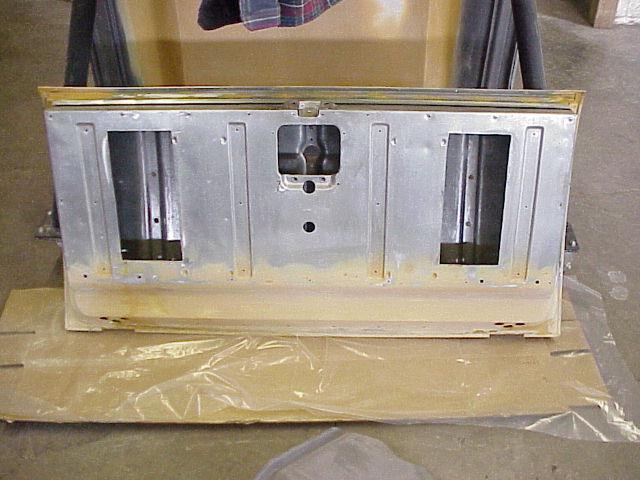
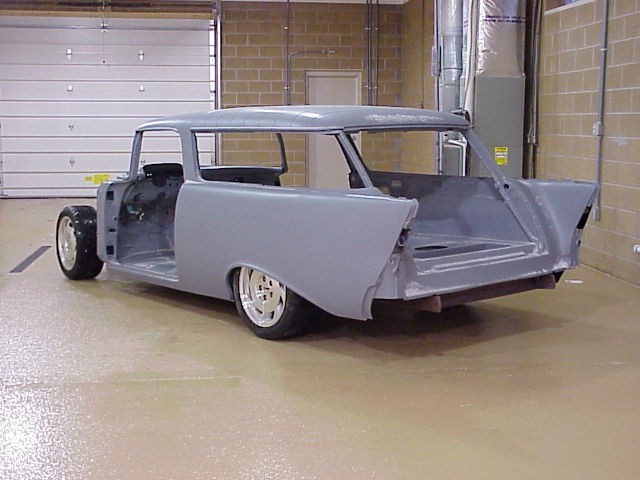
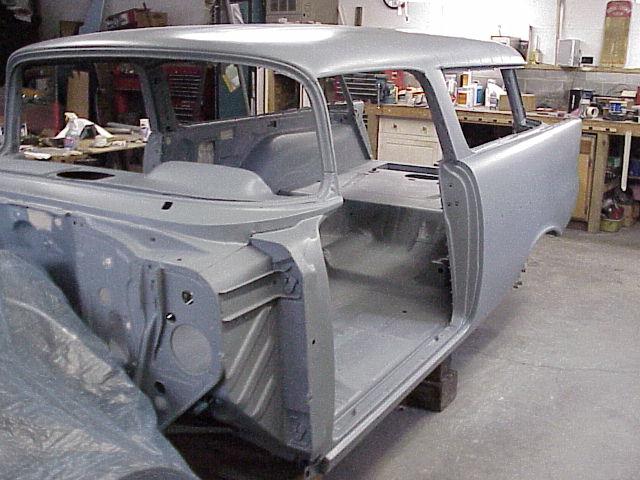
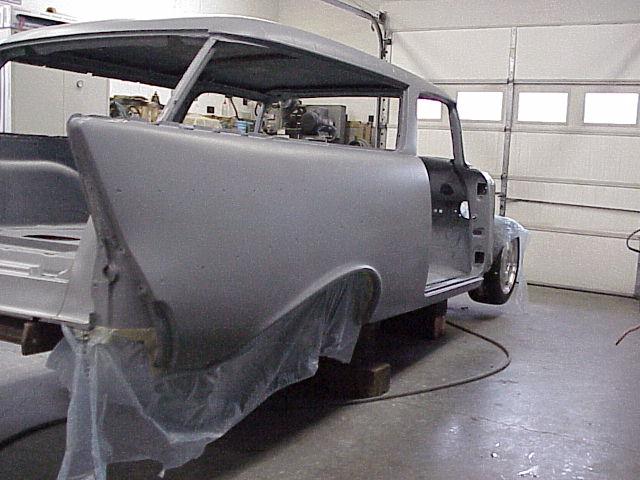
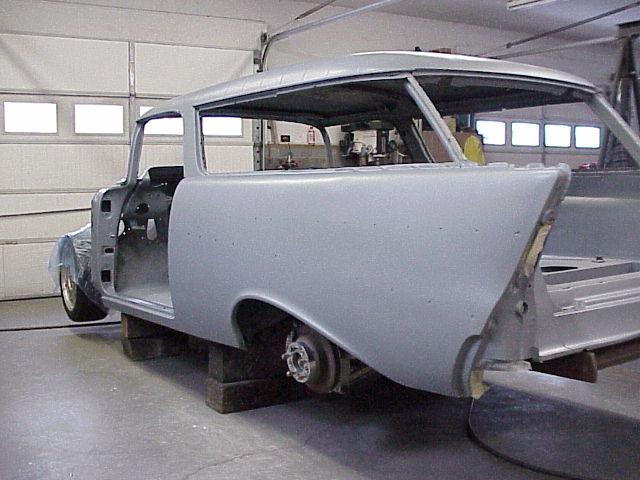
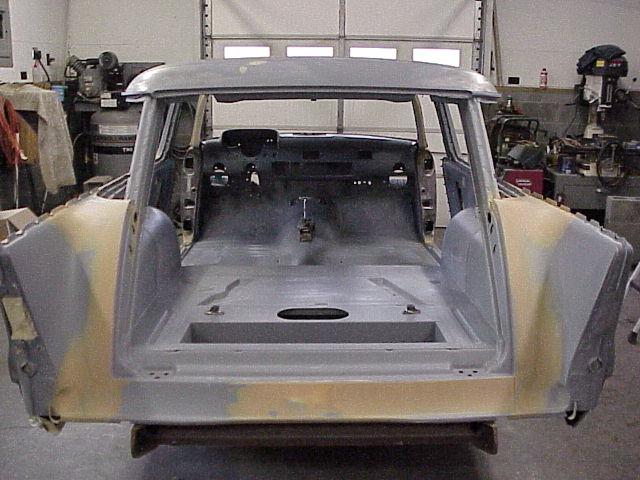
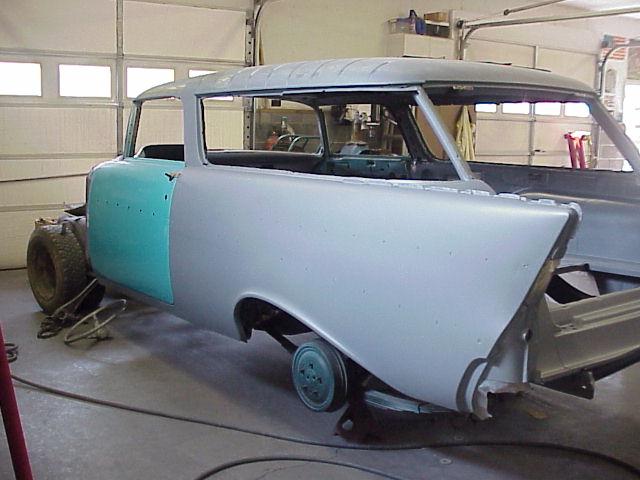
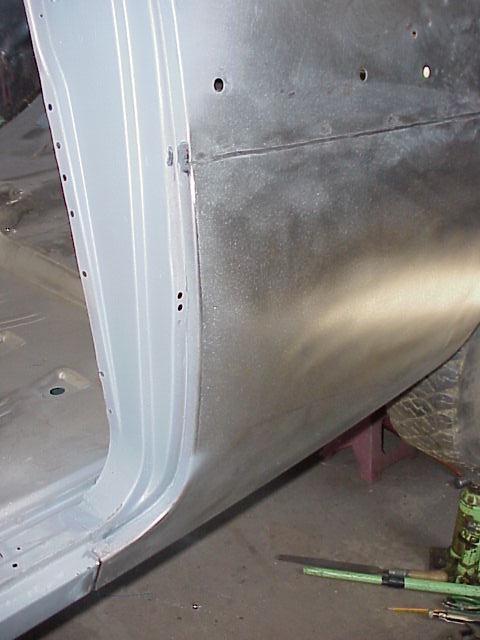
| Body Shell in Primer |
|
January 15, 2004 - Steve finished the work on the main shell and primered with epoxy primer. |


 |
| Body Parts to be dipped |
|
January 17, 2004 - Took doors, hood, tailgate, wheel wells, core support, and a fender to Auto-Metal Paint Strippers in Cleveland, OH for dipping. (440) 439-4550 |
 |
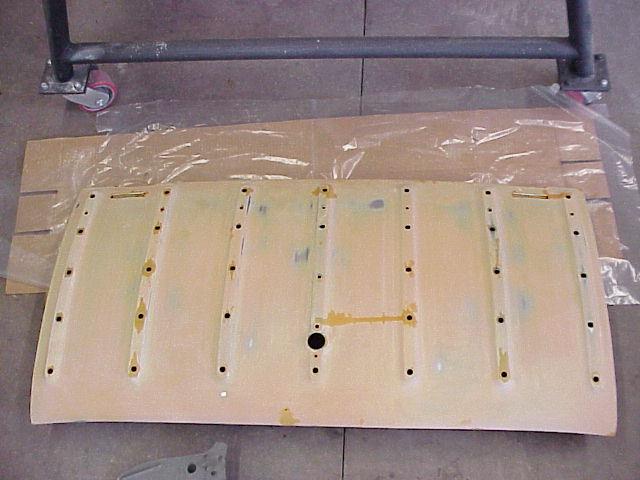
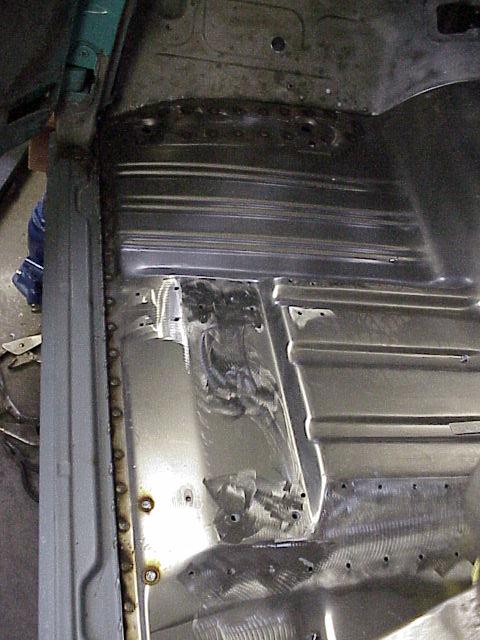
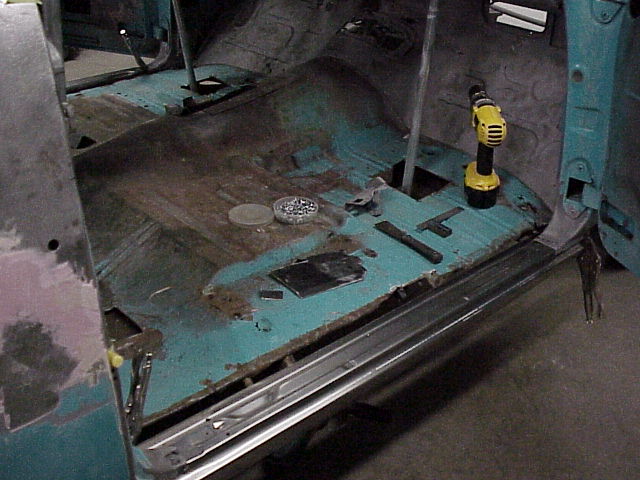
| Inside Sheet Metal Ready For Paint |
|
December 20, 2003 - Floor pans & inner quarters finished and ready for paint. |

 |
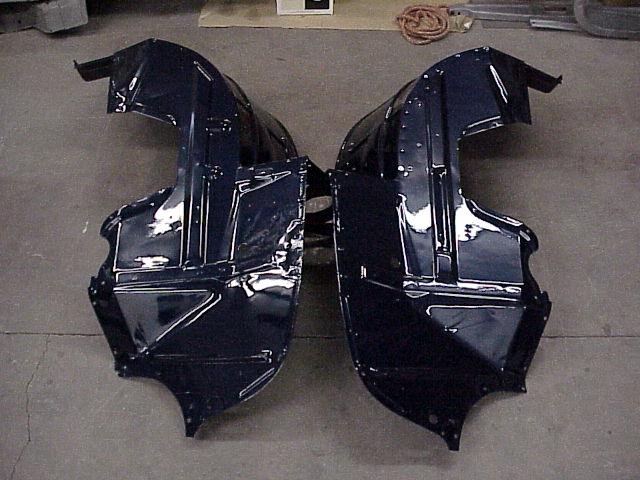
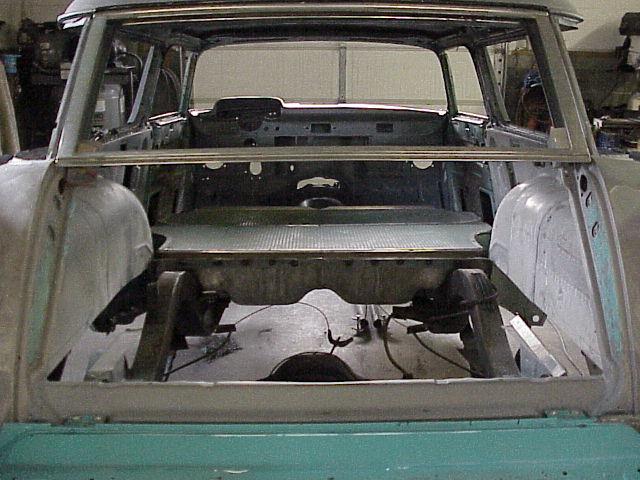
| Dry Fit Front Clip |
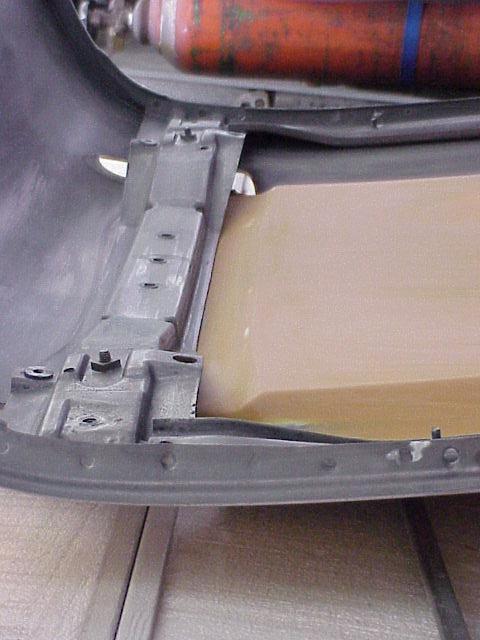
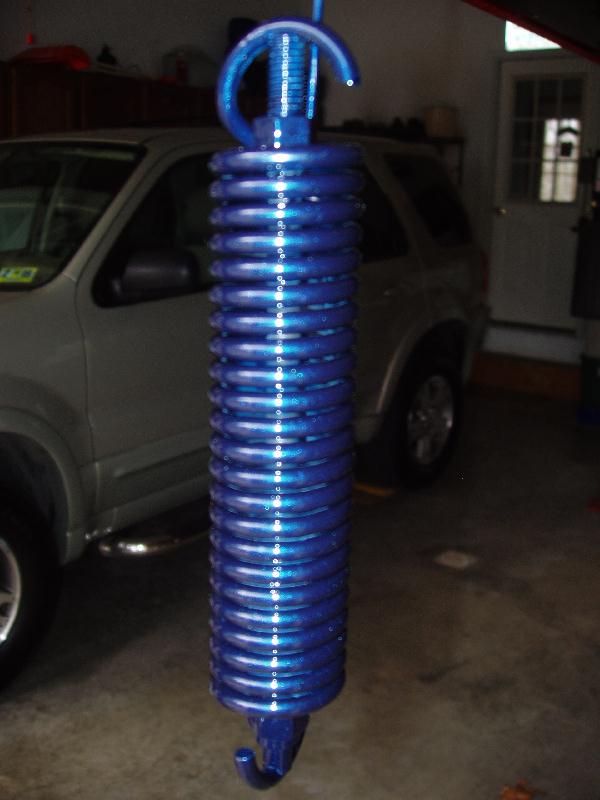
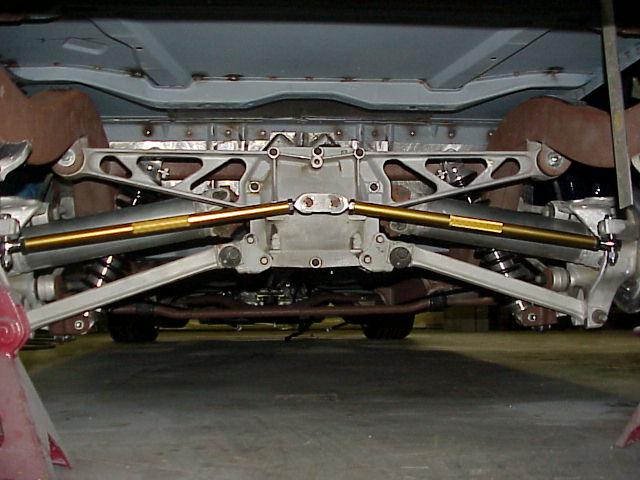
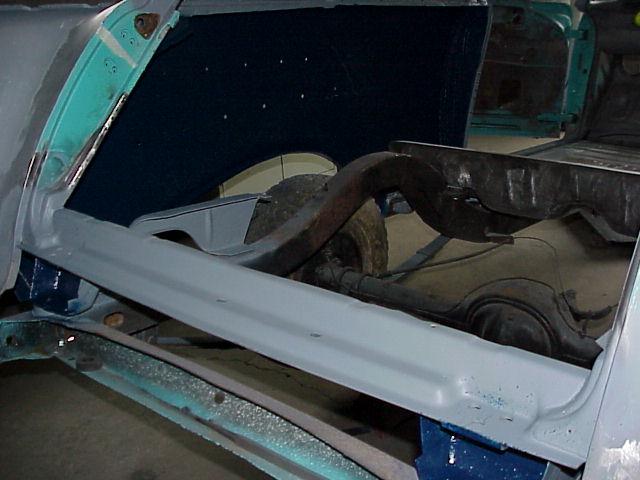
| November 18, 2003 - Dry fit of front clip before final prep for paint. Inner fenders will require remarkably little work to accommodate Corvette front suspension! Distance from floor to top of front fender is 36". The Aldon coil-over shocks will be adjusted up by about 3/4". |


 |
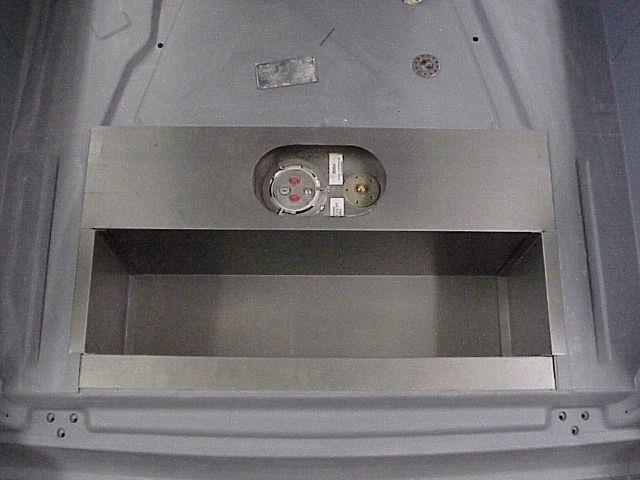
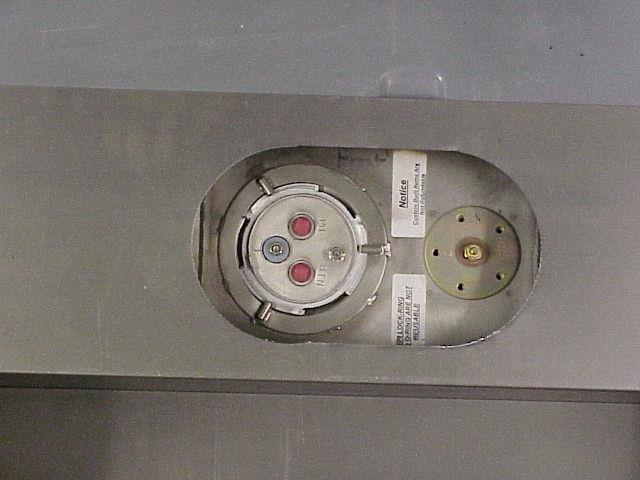
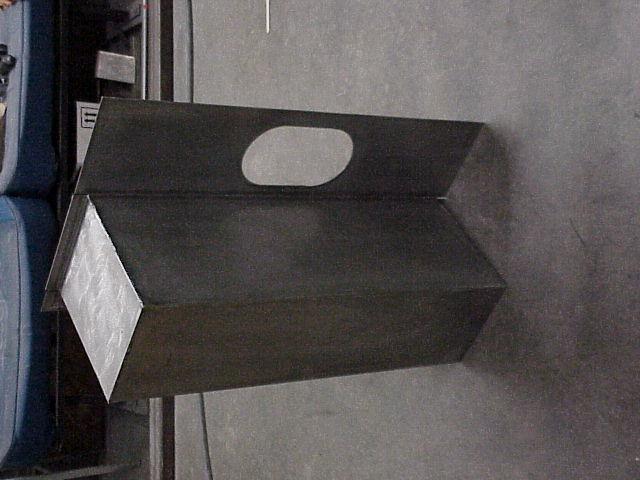
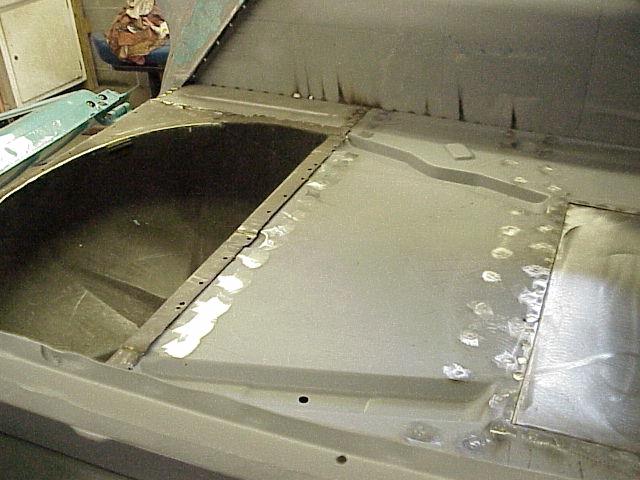
| Storage Space Under Cargo Floor |
|
November 15, 2003 - Steve fabricated a trunk box which will be accessed through the original Nomad spare tire door. |
 |
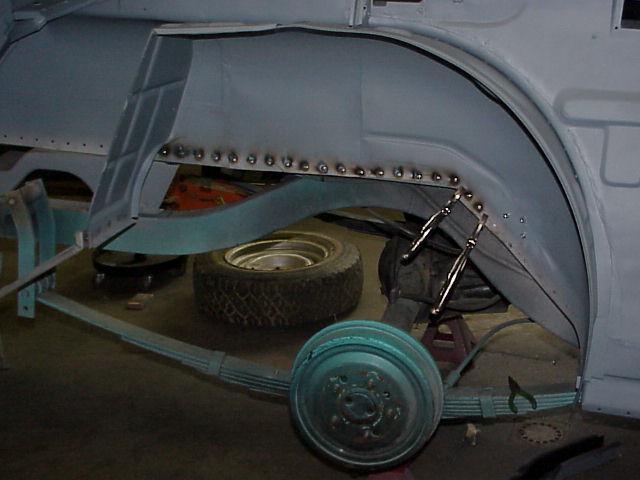
| A Few Modifications Needed to Fit New Chassis |
|
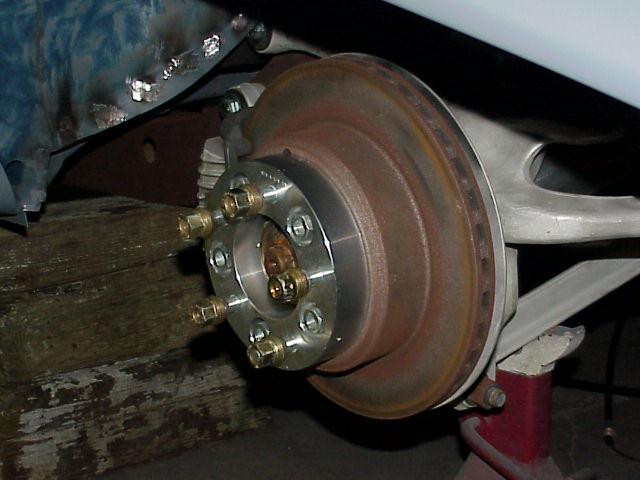
August 27, 2003 - Installed 1.25" wheel spacers on the rear. The 275x40x17" tires now fit perfectly in the wheel wells! |
 |
|
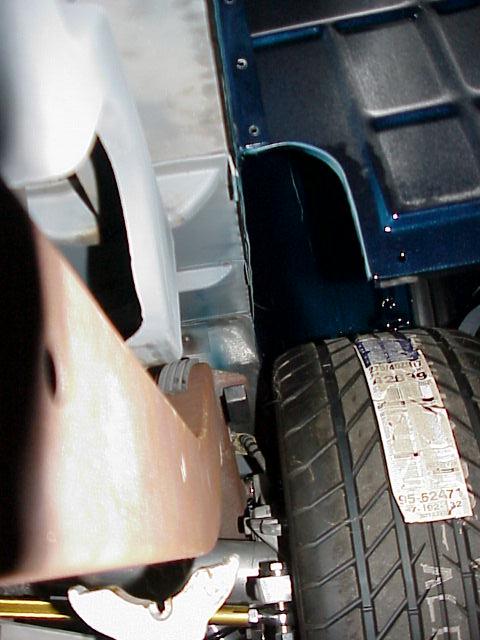
August 10, 2003 - Body seam and tranny modified to gain clearance. |

 |
|
August 10, 2003 - Floor pan cut out to clear rear suspension. |


 |


 |
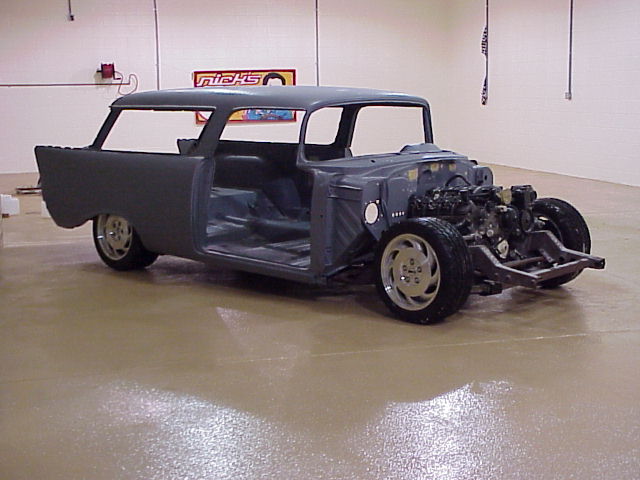
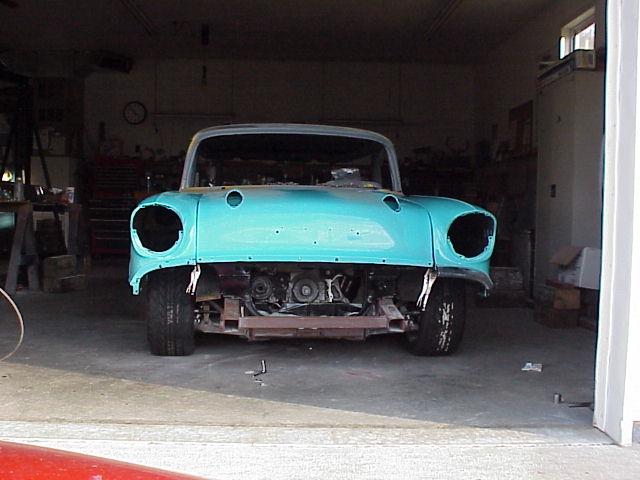
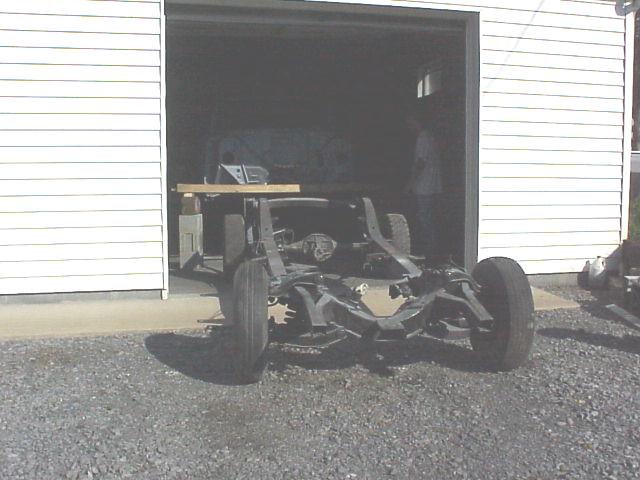
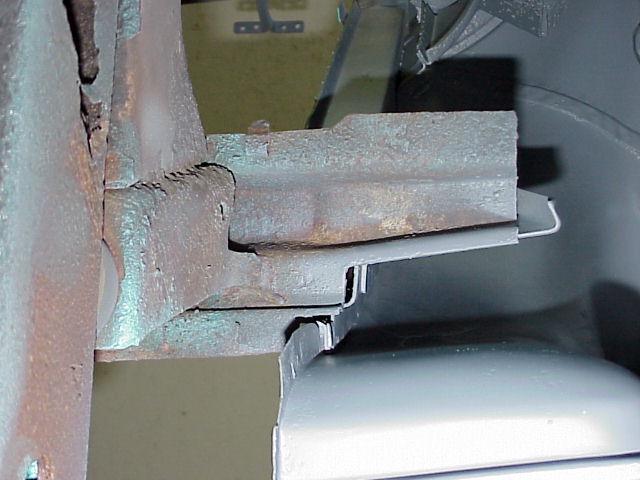
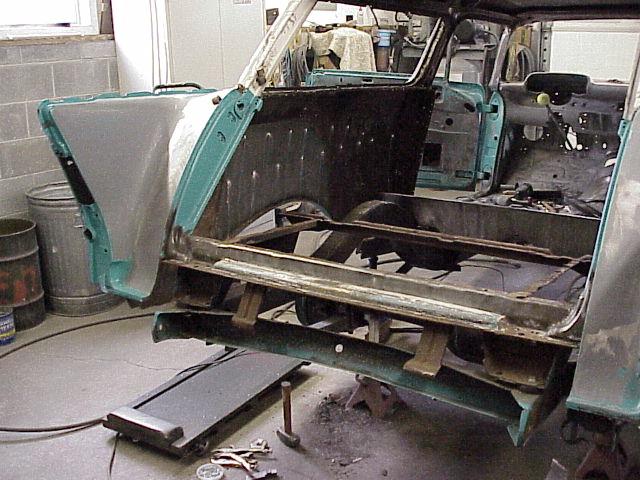
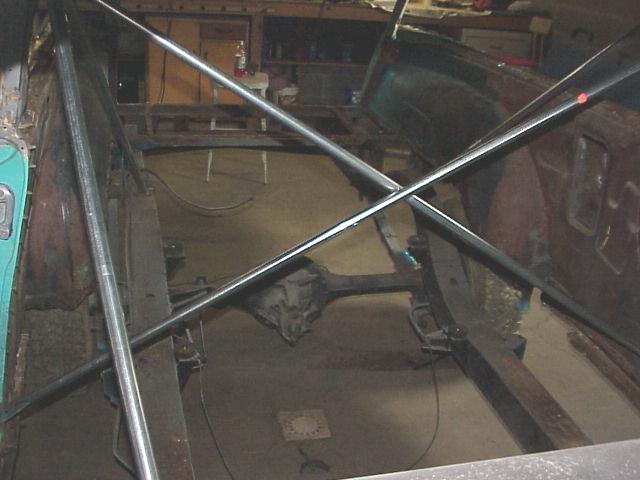
| New Frame Mated to Body |
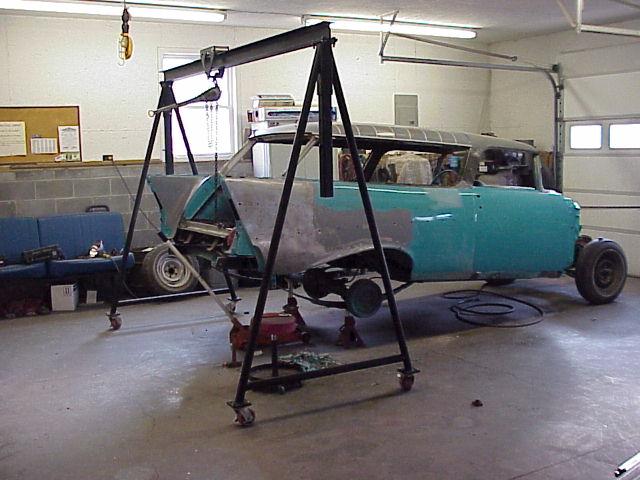
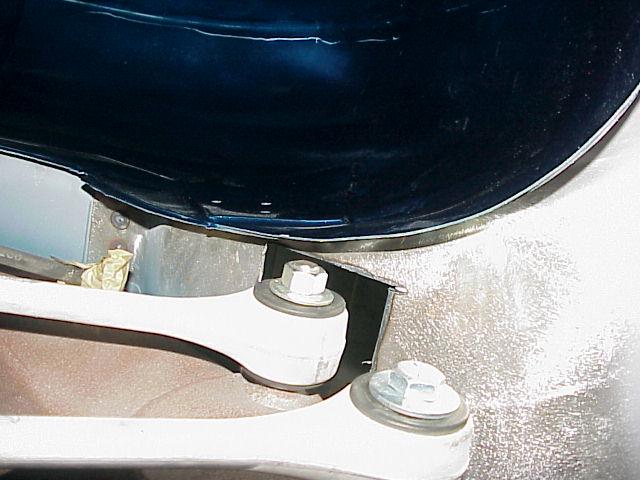
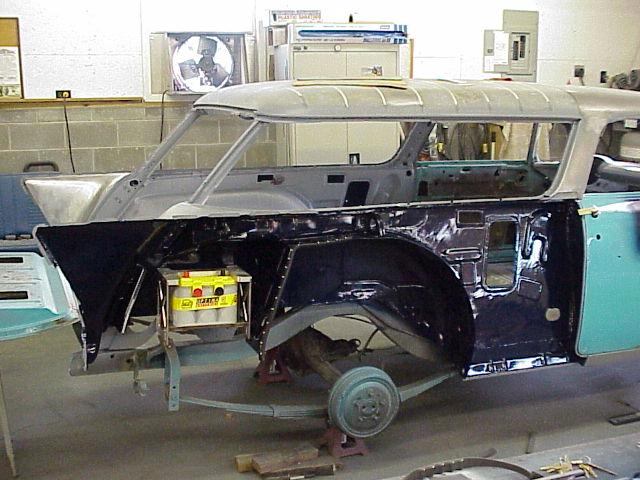
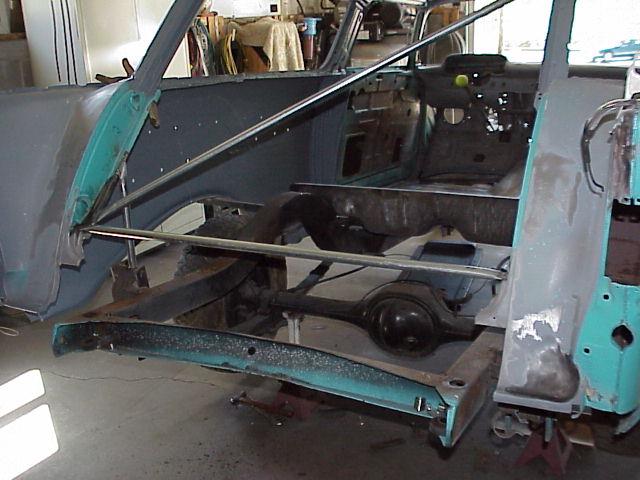
| August 4, 2003 - We trailored the new frame out to Steve's shop and dropped the body on it to find any clearance issues. Laszlo's placement of the engine is perfect! The floor area above the 'dog bones' on the rear suspension will have to be 'adjusted,' as will the seam area where the floor pans mate to the toe board. The rear wheels rub the insides of the fender wells, so I will need spacers if I want to use the Vette wheels. The wheel issue is no surprise. I asked Laszlo to use the 84-87 Vette rear because it is 1 1/4" narrower than the later versions. Earlier rear is 1 1/4" narrower overall (62.25" vs 63.5"). The idea being that I will have room for a little bit of "dish" if I decide later to change to a vintage-looking wheel. |

 |


 |
| Original Frame Removed |
| August 4, 2003 - The body was lifted off of the original frame in preparation for trial-fitting the new frame. |
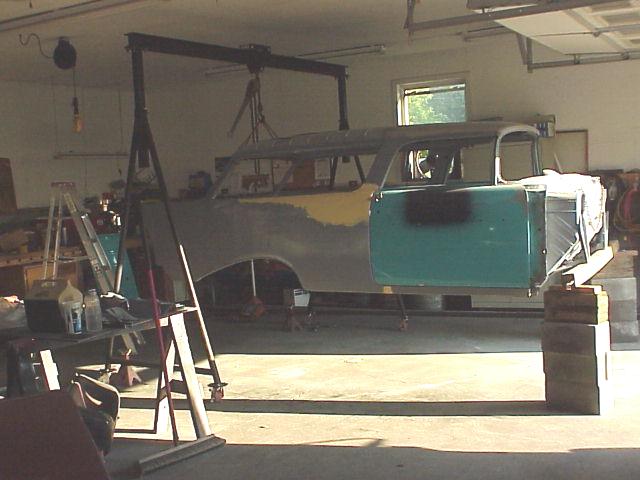 |
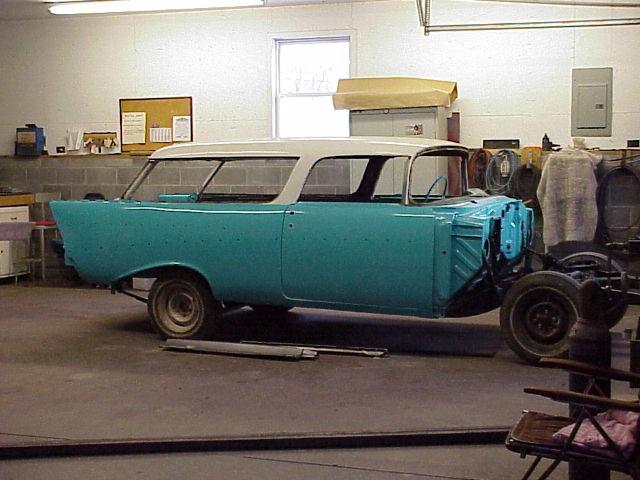
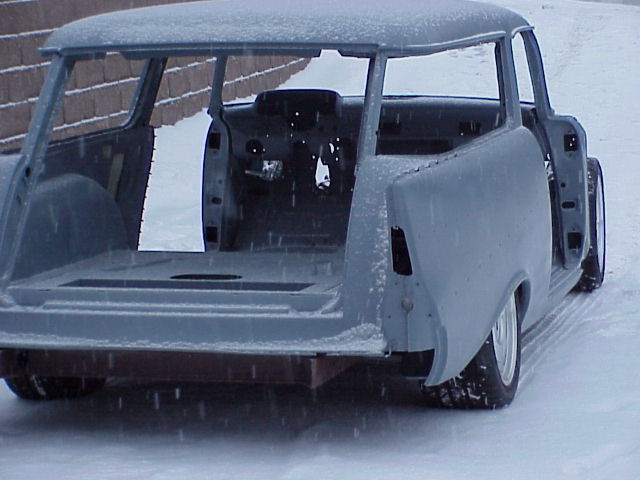
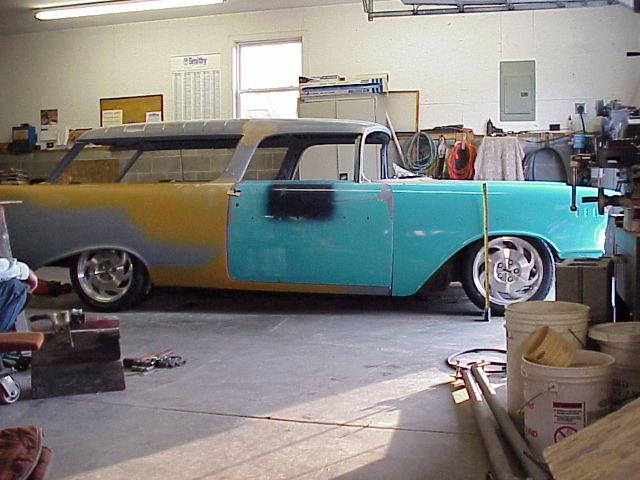
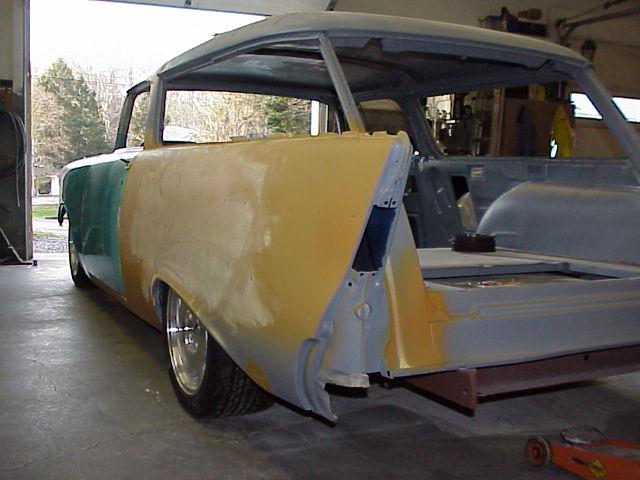
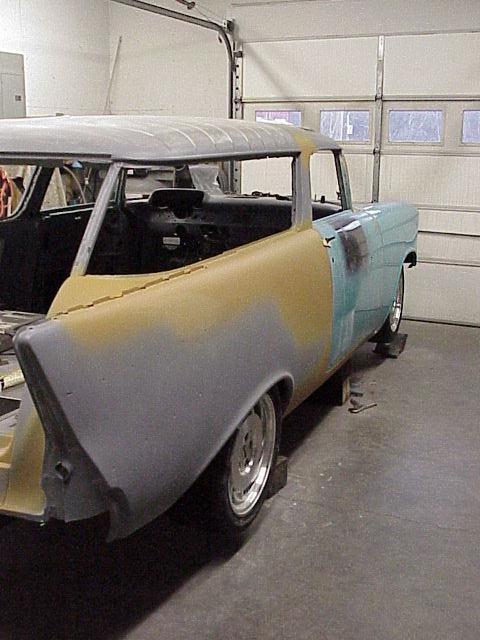
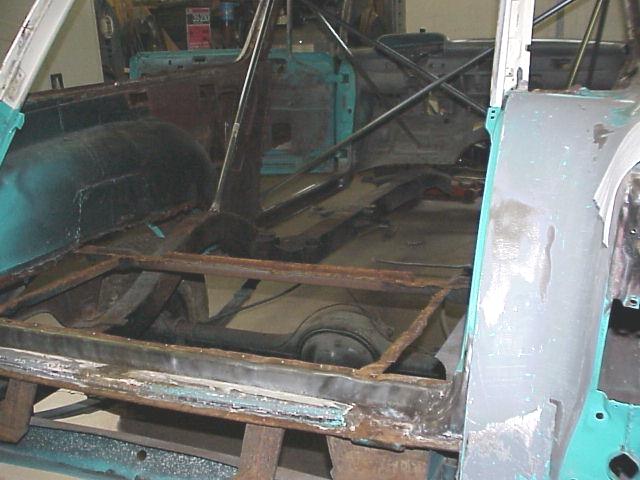
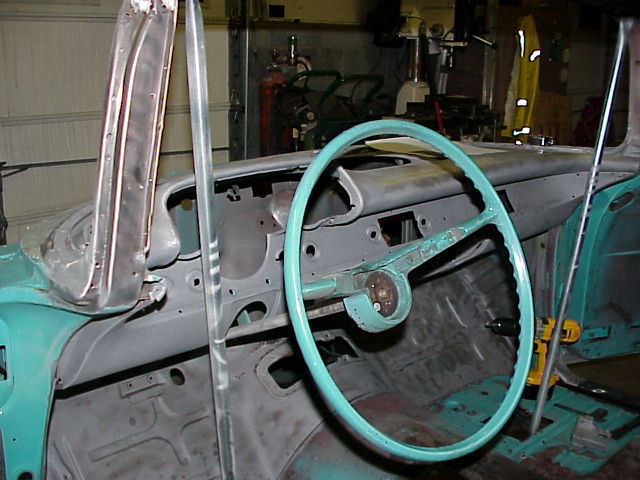
| Smoothing & Priming Begins! |
| August 1, 2003 - With all of the major panel replacement complete, Steve began the process of getting the body ready for paint. |


 |
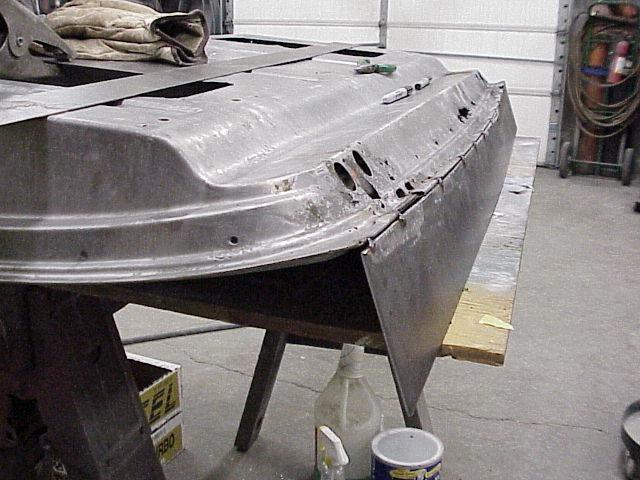
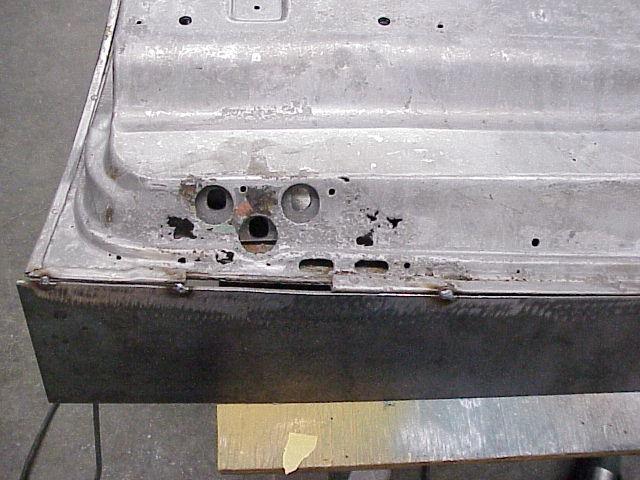
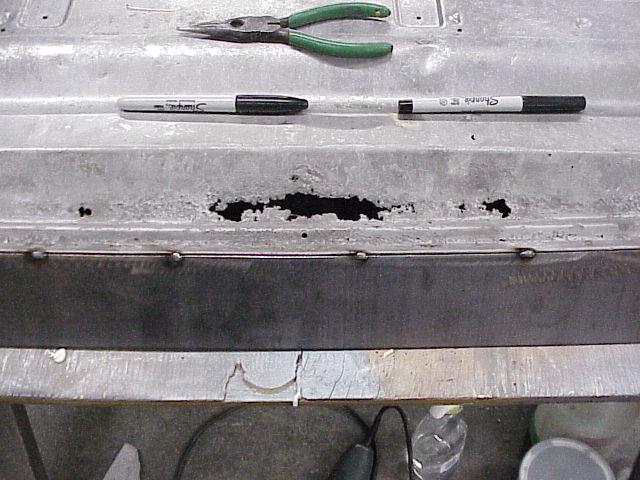
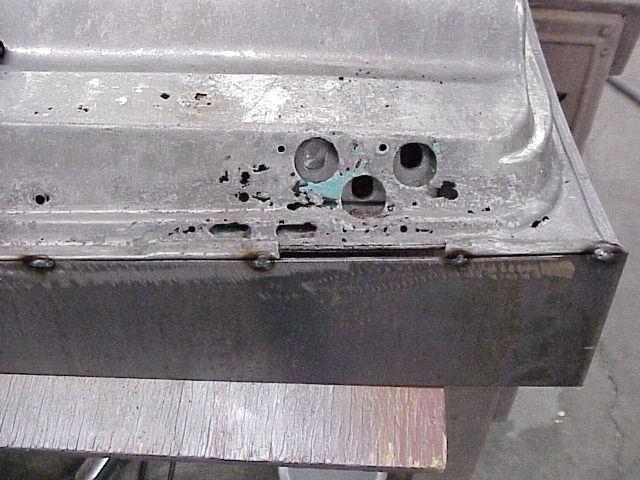
| New Tail Pan Installed |

 |
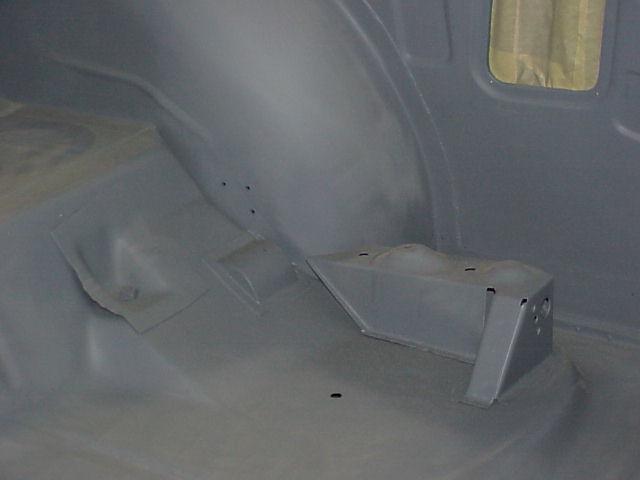
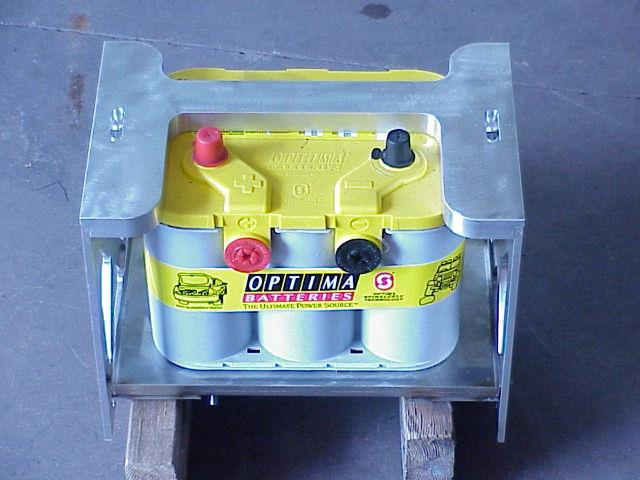
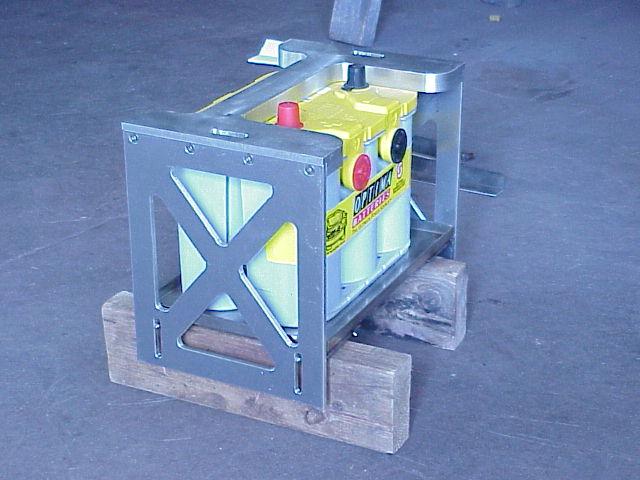
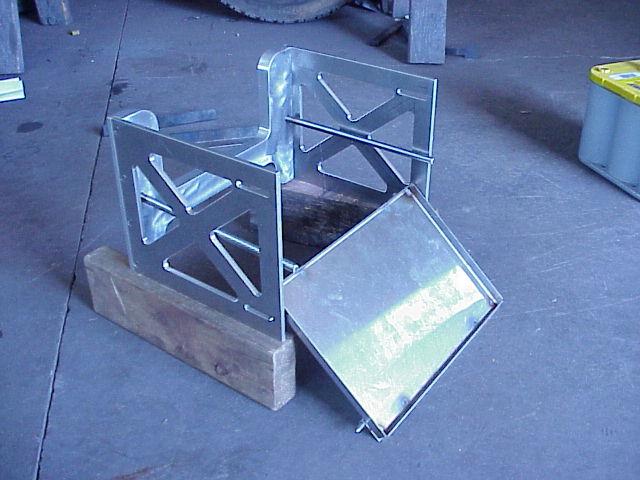
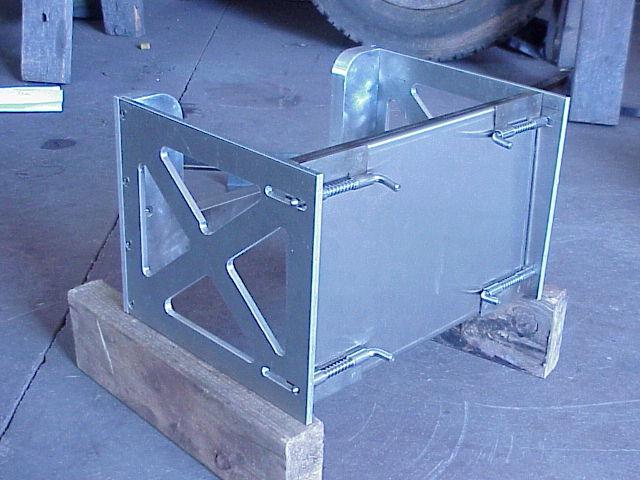
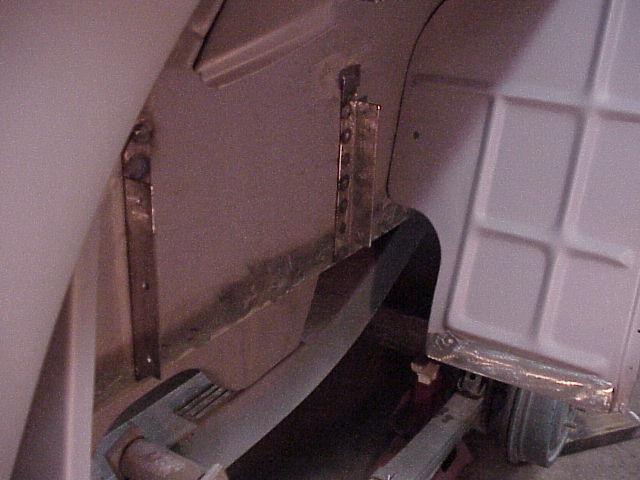
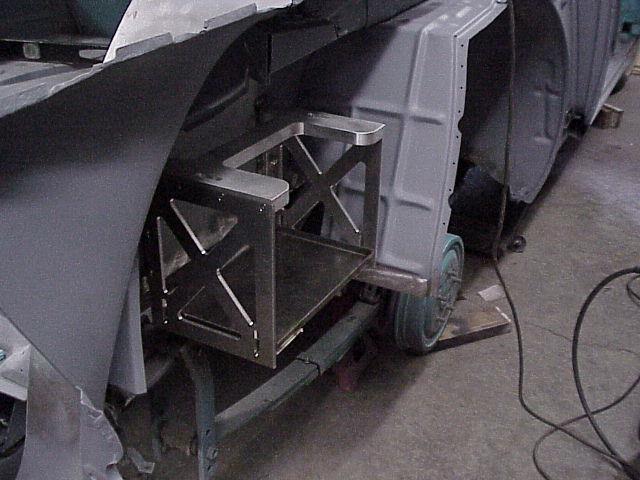
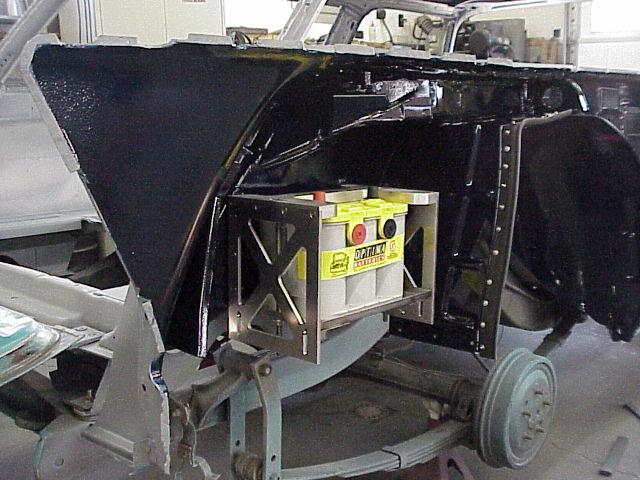
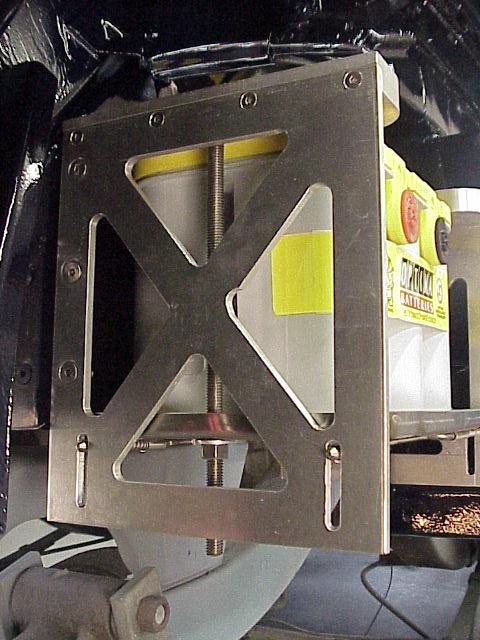
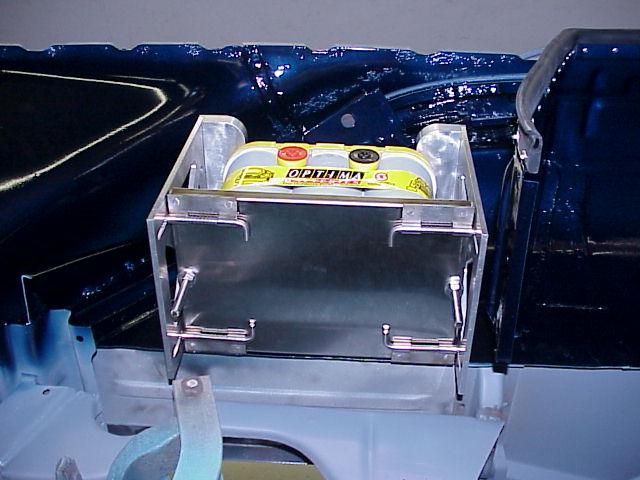
| Battery Box in Rear Quarter |
| July 15, 2003 - Steve designed and fabricated a custom battery box for mounting the battery in the rear quarter behind the right rear wheel well. The box is made of aluminum and stainless, and is designed to allow the box floor to drop down like a trap door. The rear flap of the wheel well will be secured with screws to allow removal and access to the battery. The spring shackle will not be an issue because it is not a part of the new frame with the Vette rear suspension. |
 |
 |
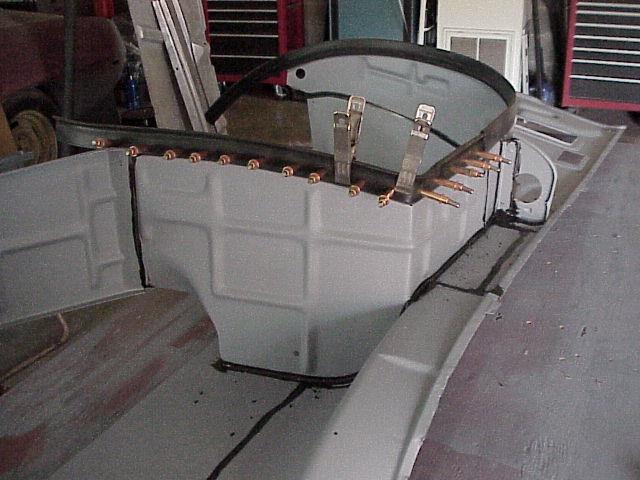
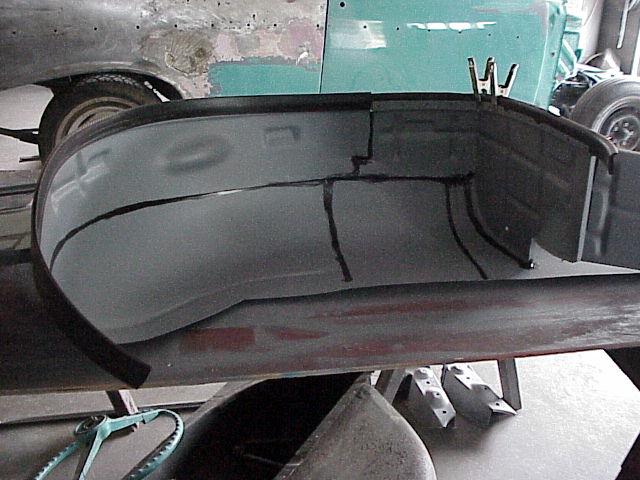
| Tailgate & Liftgate Alignment Done |
| Tailgate - liftgate alignment is an "issue" on most Nomads. Steve's skills are showcased in the way he has everything aligned. This should be an airtight and watertight setup once the gaskets and seals are in place. |
 |
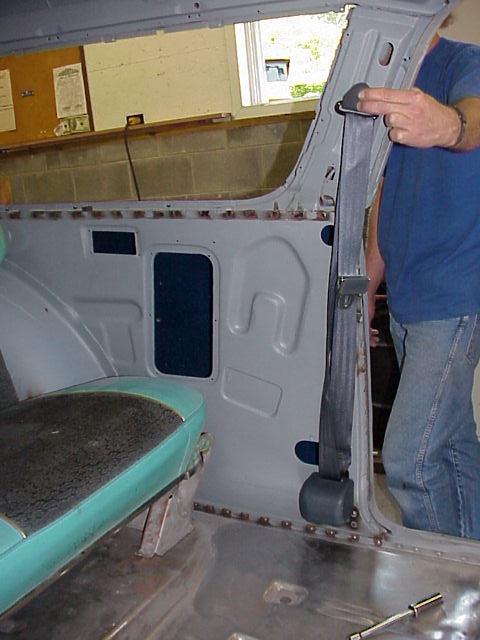
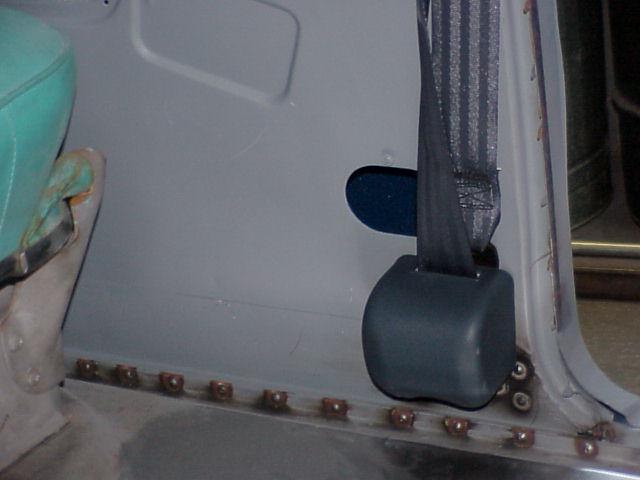
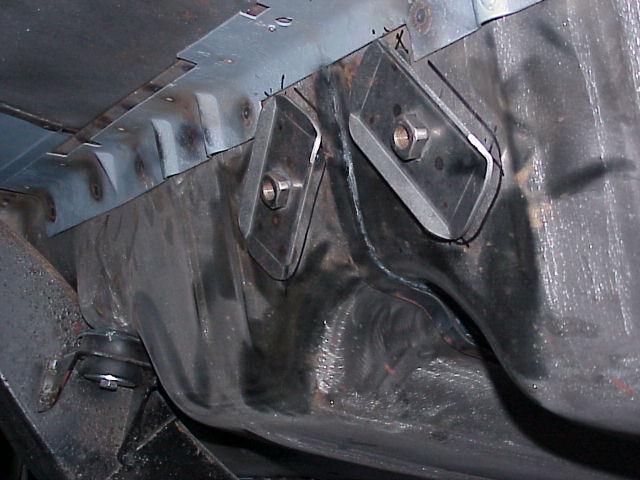
| Seatbelt Anchors Installed |
| June 29, 2003 - Front seat belts are 3-point retractables. Reels will be mounted to the inner quarter panels just behind the door openings. Top mount is welded to the B pillar. All of the seatbelts and hardware were sourced from Juliano's Hot Rod Parts. |
 |
| The rear seat reels will be mounted to the seat bottom brackets. The latch-side belts will be anchored to the floor panel behind the seats. |
 |
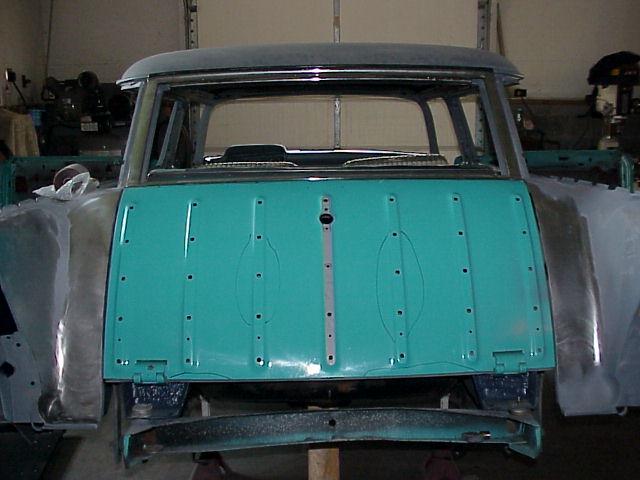
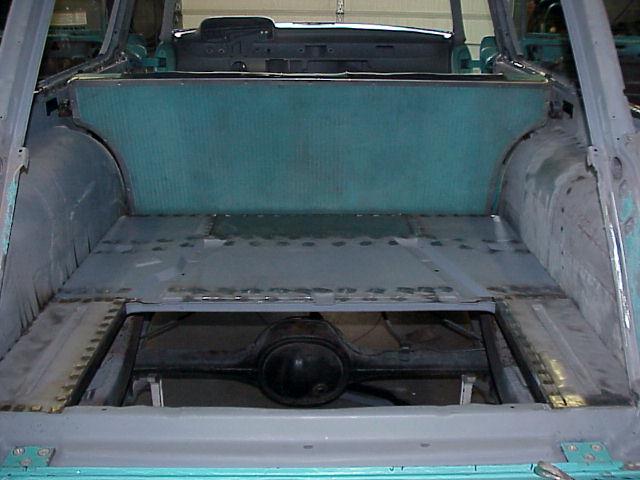
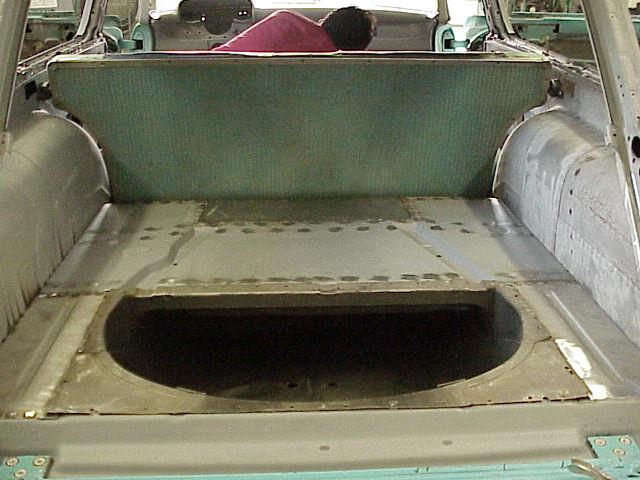
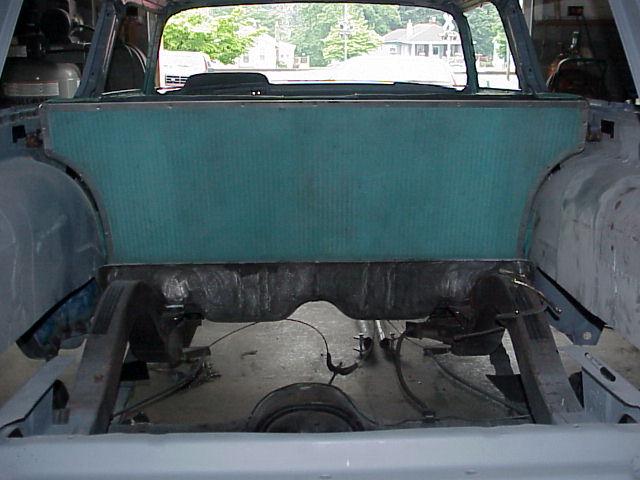
| Cargo Deck Sheet Metal Installed |
| June 21, 2003 - Steve attached the braces and eliminated the shock absorber mounts from the cargo deck sheet metal before welding it into place. The curved brace had to be rebuilt. |
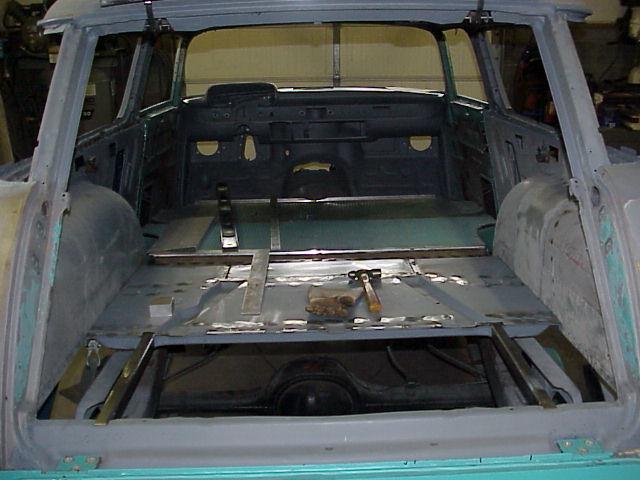
 |
| Spare tire well was trial-fitted but not installed. It is very doubtful that I will be able to use this part because of the Corvette rear suspension. Initial measurements indicate that the stock fuel tank will not fit. That being the case, I will have to have a custom fuel tank made. The most likely location for the custom tank is under the rear cargo deck in place of the spare tire well. |
 |
| Cargo Opening Aligned |
| Prior to final alignment of the cargo opening, Steve rebuilt the tailgate hinges with new pins. The liftgate hinges were straightened by Jerry Cabunoc. The liftgate frame is a straight one I got from Jerry. |
 |
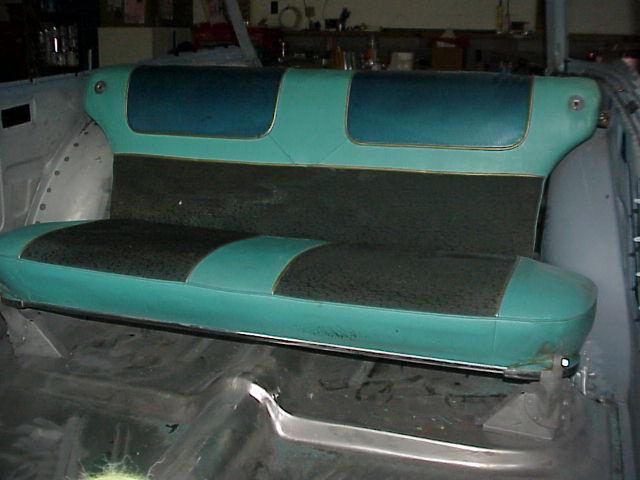
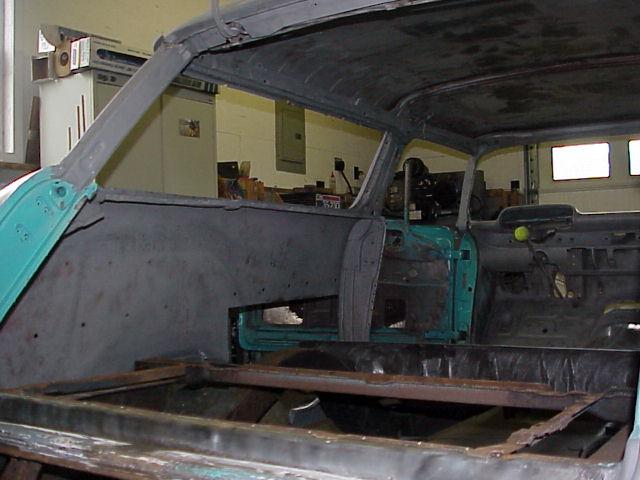
| Rear Seat Mounting Points |
| June 16, 2003 - With the floor and inner fender wells having been replaced, the mounting points for the rear seat had to be reestablished. Steve used a combination of measurements taken before disassembly, measurements and pictures from Dick Burrows' Nomad, and old fashioned trial and error to get them in place and folding correctly. |
 |
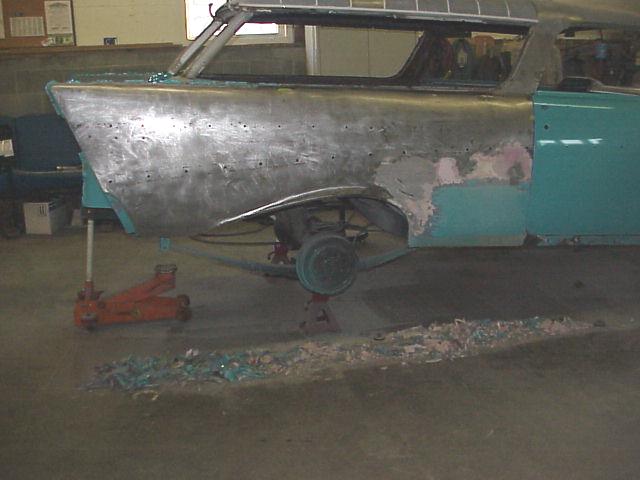
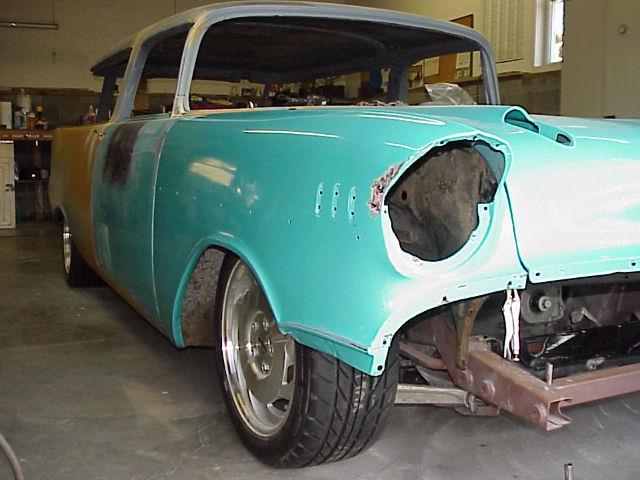
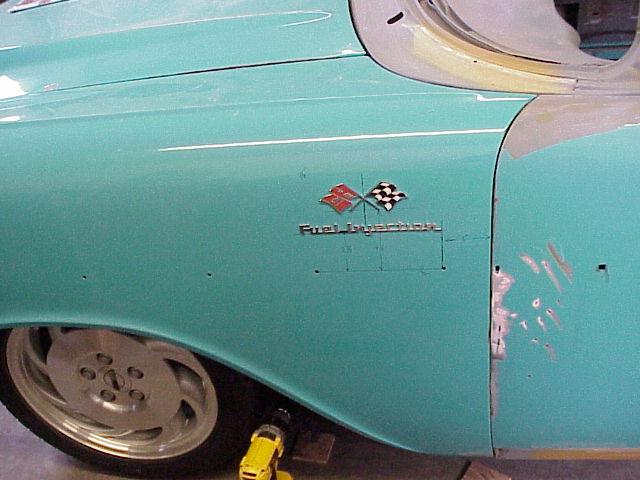
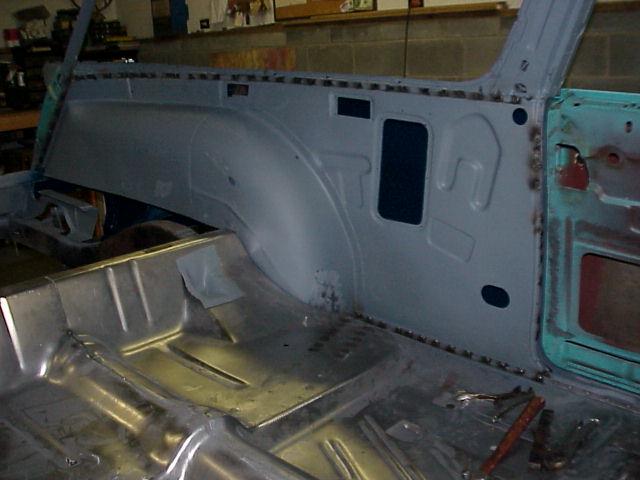
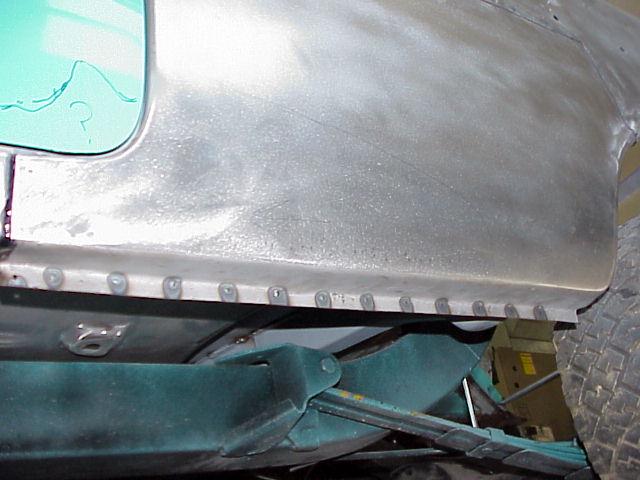
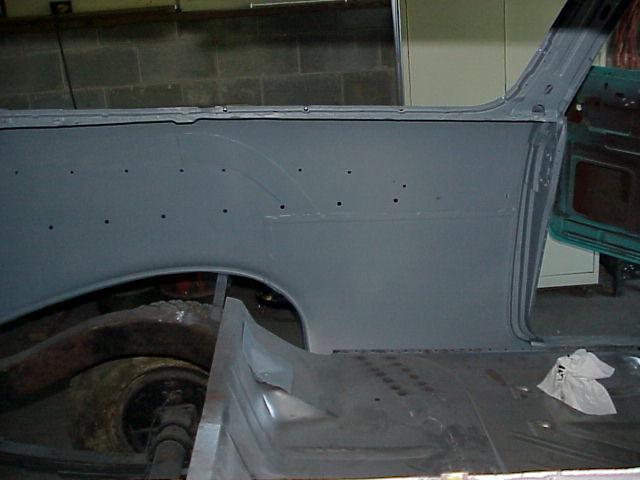
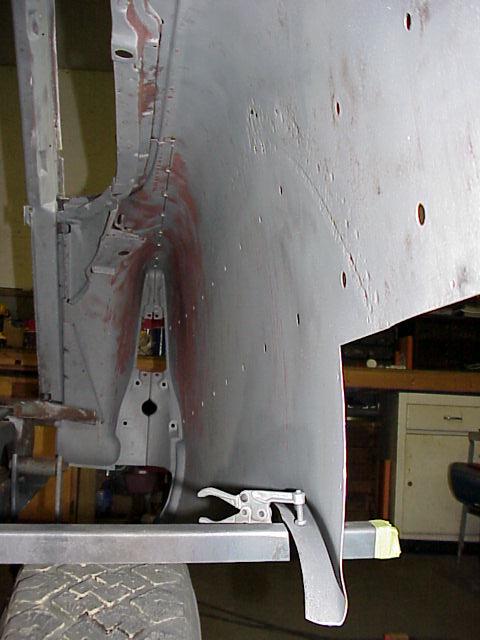
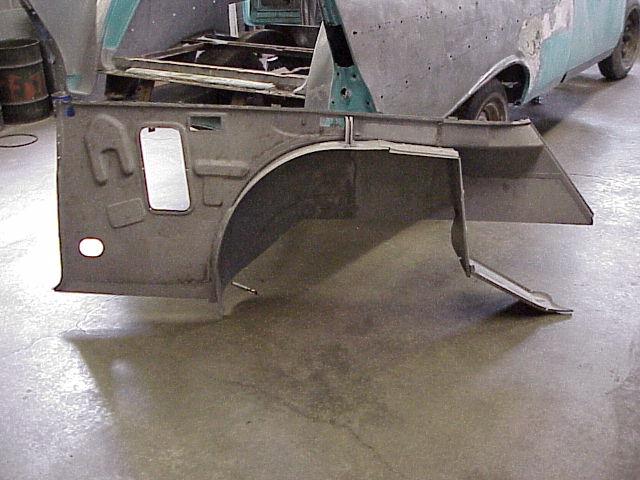
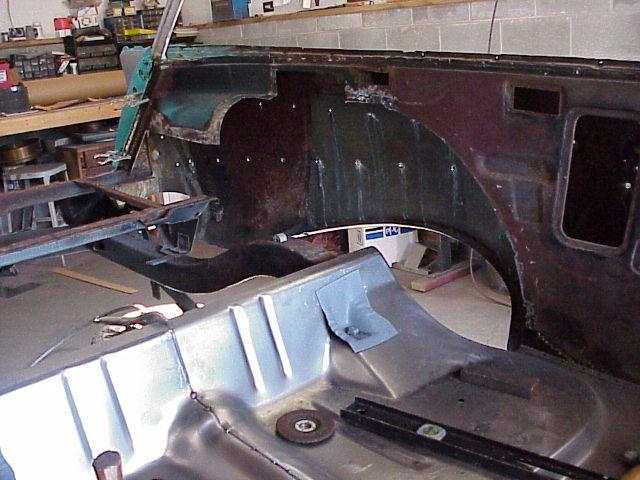
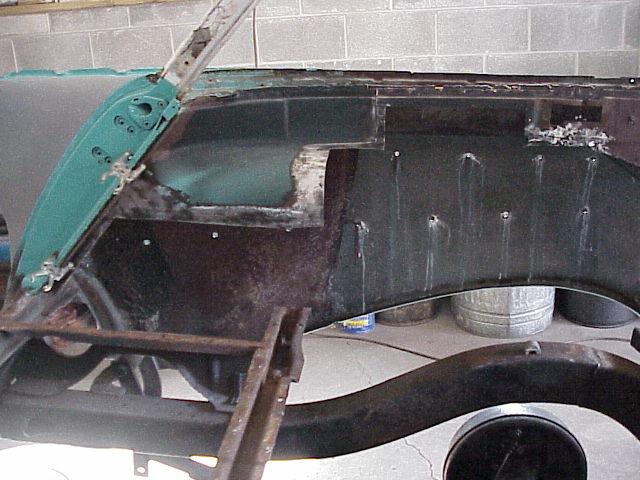
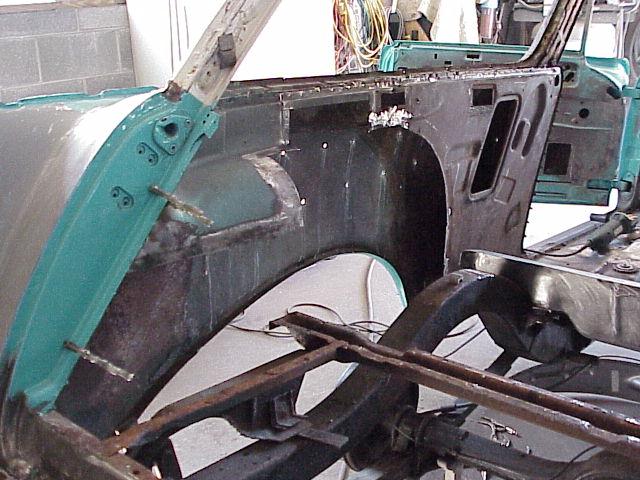
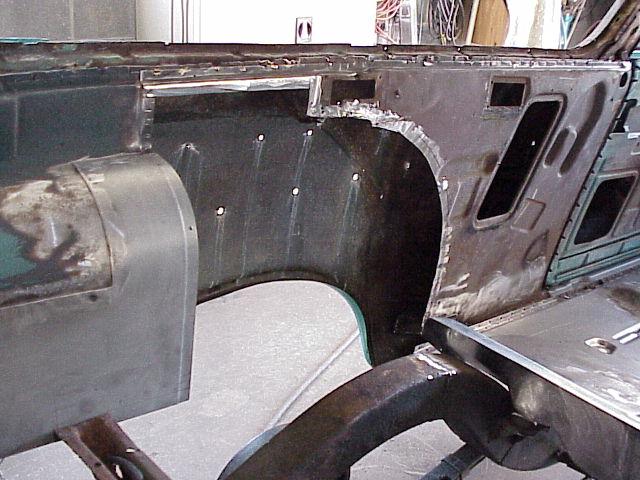
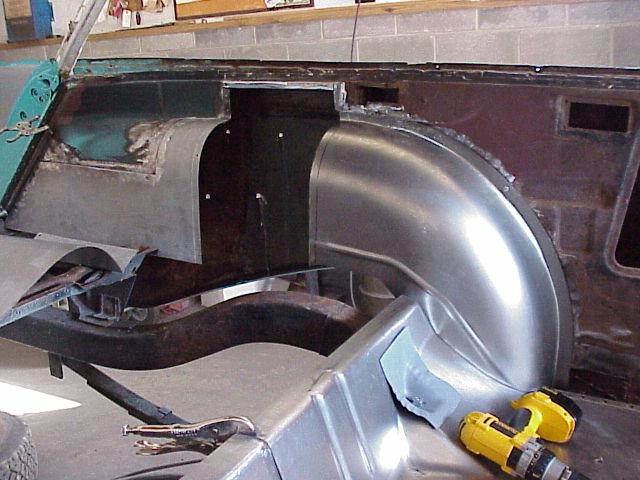
| Right Quarter Panel Replacement |
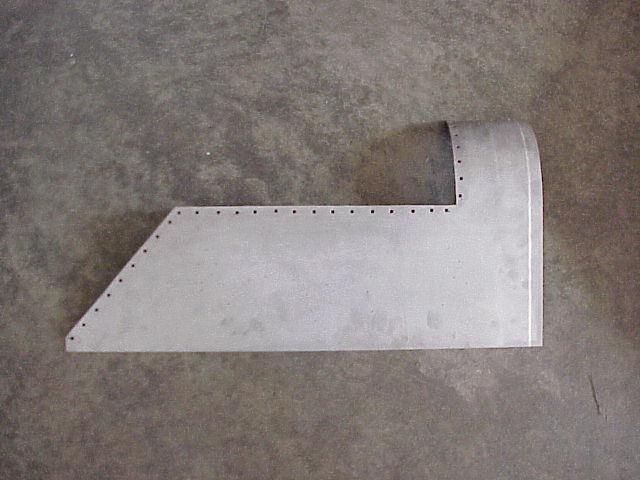
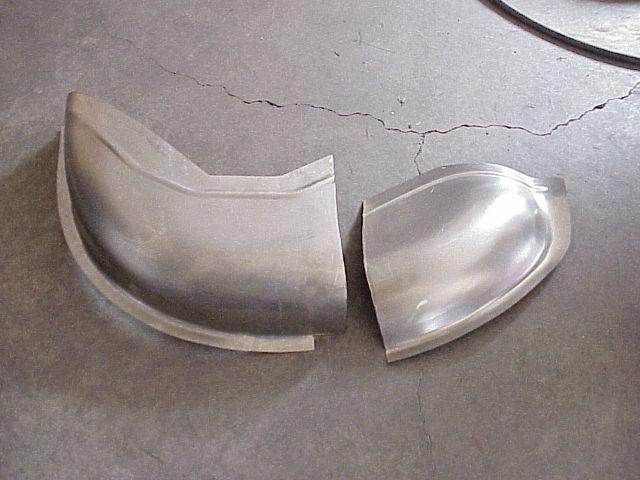
| June 1, 2003 - At some point in its past, the Nomad has been hit on the right quarter panel. The panel was replaced, but not in elegant fashion. Added to that, the quarter has seen significant rust and body putty repairs. Reproduction quarter panels are not available for '57 Nomads, and I have been unable to locate a good used one that is for sale. I was left with the options of either trying to repair the old one, or adapting a reproduction quarter panel designed for a 2-door hardtop. I left the decision to Steve, and Steve opted for the new panel. |
| The process of adapting the 2-door hardtop quarter panel to the Nomad is fairly involved, so I created another page for all the pictures involved. Here are some before and after pictures. |
Before:

 After:

 |
| Here is the to the page with detail pictures of the process Steve followed. |
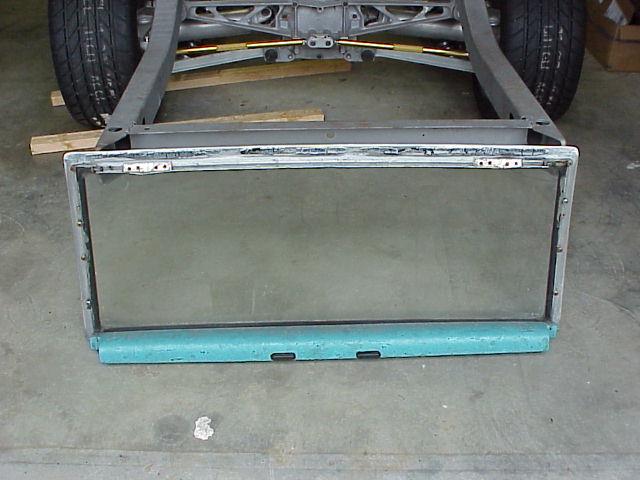
| Liftgate Saga |
|
When I purchased the Nomad, I was fortunate
that it came with two liftgates. These gates are pretty rare, as
they are unique to the 55-57 Nomads. They are made of pot metal, and
they are not reproduced. Unfortunately, the gate on the car turned
out to be cracked, and the "extra" one is badly pitted, and will require
many dollars worth of repairs and replating to make it useable.
Based on information learned on the Chevytalk site, I knew that I could send my gate to Jerry Cabunoc in California to have it repaired and reshaped. The only problem being that the process can take months to complete. As it turned out, I did not have the luxury of months to wait. Steve needed the liftgate and tailgate available as he reworked the body, to ensure that the rear opening would be just right. Jerry needs the side pieces and the hinges to do his magic on the liftgates, so I shipped those pieces to him in California. Jerry will send me a straight gate (that needs to be rechromed) to allow Steve to align the body in the short term. I'll then send it back to him, along with my two "extra" gates so Jerry can recommend my best route to follow to achieve a "perfect" gate for the finished product. This can be done while the rest of the body work is being completed. |
Old gate pics:


 |
|
New gate before re-chrome:
|
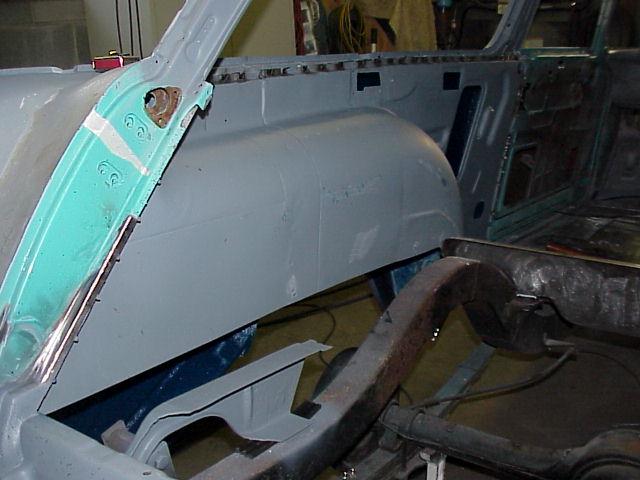
| Right Inner Quarter Rebuild |
| May 18, 2003 - Steve took a different approach to the rebuilding of the right side inner quarter than he did on the driver side. Because the right outer quarter panel is going to be removed and replaced, Steve was able to rebuild the inner quarter without removing it from the car. |


 |
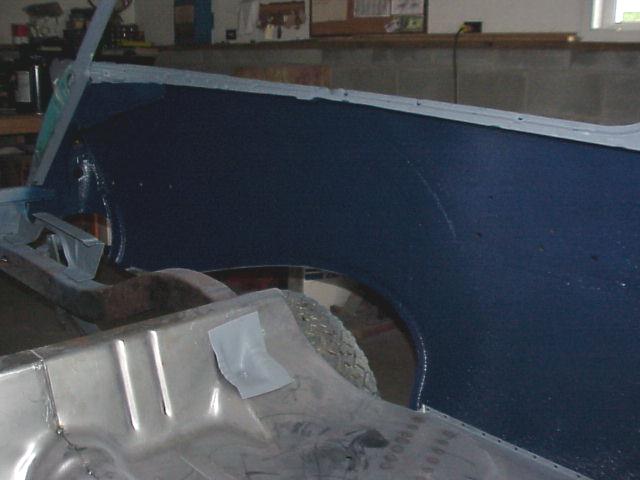
| Left Quarter Reassembly |
| Steve used tinted spray-on bed liner to coat the inside areas of the inner and outer quarter panel. The idea being that it should provide good corrosion protection and sound deadening as well. The rubber seals were attached before the inner quarter was welded in place. |

 |

 |
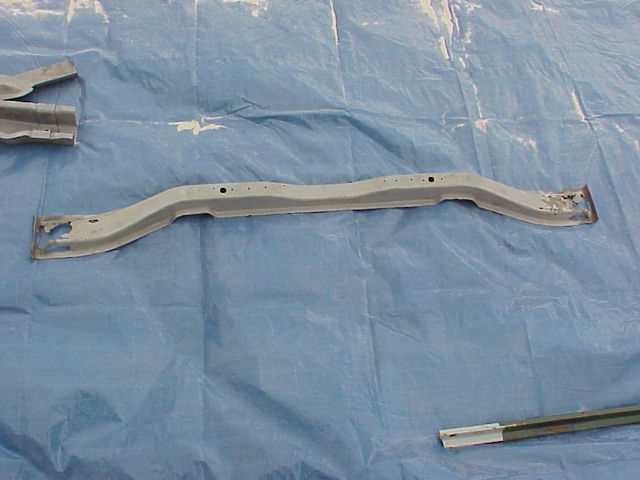
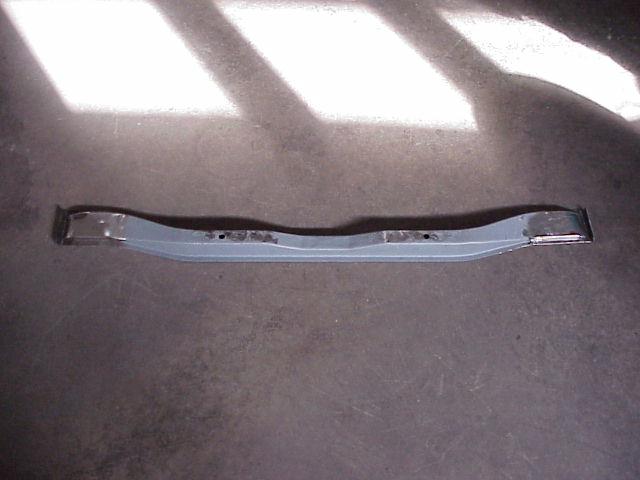
| Tailgate Brace Replaced. |
| The position of the old brace was checked carefully before removal. We want to make sure the new one is installed correctly for perfect tailgate fit. Surprisingly, the ends of the brace were not welded to the support pieces that appear to be designed for that purpose. Steve welded the new one to the supports to take advantage of the additional support. |
 |
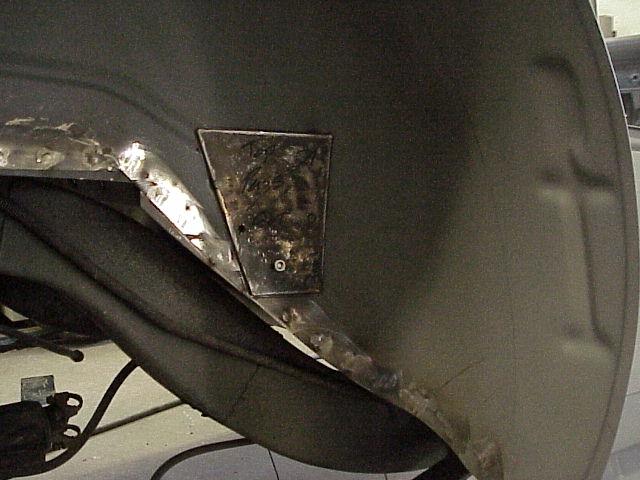
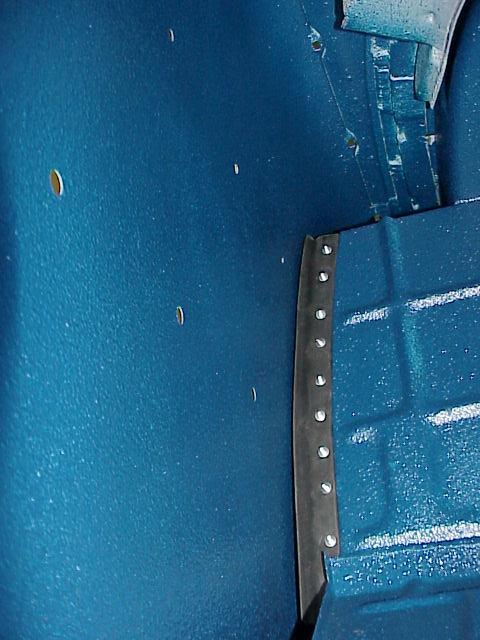
| Left Outer Quarter Patch Panel Installed |
| Steve used panel cement to attach the patch. The only welding was on the bottom, attaching it to the new inner rocker panel. He also added material to the inside of the panel in the area where the wheel well seal rubs against the outer quarter. This area has warn thin over the years. |
 |
| Left Outer Quarter Cleaned Up and Ready for Reassembly |
| Wow! This is really more than I ever wanted to see.... |


 |
 |
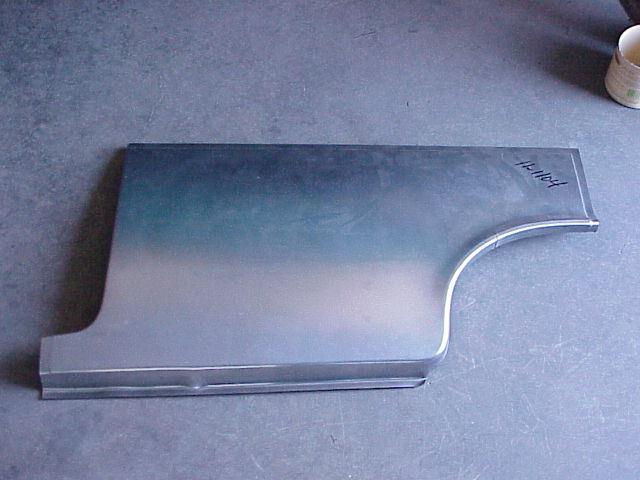
| Left Outer Quarter Cut For Patch Panel |
| The lower front section of the left outer quarter panel was shot, so Steve cut it out. After an initial bad experience with a low quality patch panel, I ordered a new & improved patch panel from East Coast Chevy. It costs a lot more, but well worth it! |
 |
| Left Inner Quarter Panel Welded & Blasted |
| I think this is looking pretty good considering Nomad-specific parts are not available as reproductions... |

 |
 |
| Left Inner Quarter Panel Removed |
| Steve said this needed to be done in order to gain enough access to do the job right. Looks scary to me... |

 |
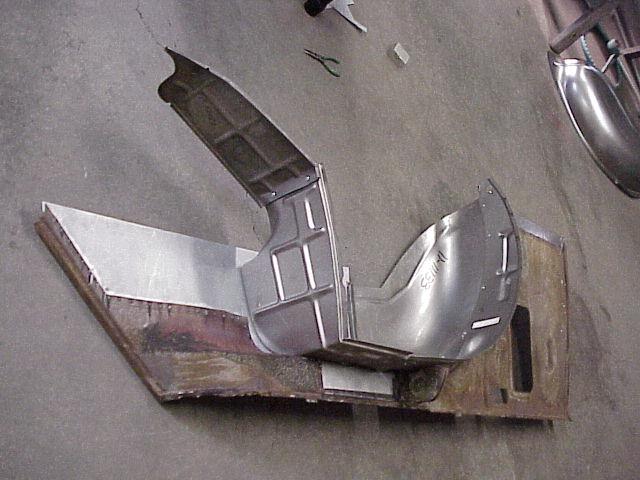
| Outer Fender Wells - Trial Fit |
| Steve did a mockup of the outer fender wells before removing the entire inner quarter. |
 |
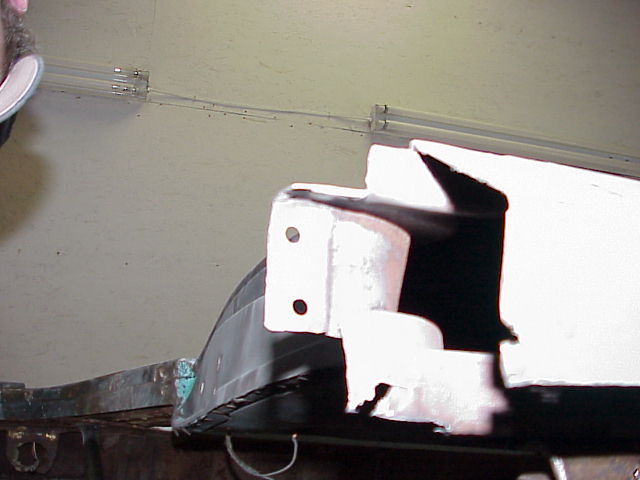
| Inner Quarters - Bottom Edge Repair |
| The bottom edges of both rear quarters were damaged from a combination of rust and earlier repairs that were less-than elegant. Steve cut off the bottom edges and fabricated new pieces to replicate the originals. |


 |
| Reconstruct Inner Fender Wells |
| Nobody makes reproduction inner fender wells for the Nomads. I was not having any luck finding good used ones. Steve decided to make new ones starting with reproductions meant for sedans. He cut them in half and used the front sections. Steve made the center and rear sections by hand, out of flat steel. |
 |
 |
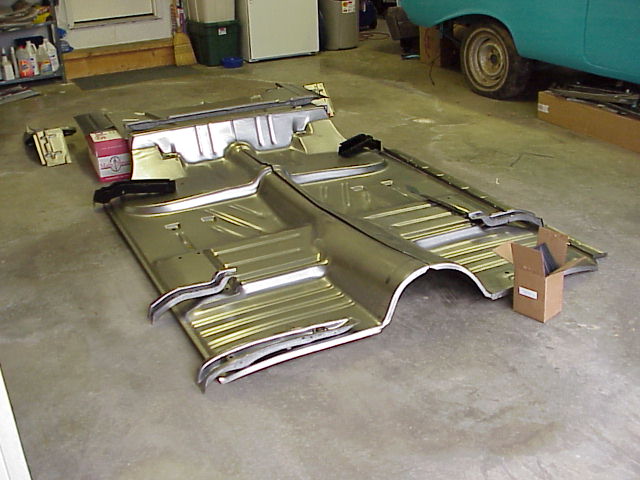
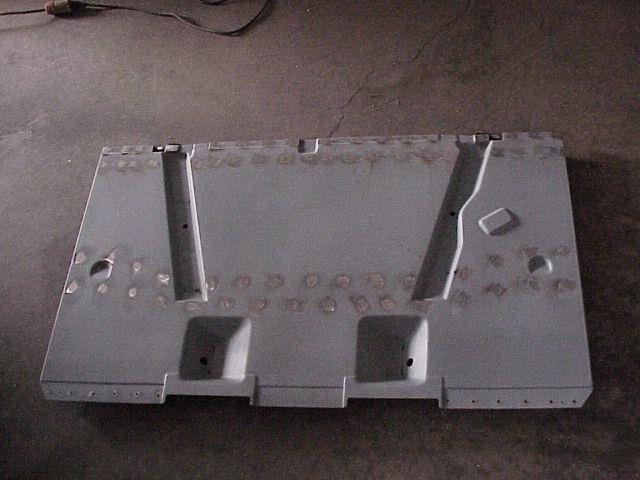
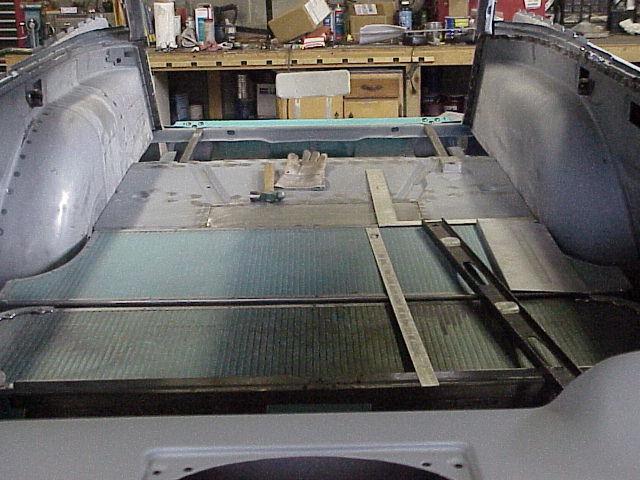
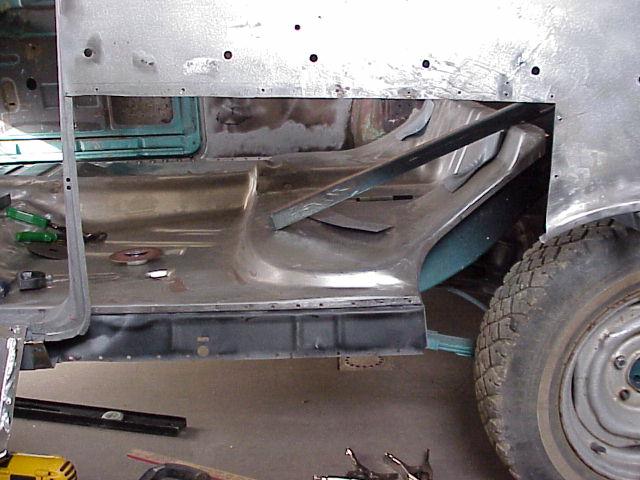
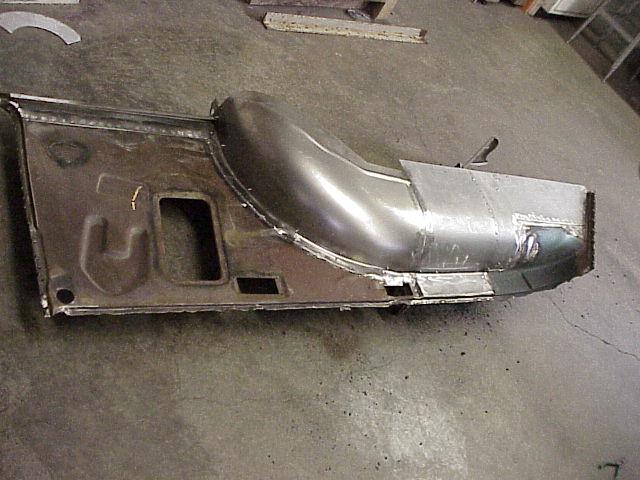
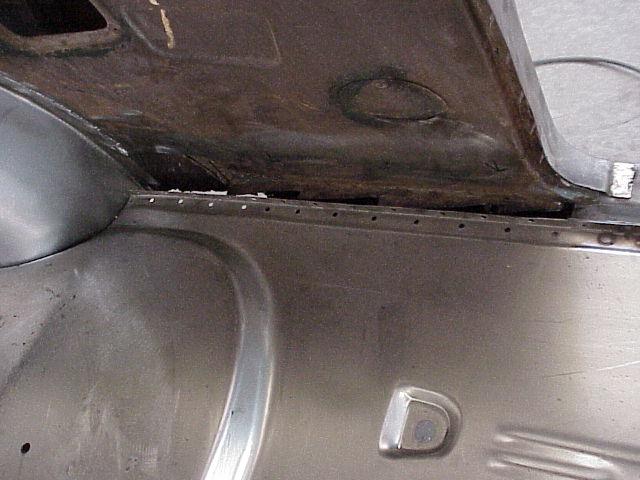
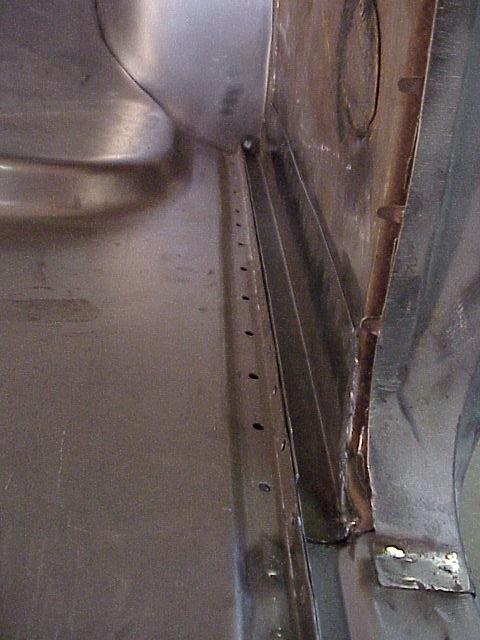
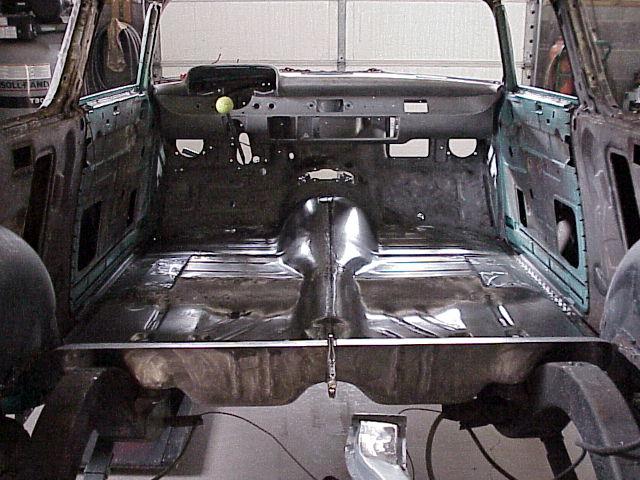
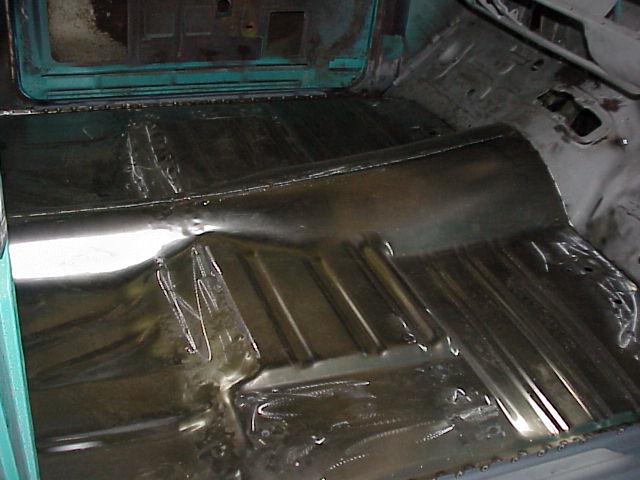
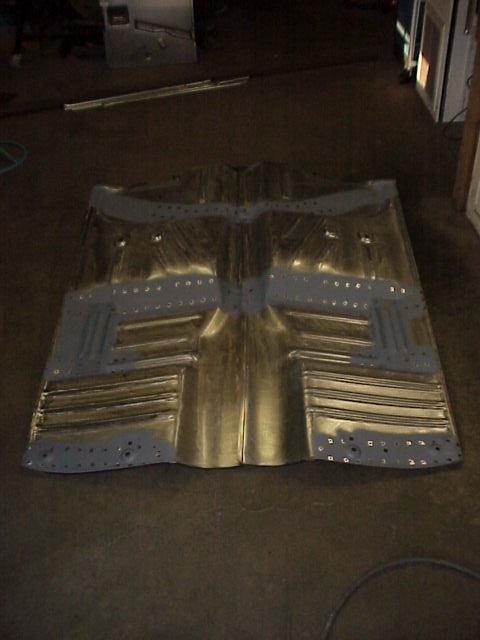
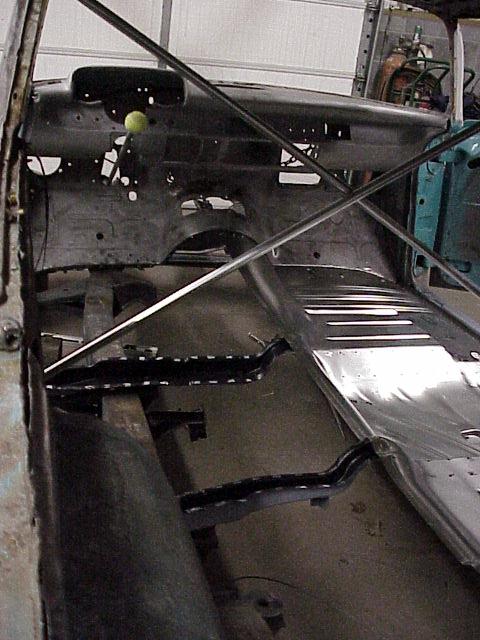
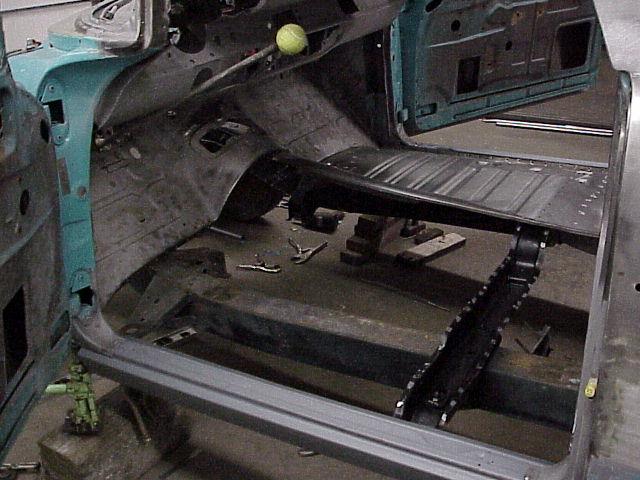
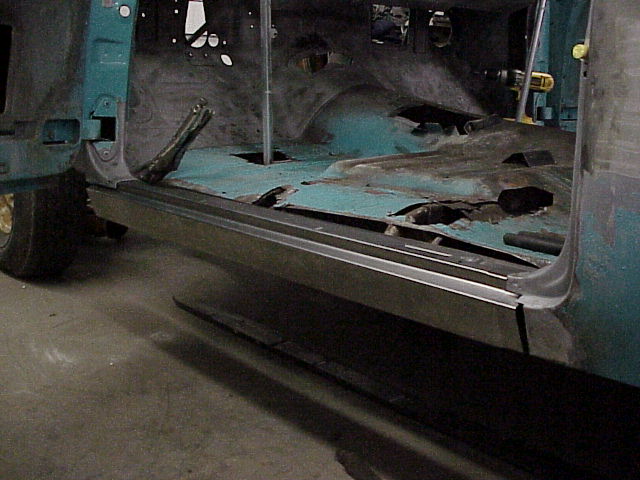
| Floor Pan Installed |
| The new floor pans were welded into place. |
 |
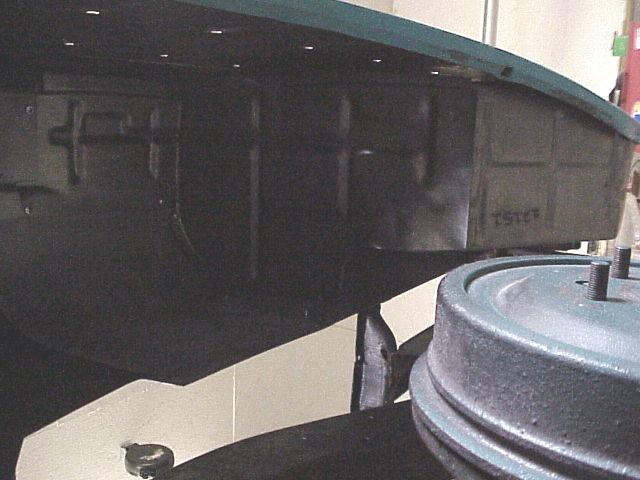
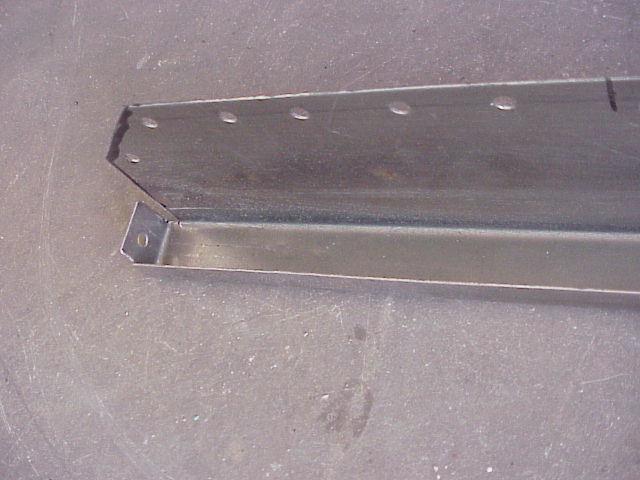
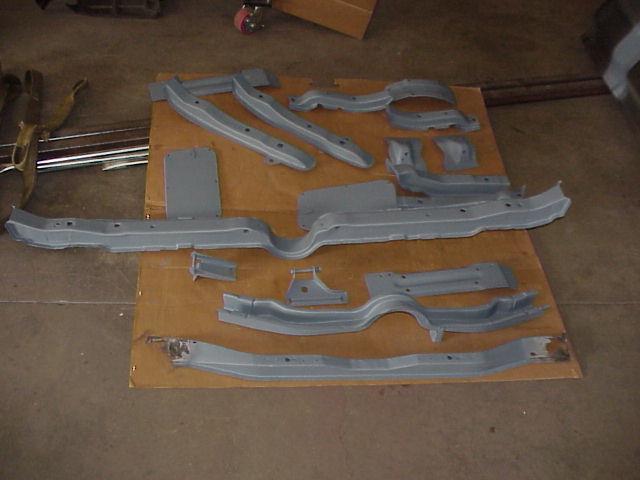
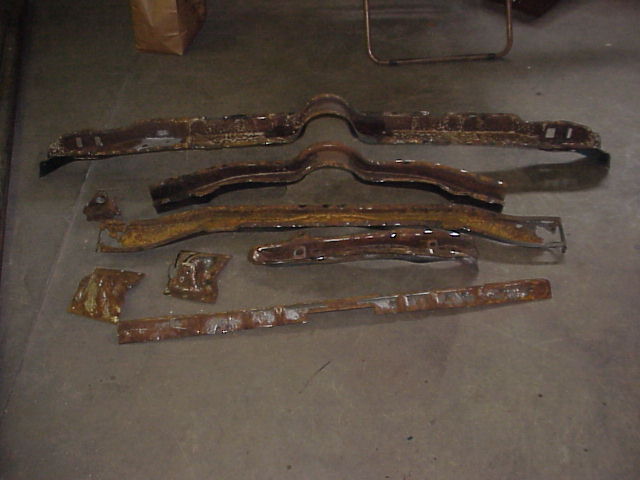
| New Pans, Braces, Rockers Prepared |
| The replacement sheetmetal parts are of good quality, but all require a fair amount of time and effort to get them to fit properly. The pans, braces, inner rockers, and outer rockers must all be temporarily installed and checked for alignment with each other. Most important is that the proper door gaps are maintained. |


 |


 |
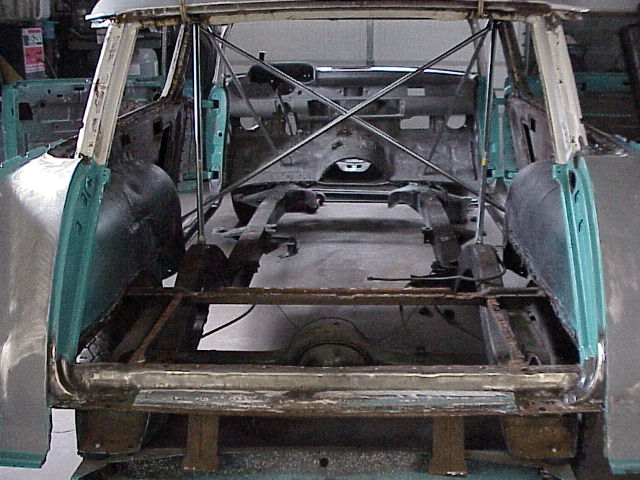
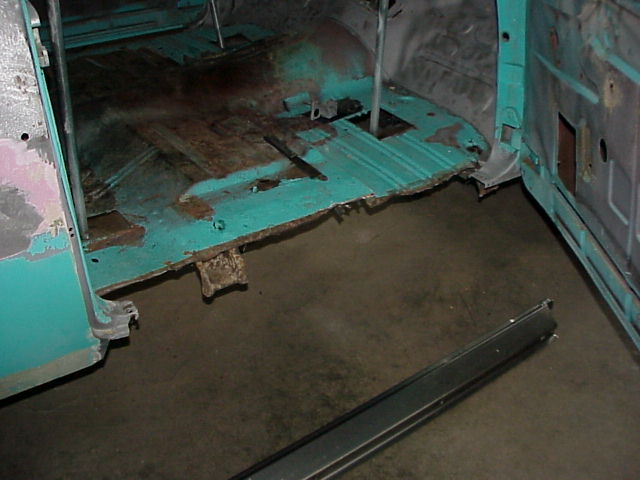
| Old Floor Pans and Braces Removed |
| Steve cut out the old floor pans and removed the braces for sandblasting and repairs. He built a truss system to hold the body in place while the floor section is out. |

 |

|
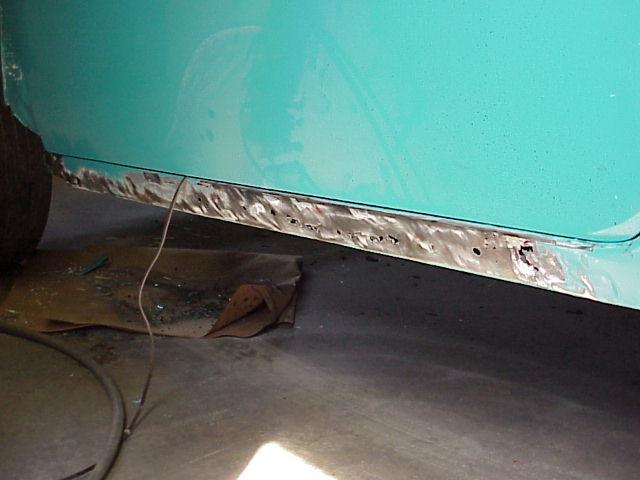
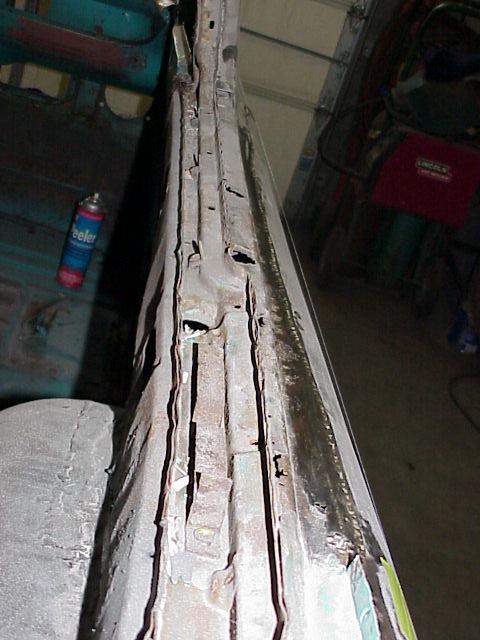
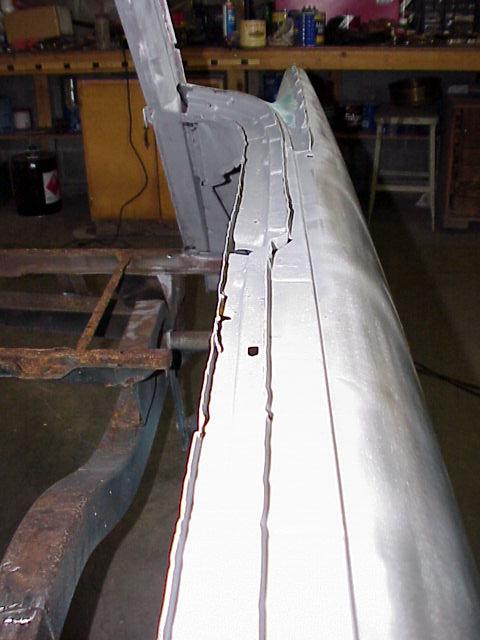
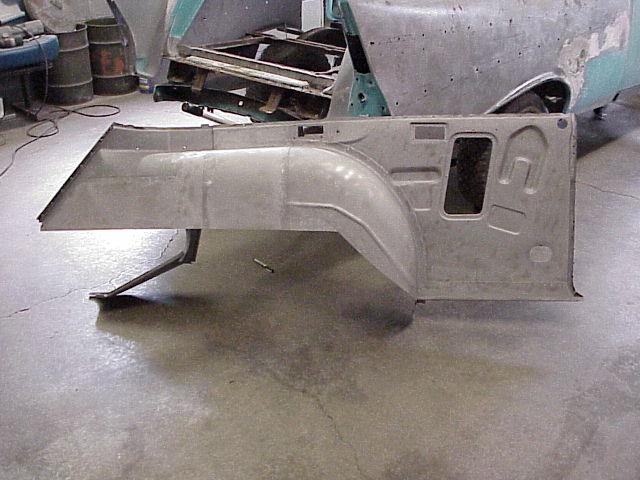
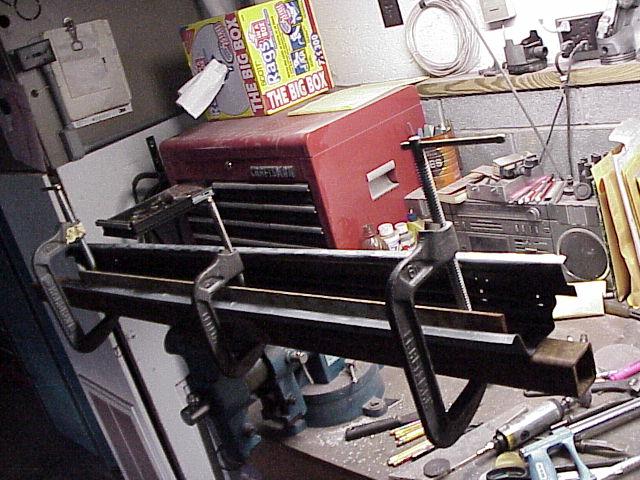
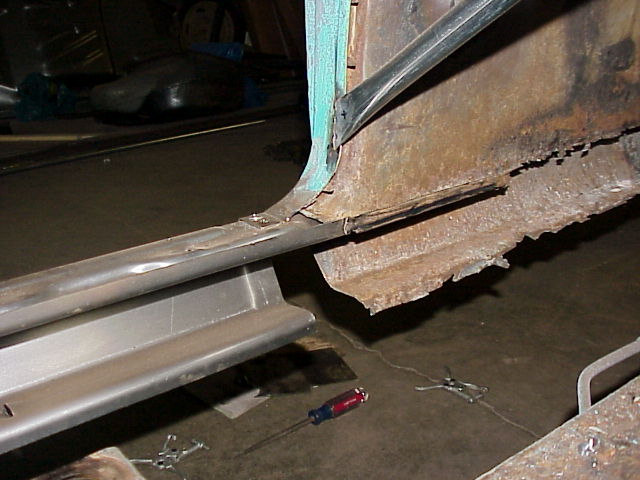
| New Rocker Panels |
| The new rocker panels required a fair amount of work to achieve perfect alignment with the main body and the doors. |
 |
| Sandblasting |
| March 19,2003 - After bracing the body and cutting out the outer rocker panels, Steve sandblasted the affected area, the dash, and inner firewall. |


 |
| Body Braced, Surgery Begins... |
| Steve cut holes in the floor and welded braces before cutting out the old rocker panels. |

 |
|
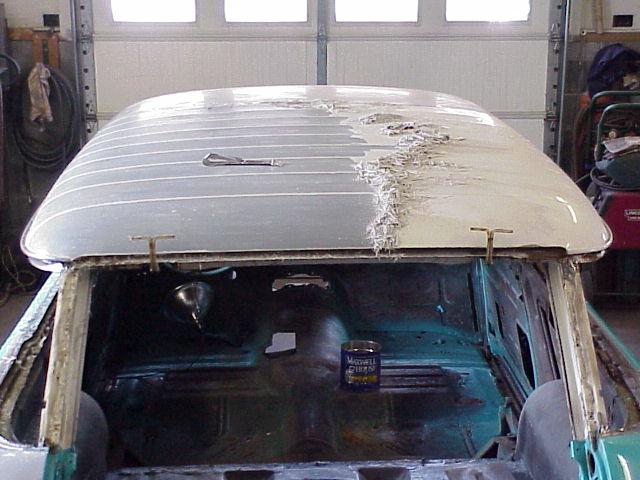
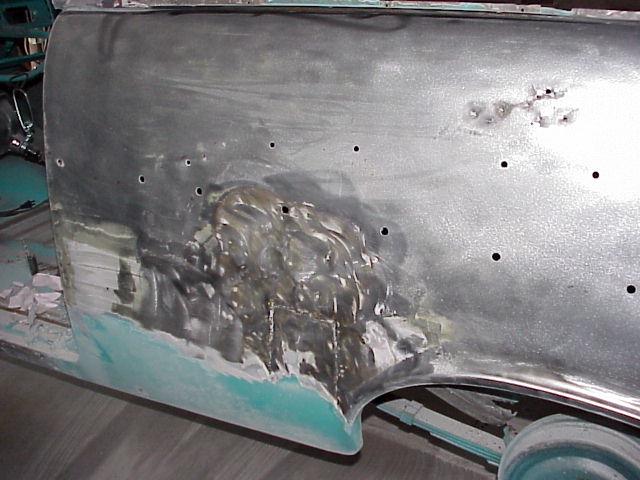
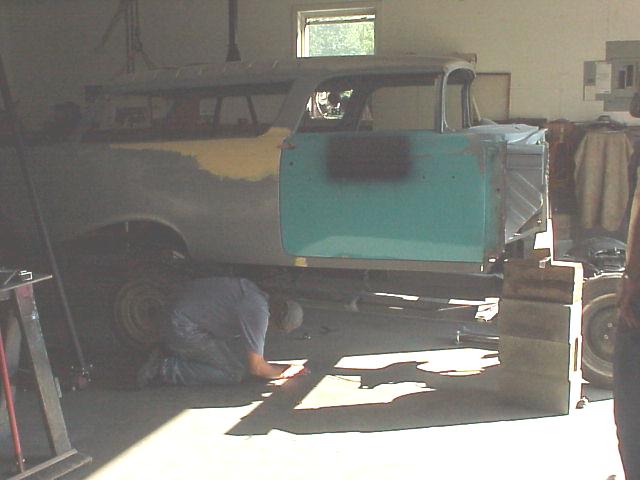
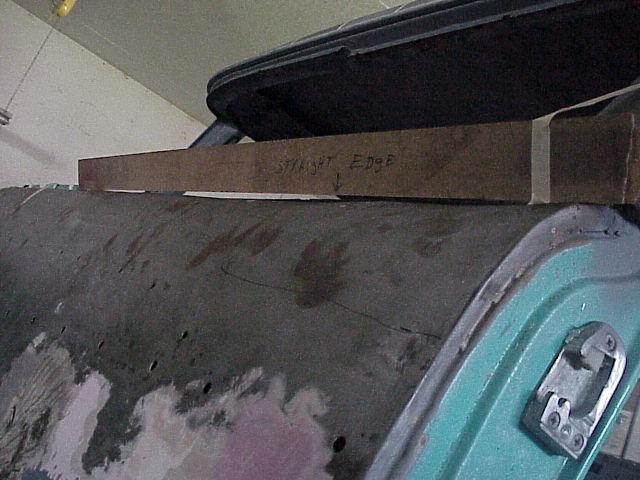
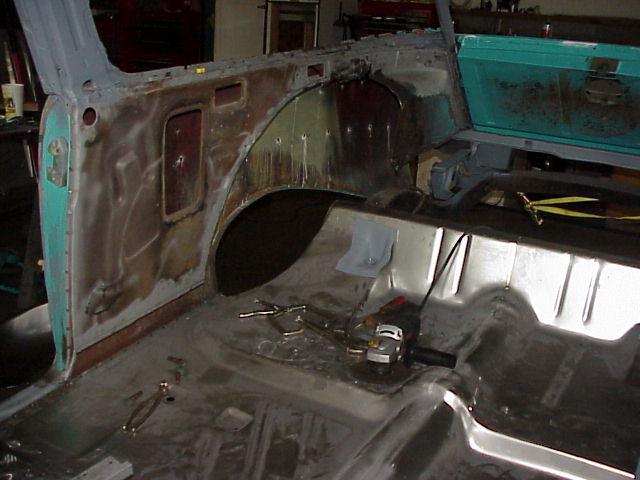
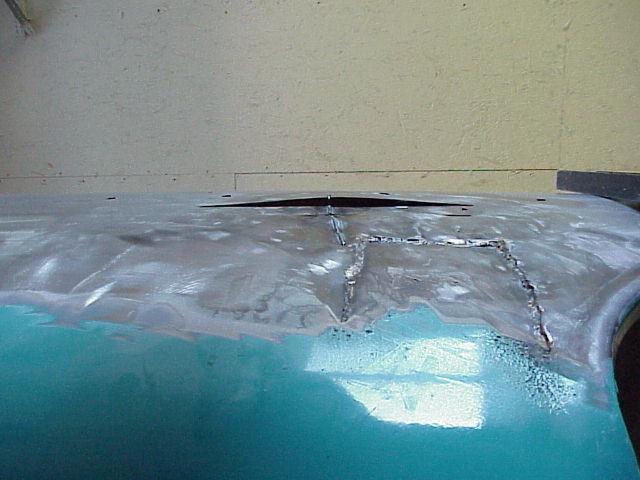
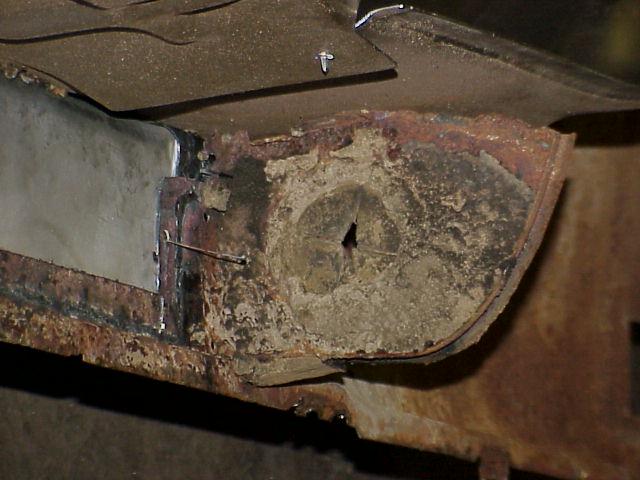
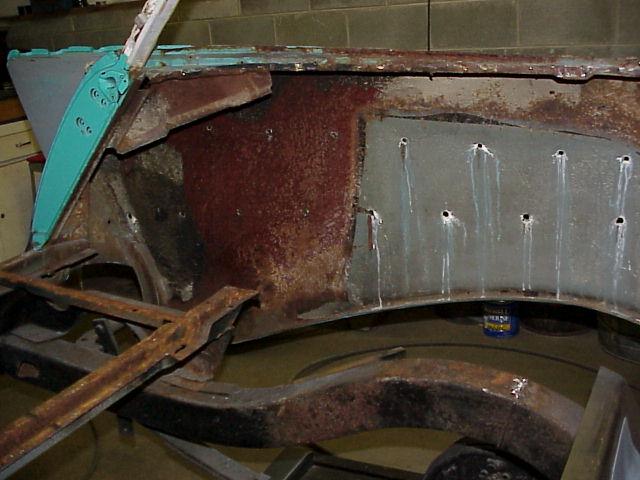
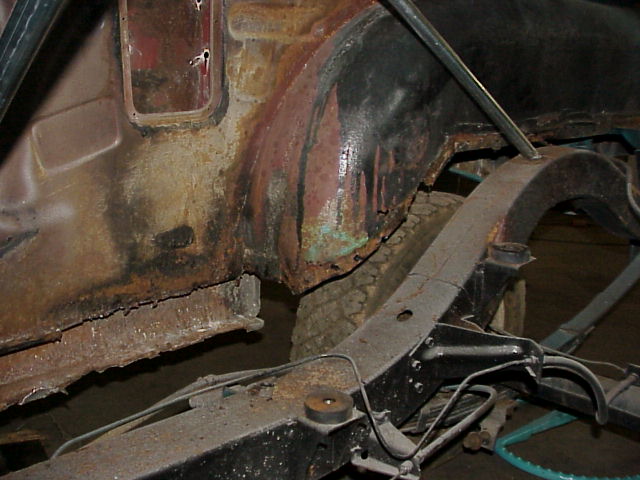
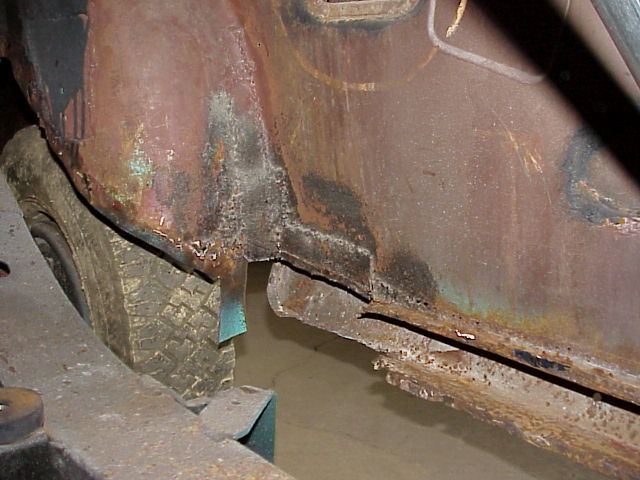
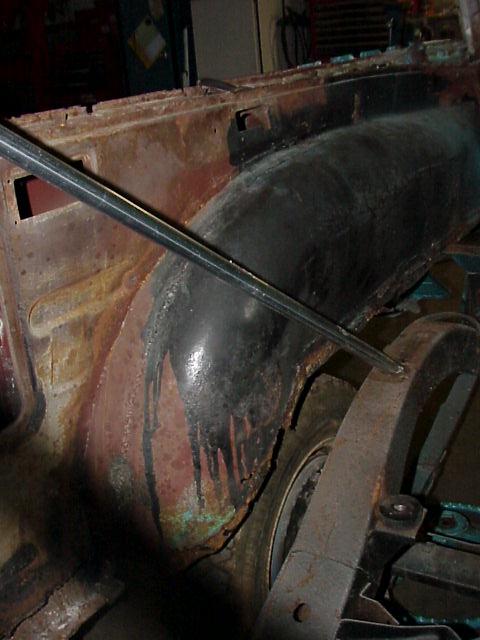
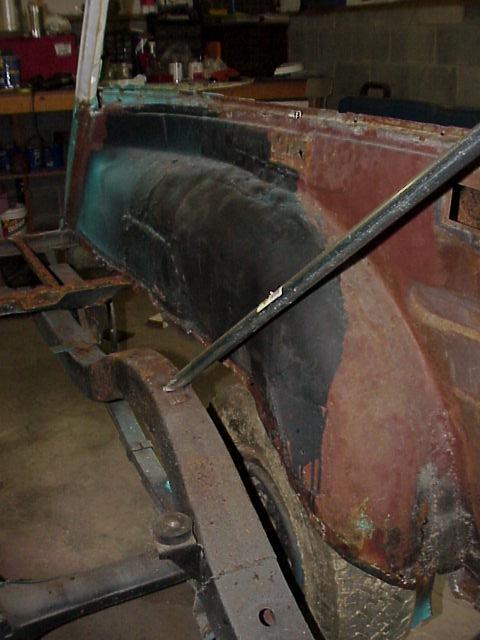
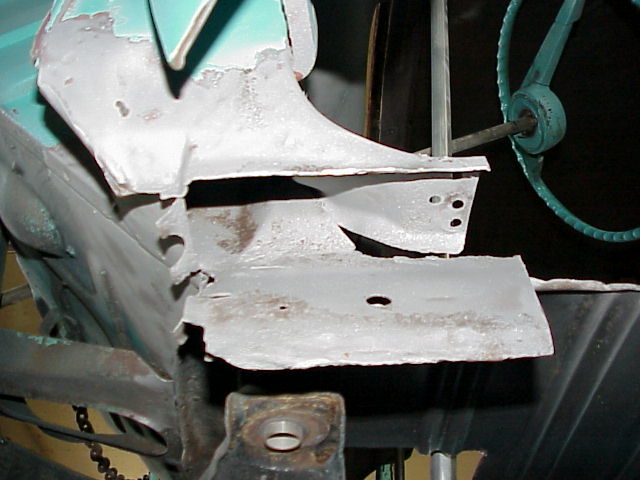
Bondo Bondo Everywhere... |
|
Well it didn't take Steve long to spot trouble! Both rocker panels are Swiss cheese, and the quarter panels are troubling. The passenger side quarter panel has been replaced at some time in the past in a less-than optimal way. At the point just behind the door and just below the quarter window, the Bondo was almost 1/2" thick. The area just in front of the right rear wheel had Bondo over 1/2" thick. I think we can get by with a patch panel on the driver side, but the passenger side will require a new full quarter panel. |
|
|
|
|
|
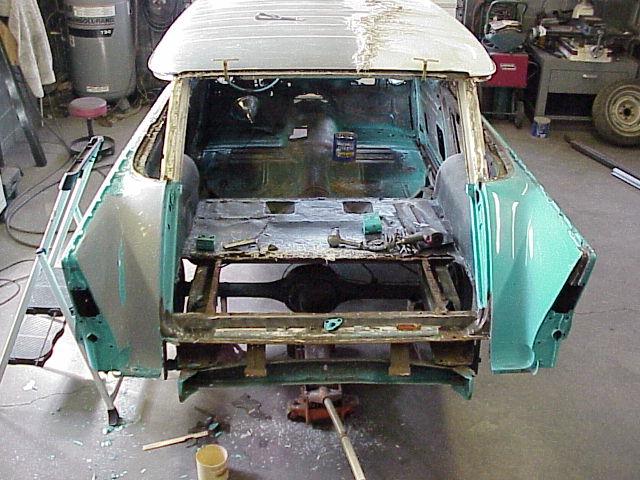
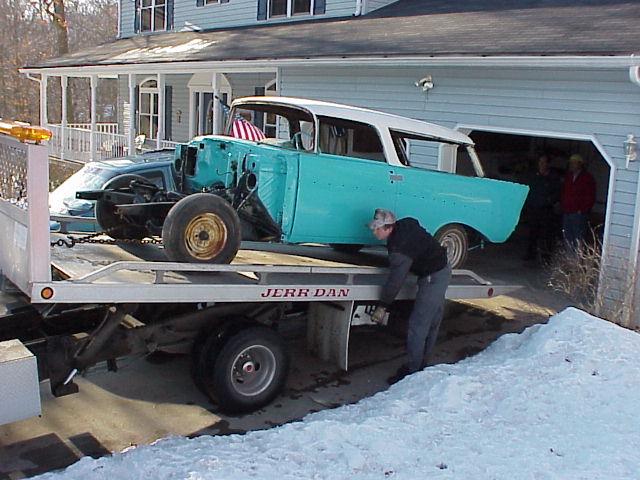
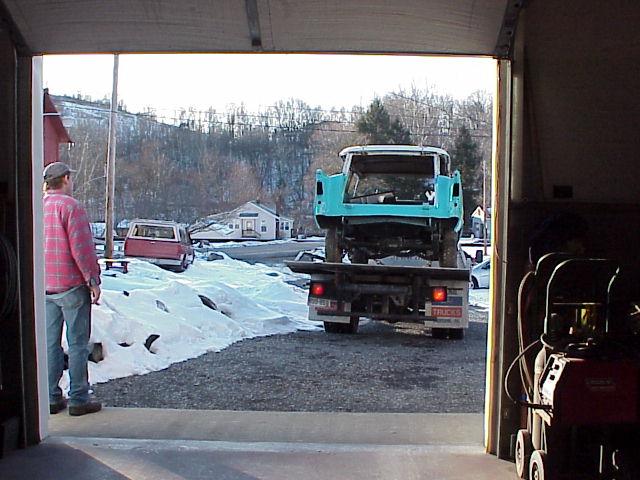
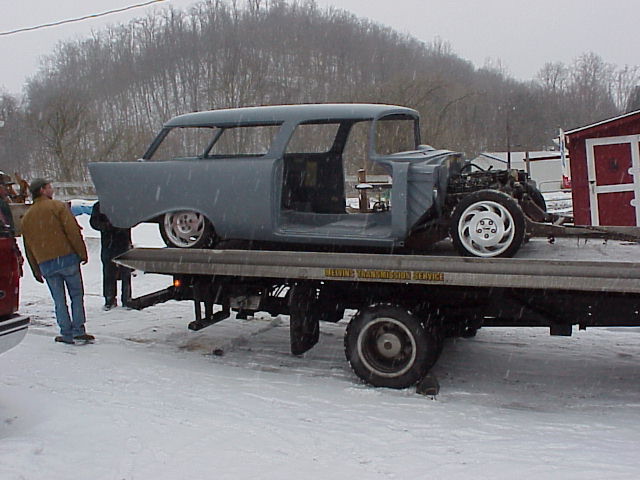
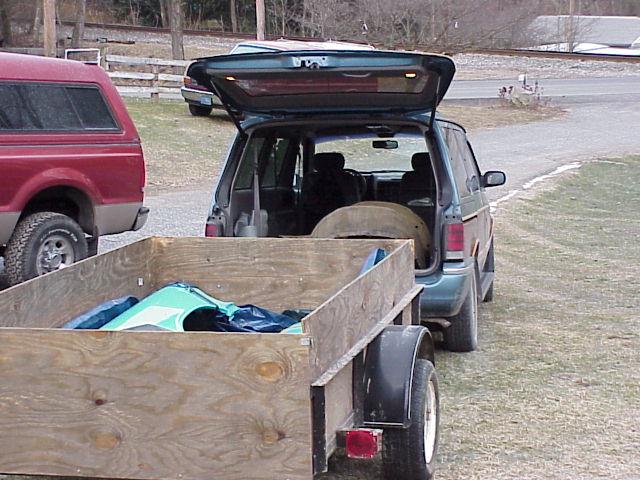
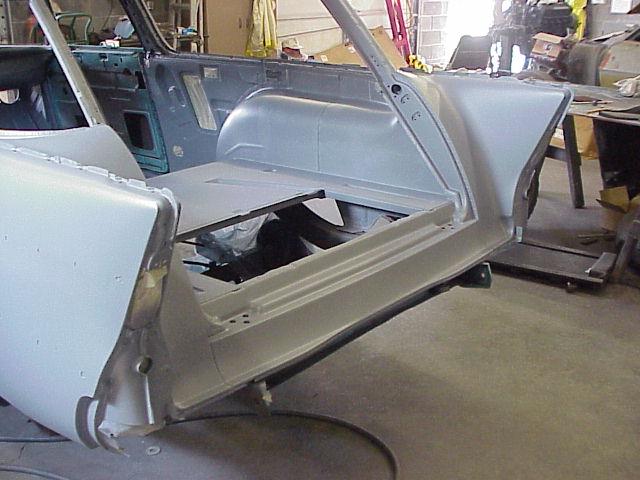
Moved Body to Steve's Shop |
|
On March 3, 2002, I moved the stripped body-on-frame to Steve Hamilton's shop in Colfax to begin the serious body work. |
|
|
|
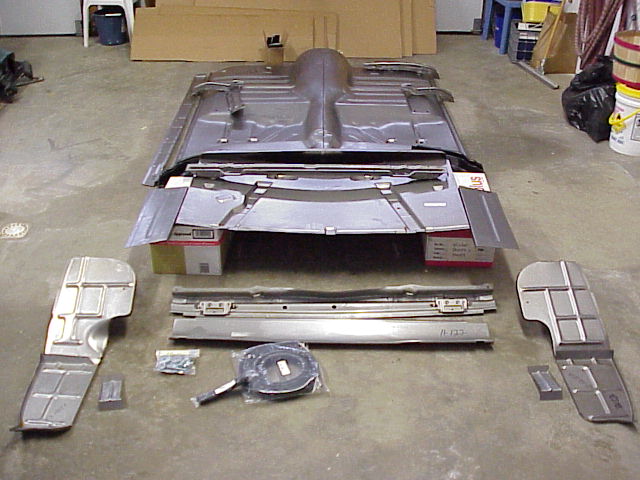
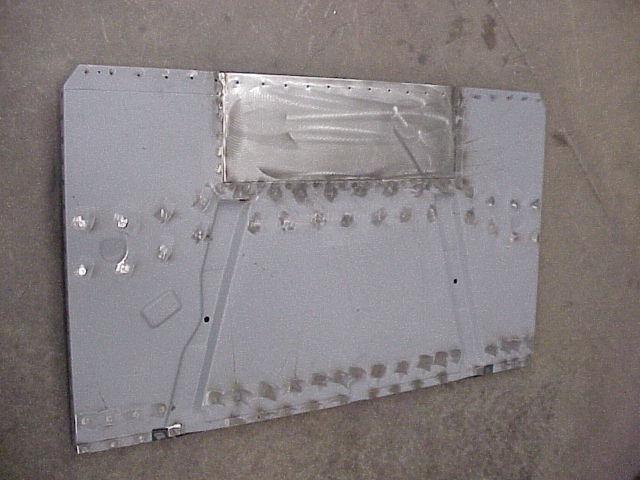
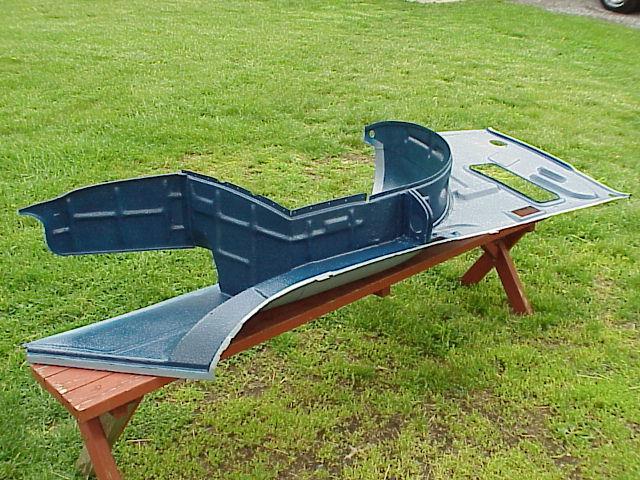
Sheet Metal Parts Arrive! |
|
On February 26, 2003, the major sheet metal parts for the body arrived from East Coast Chevy. A few parts were backordered, but the vast majority of the stuff was in the big "box-o-parts" from East Coast. |
|
|