
June, 2000
Note: All of the small images are linked to full-size images. To view an image in full size, just click on the small image. To return to this page, use your 'Back' button on your browser.
June 3-4, 2000 - One word - HYDRABOOSTER. The vast majority of the weekend was spent fooling with the hydraulic brake / steering booster. After mounting the parking brake lever, I bled brakes at each wheel with a vacuum pump. This is the point where I learned that it is not really possible to completely sort out the hydrabooster system until after the engine is installed and running the power steering pump. You simply can not get a good feel for the system before you get the air out of the hydraulic lines.
At first, it seemed like the pedal would end up being mushy. I changed the shims around, trying to see if changing the angle of the pushrod would help. In the end, it was just a matter of waiting until the engine was running. Once the air was purged from the hydraulic system, the brakes became incredibly strong, with very little pedal effort or pedal travel. (Note: Later in the project, I changed the shims again, back to the 1/4" at the bottom like Greg LaPoint told me in the first place...)
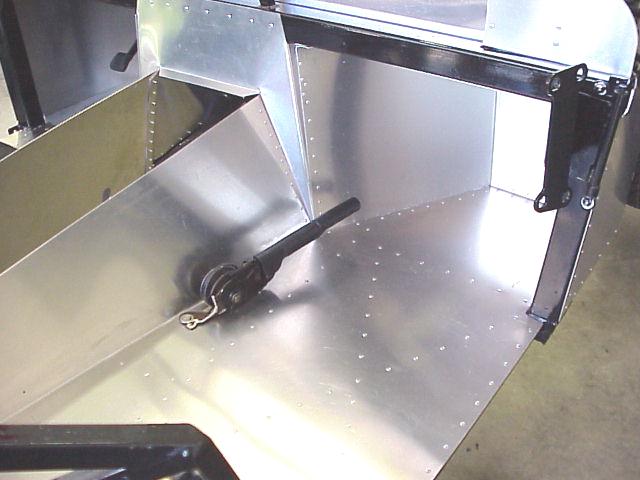
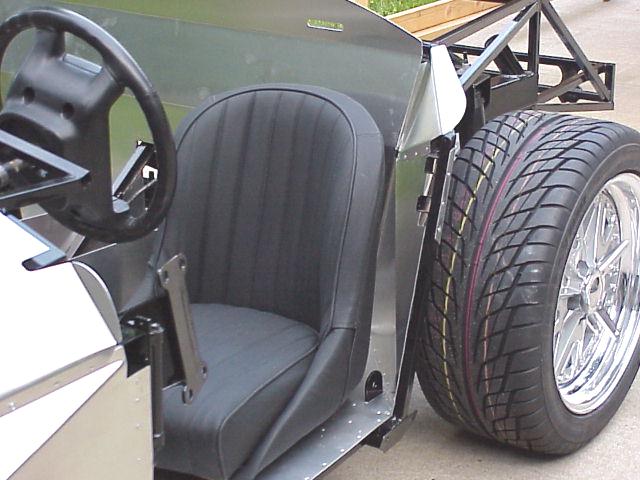
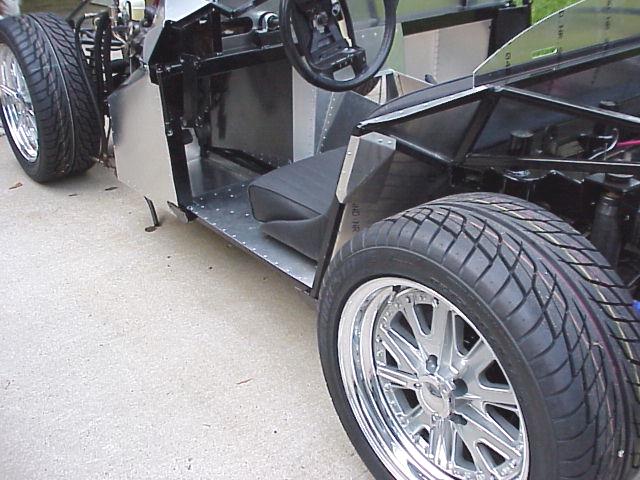
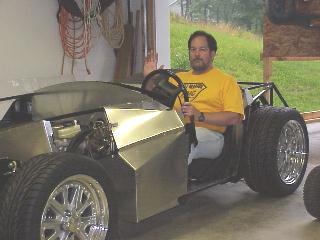
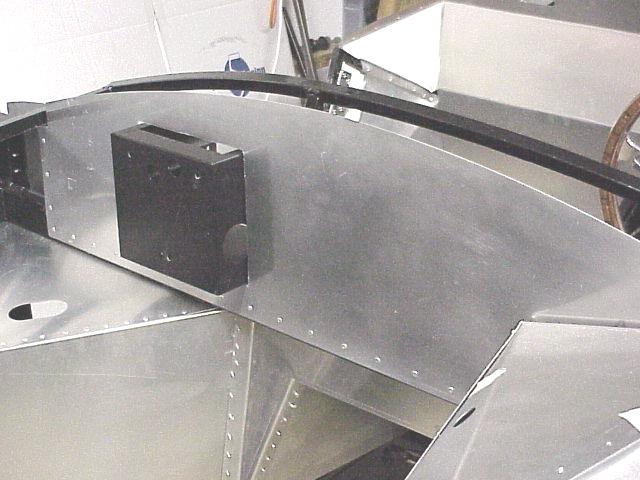
Other than the hydrobooster fun, I did get to finish installing the driver's seat & track assembly. This worked out real well, except I am concerned about the amount of weight that will be concentrated on the four mounting points. I may add some extra bracing. Most of the cockpit aluminum was installed this weekend too.
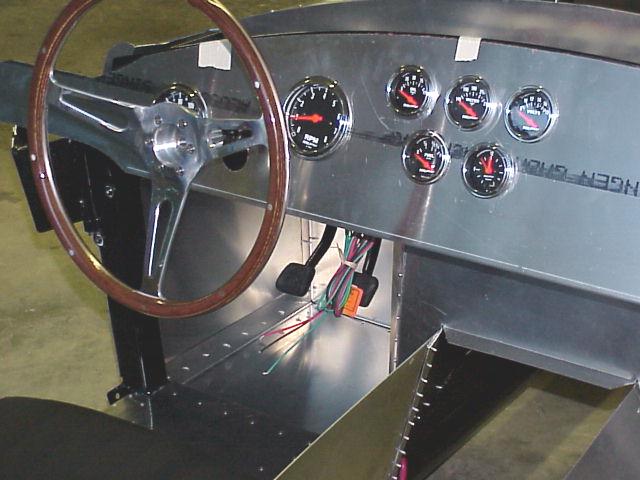
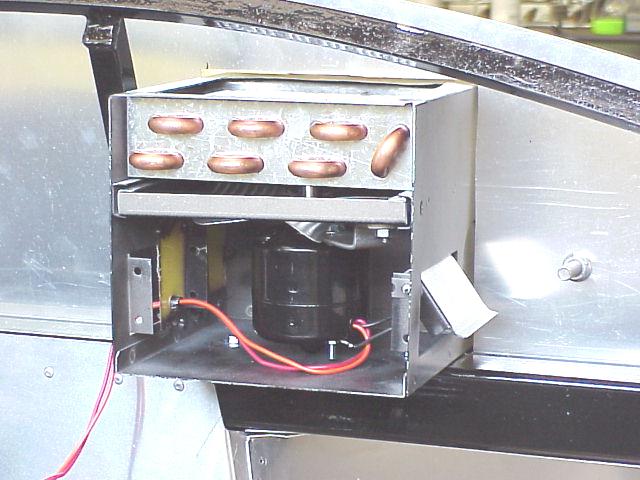
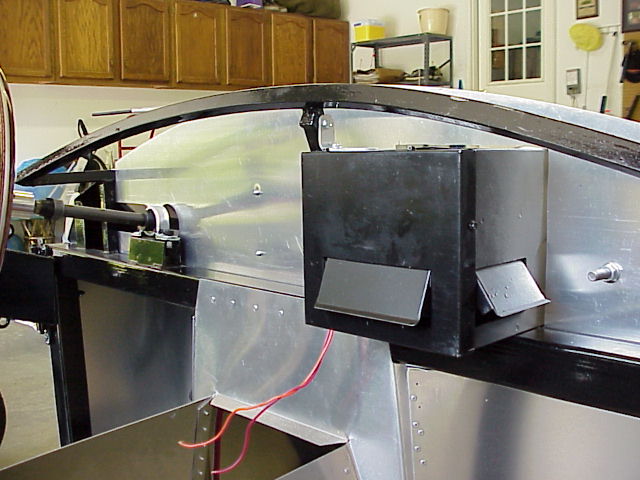
June 10-11, 2000 - I ordered the smallest heater unit available from Vintage Air, the company that builds and sells heaters and air conditioners for old-car restorations and hotrods. My primary goal this weekend was to get the heater positioned and mounted under the dash; and drill holes for the heater hoses off the engine. At first it looked as if I would be able to make it work. However, there were two factors that ultimately made it impossible for the heater to work. 1. FFR#2084K has a newly-designed vertical brace on the dash hoop that got in the way, and 2. I am using aftermarket Autometer gauges in place of the stock Mustang gauges. The Autometers are much deeper than the Mustang ones. In the end, the brace and the gauges prevented me from mounting the heater in the middle of the car, and the heater is too tall to mount off to the side. I put the Vintage Air heater up for sale. Now I will have to decide whether to go without a heater, or perhaps order one from Tristate Motorsports. The only other thing I accomplished was to mount the batter cutoff switch from Finishline, and run the positive battery cable to it.
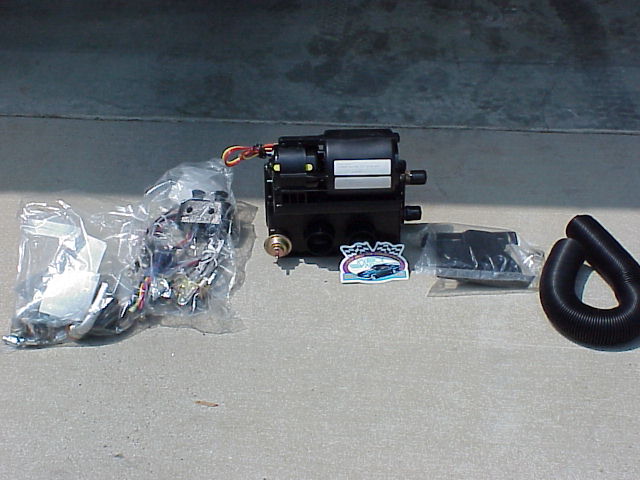

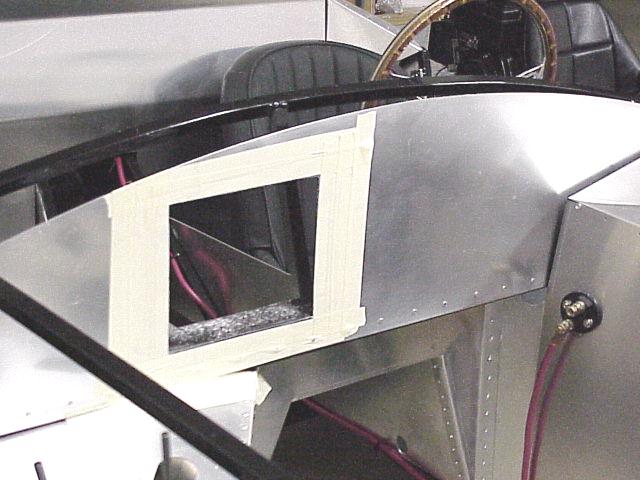
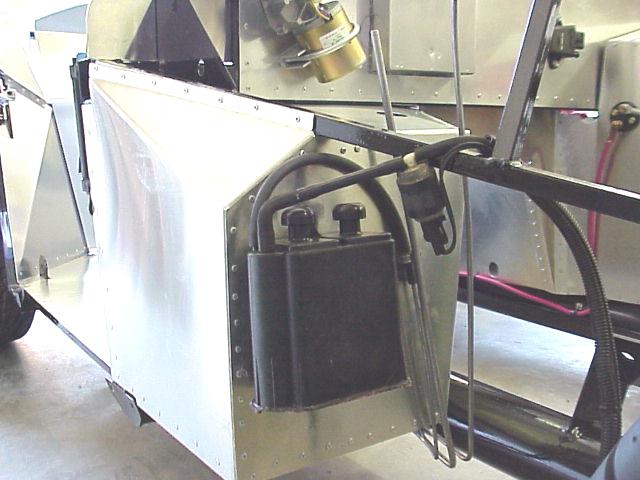
June 12-15, 2000 - I called Mike Mack at Tristate Motorsports and ordered one of his heaters for FFRs. Mike's heater is not fancy, and does make it necessary to cut a BIG hole in the firewall. I took it apart and had all of the extraneous holes welded-up for a cleaner appearance.
Also during this week, I had a pair of seat mounting brackets made at J&S Machine Co. for the passenger's seat. These will raise the passenger's seat up to the same height as the driver's seat that is mounted on sliders. And finally, the driveshaft was shortened this week by Champion Driveshaft Service in Grafton, WV. Their motto is "We Shaft Them All." Scott Williamson suggests that the driveshaft's nickname should be "Mini Me."
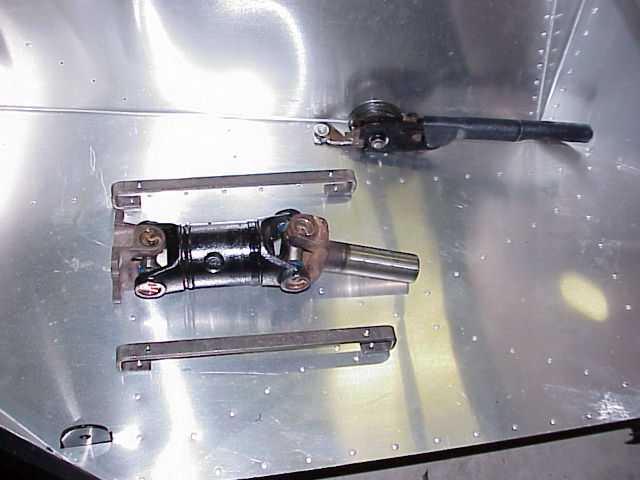
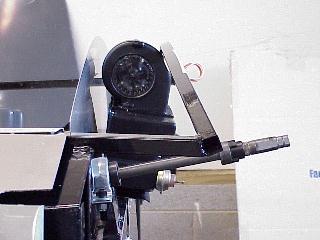
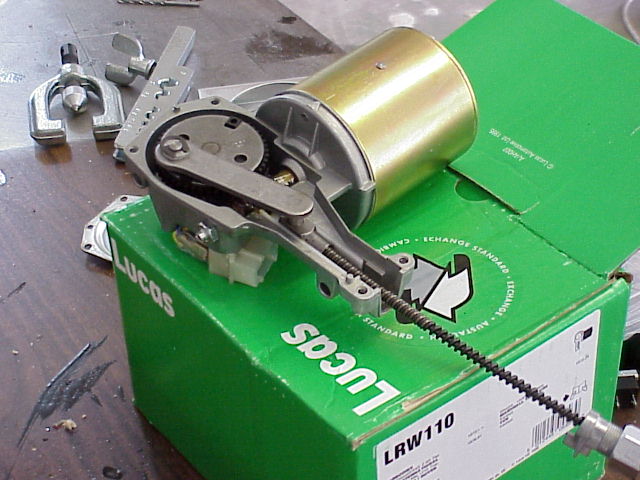
June 17-18, 2000 - This weekend was dedicated to getting the engine compartment ready for the engine to be installed. Tasks included assembling the windshield wiper motor assembly, mounting the power steering fluid reservoir, mounting the coil, installing the steering shaft cover, and planning the routing of the power steering / power brakes' hydraulic lines. I also did some cleaning and painting of some of the external engine parts.
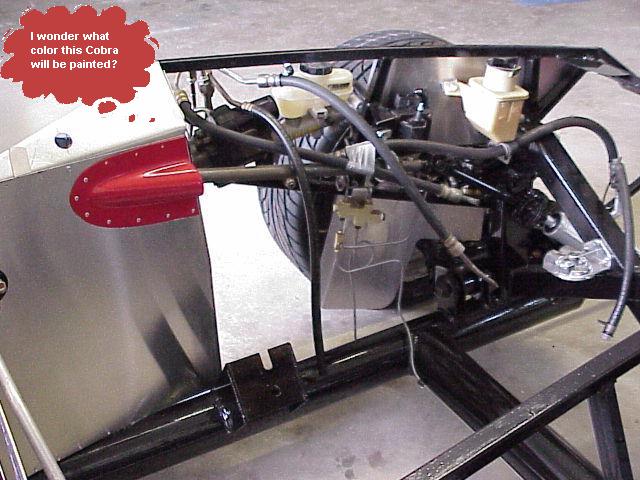
Any guesses as to what color I plan on painting the body?
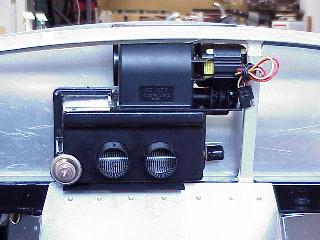
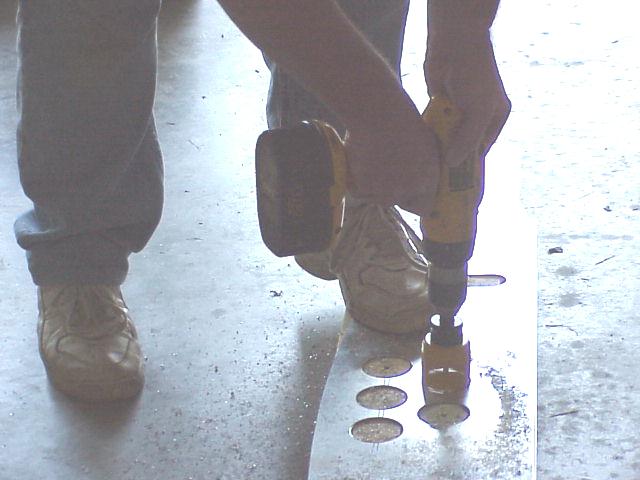
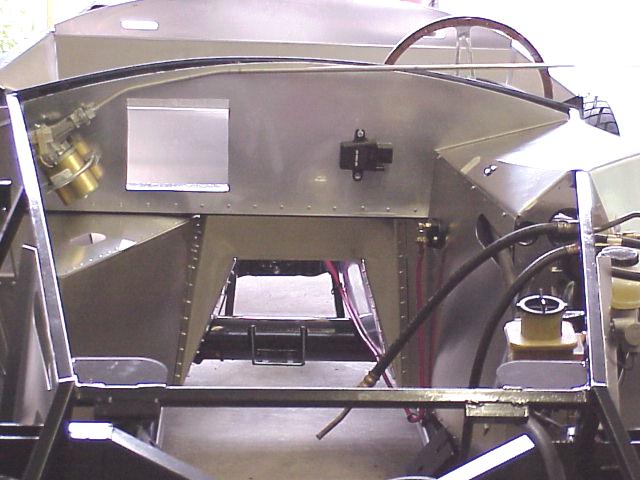
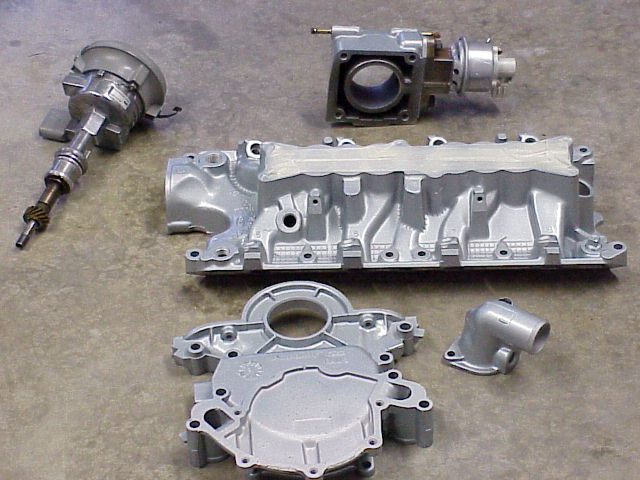
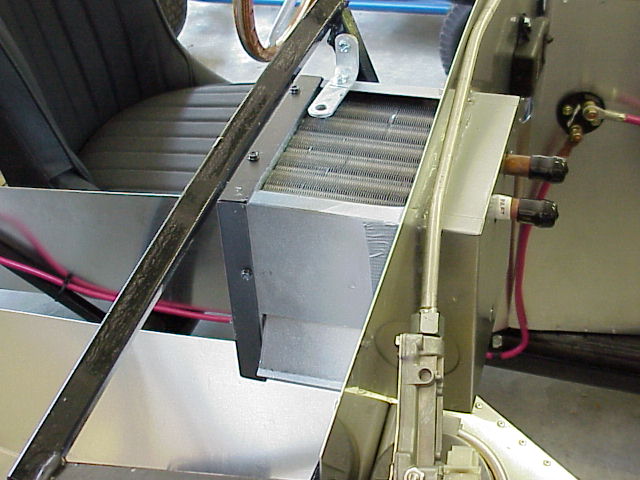
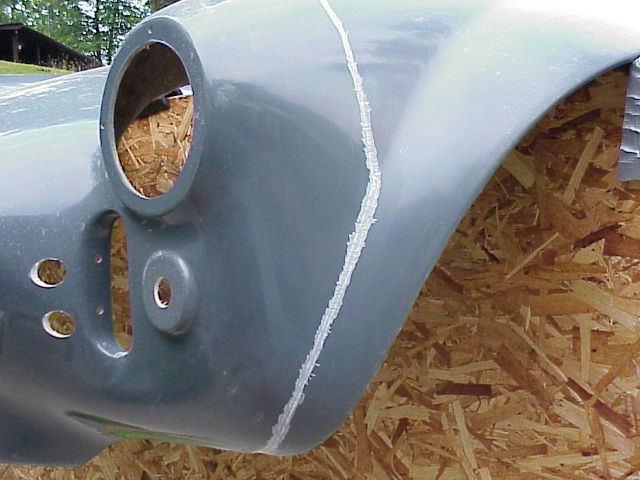
June 24-25, 2000 - I finally got the heater back together and installed. It should provide very good heat for the passenger, and a little for the driver. The evaporator canister didn't have its bracket attached to it, so I mounted it to the passenger footbox. It is probably better there than if it were in the position recommended in the FFR Assembly Manual. The Ford Motorsport engine dress-up kit that I ordered from Summit Racing was delivered on Friday. I used Ford Engine Blue paint to highlight the ribs and lettering on the valve covers. From there, I mixed up a batch of POR 15 Glisten PC clear and sprayed them to prevent future oxidation. A trip to the Clarksburg Ford dealer was what it took to get a drawing of the hydraulic lines to and from the Hydrabooster. I will have custom hydraulic lines made this week. Finally, the body work phase began with the initial removal of the mold seams on the lower edges of the body. I used a Dremmell tool for this task.

© Wade's Cobra Site. All Rights Reserved. This site is in no way affiliated with Ford, Shelby, or any other companies on this site that own a trademark.